After gathering dust on the workbench for nearly eleven years, my Pinto Funny Car model project is finally seeing the light of day again. While working on another model, Gas Ronda’s ’69 Mustang Funny Car, I reached a standstill waiting for glue and putty to cure. This downtime presented the perfect opportunity to pull out another stalled Ford Funny Car build and get back to work.
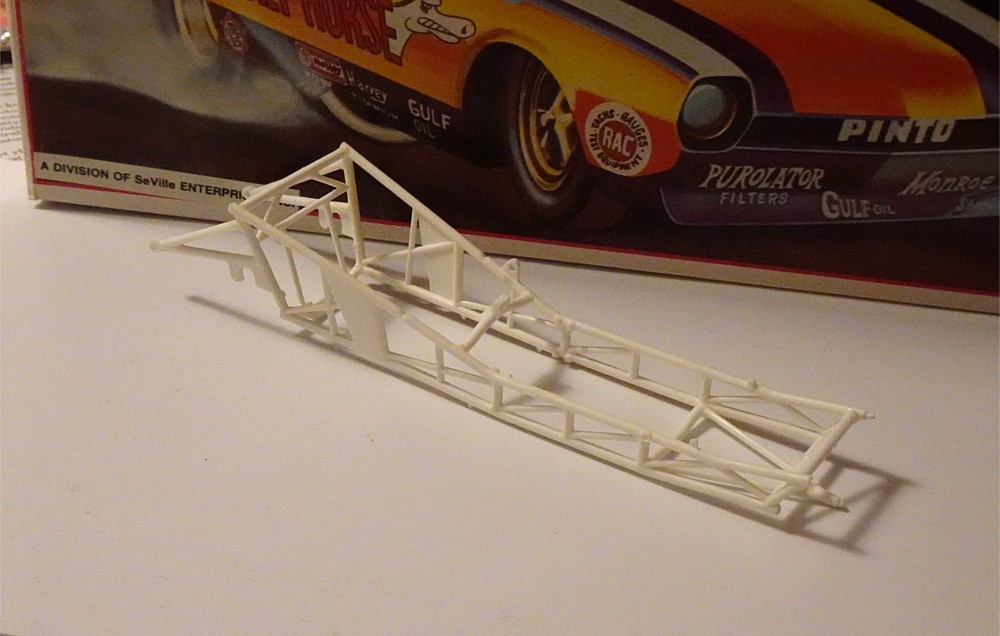
My last action on this project involved removing mold lines and imperfections from the model frame. This process required sanding and in some areas, the application of putty followed by more sanding to achieve a smooth finish. With that foundational work complete, I decided to begin assembling the chassis. It seemed logical to tackle this assembly before moving on to painting. Although the kit instructions weren’t the clearest, the clever inclusion of half-round locating pins on the frame crossmembers made it surprisingly straightforward to determine the correct placement and orientation of each component.
Next, I shifted my focus to preparing the engine components for paint. The front cover of the engine block had a noticeable opening directly in front of the magneto mounting point. While it was uncertain how visible this area would be once the cylinder heads were installed, I opted to rectify the issue proactively. Using sheet styrene, I fabricated a small patch to close the gap. Post-photography, I also addressed an ejector pin mark on the same part, smoothing it out with putty for a seamless finish.
The final step for this session was test fitting the tin work, or body panels, to the Pinto Funny Car body shell. This pre-assembly check is crucial to identify and resolve any potential fitment problems before final assembly and paint. Fortunately, the tin work fit perfectly. To simplify the painting and subsequent assembly processes, I proceeded to glue some of the tin work pieces together. This also allowed me to fill the seams between these pieces with a thin layer of putty, ensuring smooth, invisible joints after painting.
I can confidently promise that the next update on this Pinto Funny Car model will be delivered much sooner than another eleven years!