Peace lilies, with their elegant white blooms and air-purifying qualities, are a popular choice for indoor plant enthusiasts. Understanding Peace Lily Care is key to enjoying these beautiful plants for years to come. This guide provides comprehensive tips and advice to ensure your peace lily thrives, covering everything from positioning and potting to watering, feeding, and troubleshooting common problems.
Understanding Your Peace Lily’s Needs
Peace lilies (Spathiphyllum) are native to tropical rainforests, which gives us important clues about their ideal growing conditions. To mimic their natural habitat in your home, consider these key factors:
Light Requirements
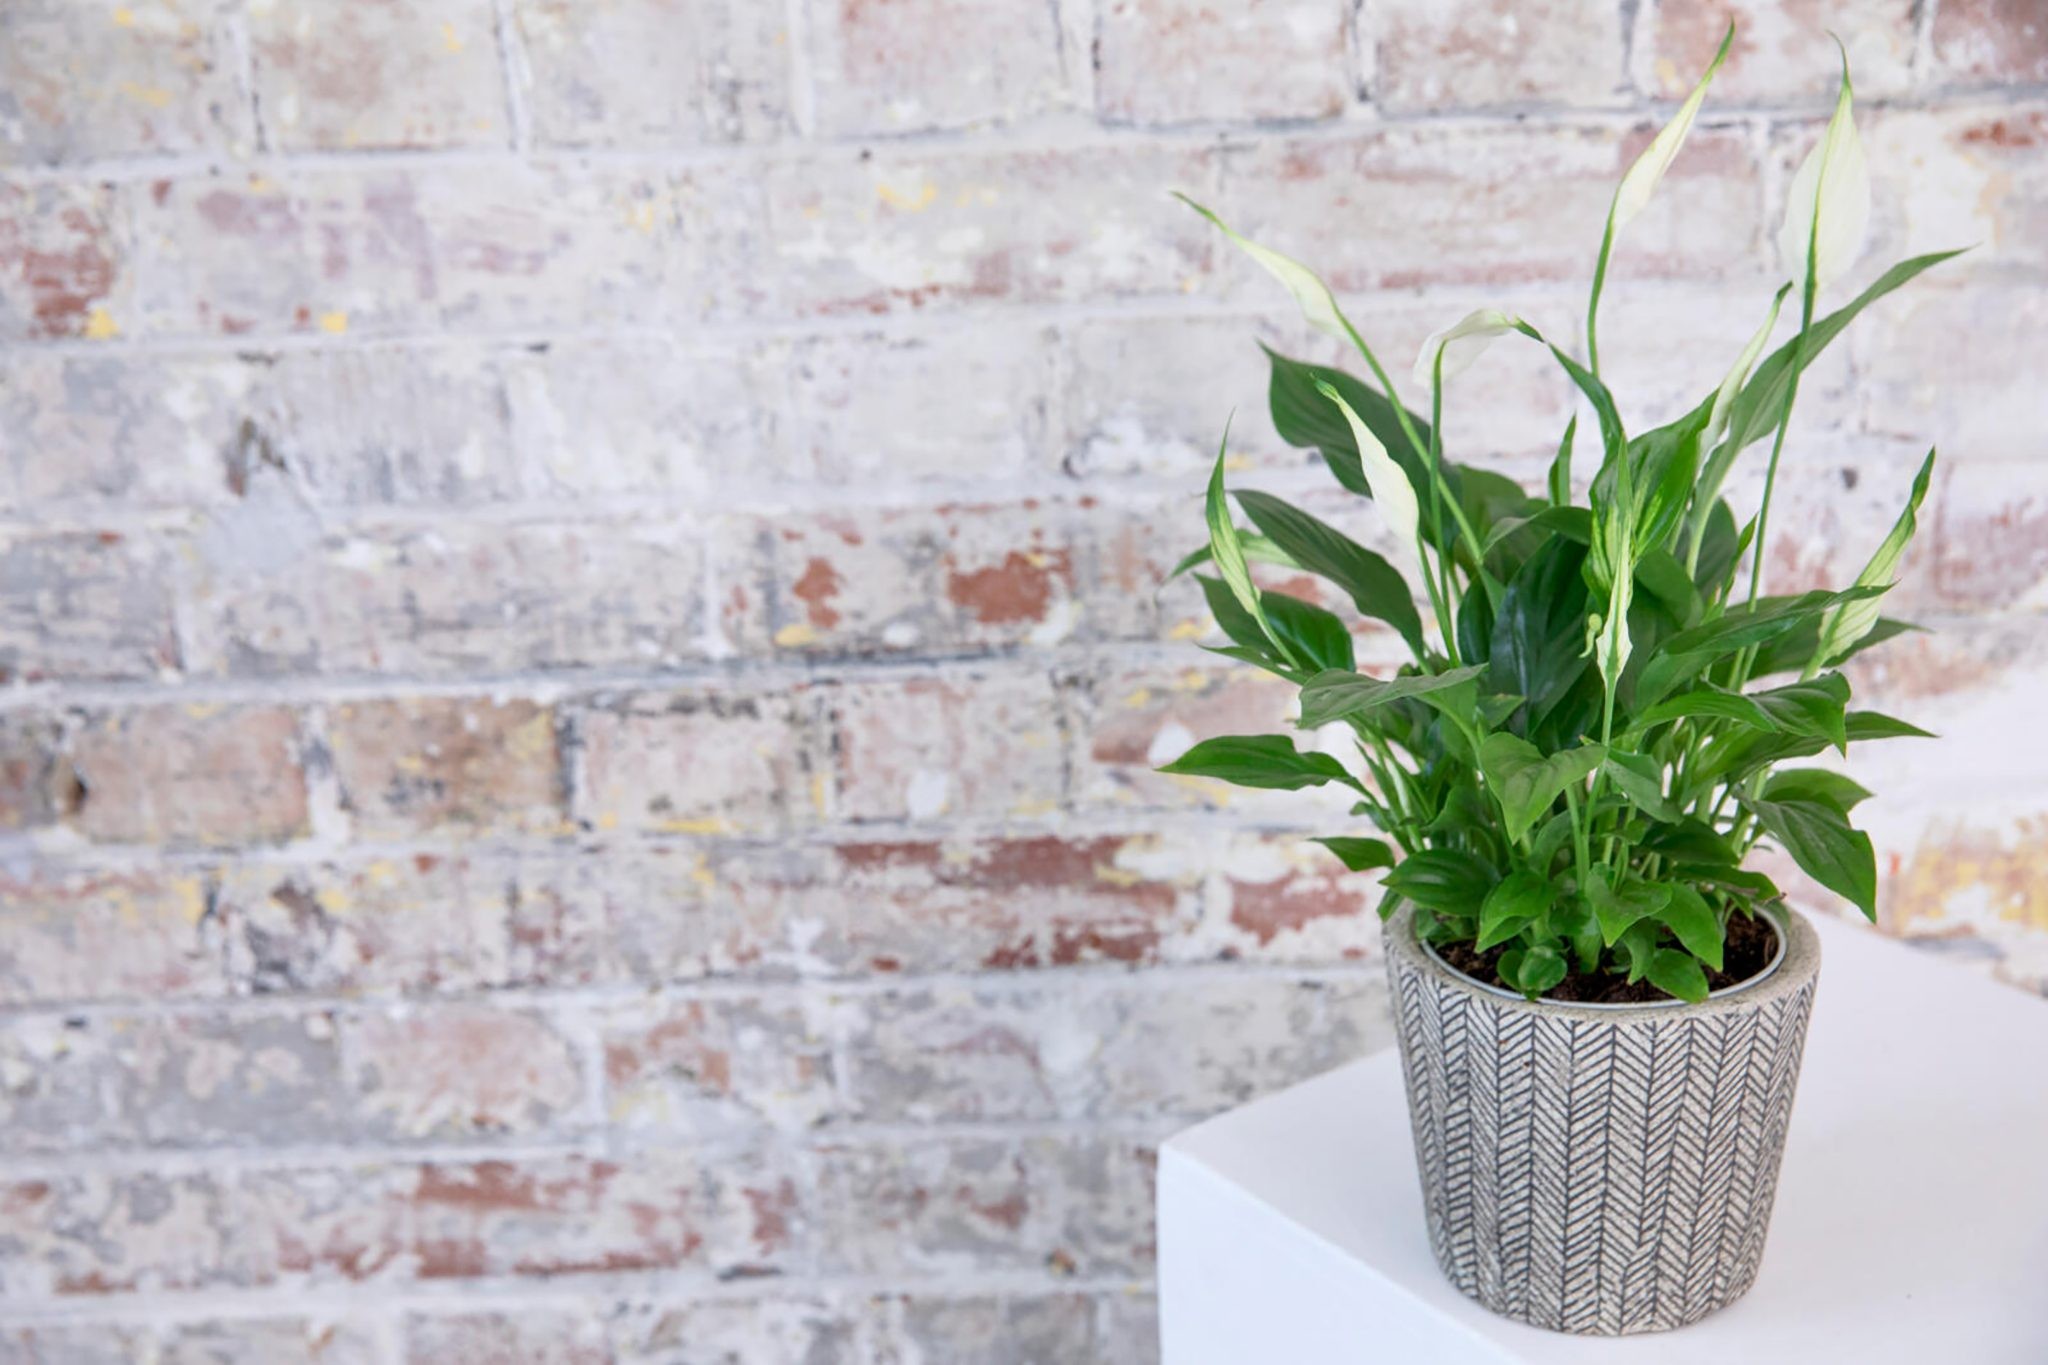
Peace lily plant thriving in a brightly lit indoor location with indirect sunlight.
Peace lilies flourish in bright, indirect light. Think of the filtered sunlight they would receive under a rainforest canopy. Avoid direct sunlight, which can scorch their delicate leaves. An east-facing window, or a spot slightly away from a south or west-facing window, is usually ideal. Too little light can lead to fewer flowers and leggy growth.
Watering and Humidity
Consistent moisture is vital for peace lilies, but overwatering can be detrimental. Aim to keep the soil consistently moist but never waterlogged. Water thoroughly when the top inch of soil feels dry to the touch. Peace lilies are quite expressive and will dramatically droop their leaves when they need water, making it easy to know when they’re thirsty.
As tropical plants, peace lilies appreciate high humidity. Dry indoor air, especially during winter, can cause leaf tips to turn brown. Increase humidity by:
- Misting: Regularly mist the leaves with water.
- Humidity Tray: Place the pot on a tray filled with pebbles and water, ensuring the pot is above the water line.
- Grouping Plants: Grouping peace lilies with other houseplants can create a more humid microclimate.
- Humidifier: Use a room humidifier, especially in dry climates.
Temperature
Peace lilies prefer average room temperatures between 65-80°F (18-27°C). Avoid placing them near cold drafts from windows or doors, or near heat sources like radiators, as extreme temperature fluctuations can stress the plant.
Step-by-Step Peace Lily Care Guide
Potting and Repotting Peace Lilies
Expert gardener Adam Frost carefully potting a peace lily plant in a new container with fresh compost.
Repotting is an essential part of peace lily care, typically done every 1-2 years, or when the plant becomes root-bound. Spring is the best time for repotting.
- Choose the Right Pot: Select a pot that is only slightly larger than the current one – about one or two inches wider in diameter. Overpotting can lead to excess moisture retention and root rot. Ensure the pot has drainage holes.
- Prepare the Potting Mix: Use a well-draining potting mix. A mix formulated for indoor plants or a blend of peat-free multi-purpose compost with perlite or vermiculite works well.
- Carefully Remove the Plant: Gently remove the peace lily from its current pot. Loosen the root ball and inspect for any circling or overly crowded roots. Tease out the roots gently to encourage outward growth in the new pot.
- Potting Process: Place a layer of fresh potting mix at the bottom of the new pot. Position the peace lily in the center, ensuring the top of the root ball is level with the pot’s rim. Fill in around the root ball with more potting mix, gently firming it as you go.
- Water Thoroughly: After repotting, water the peace lily thoroughly until water drains from the bottom of the pot.
Watering Techniques for Healthy Growth
Consistent watering is key, but avoiding waterlogging is equally important. Here’s a refined approach to watering:
- Check Soil Moisture: Before watering, insert your finger about an inch into the soil. If it feels dry, it’s time to water.
- Water Deeply: When you water, do so thoroughly until water drains out of the drainage holes. This ensures the entire root ball is moistened.
- Allow Drainage: Never let your peace lily sit in standing water. Empty any excess water from the saucer beneath the pot after watering to prevent root rot.
- Adjust Seasonally: Reduce watering slightly in the winter months when plant growth naturally slows down.
Fertilizing Peace Lilies
Peace lilies benefit from regular feeding during the growing season (spring and summer).
- Type of Fertilizer: Use a balanced liquid houseplant fertilizer diluted to half strength.
- Frequency: Fertilize every 2-4 weeks during spring and summer.
- Dormancy: Do not fertilize in the fall and winter when the plant is in its dormant period.
Pruning and Deadheading
Regular pruning and deadheading will keep your peace lily looking its best and encourage more blooms.
- Deadheading: Remove spent flowers as soon as they start to fade. Cut the flower stem back to the base of the plant. This directs the plant’s energy into new growth and blooms.
- Leaf Pruning: Remove any yellow or brown leaves by cutting them back to the base. This improves the plant’s appearance and prevents potential disease issues.
Keeping Leaves Clean
Close-up of hands gently wiping dust off a peace lily leaf to enhance plant health.
Dust accumulation on peace lily leaves can hinder photosynthesis. Regularly cleaning the leaves is a simple yet effective care practice.
- Wiping: Gently wipe the leaves with a damp cloth to remove dust.
- Showering: Occasionally, you can take your peace lily to the shower and gently rinse the leaves with lukewarm water to remove dust buildup. Allow excess water to drain before returning it to its spot.
Troubleshooting Common Peace Lily Problems
Even with the best care, you might encounter some common issues. Here’s how to address them:
- Yellowing Leaves: Yellow leaves can indicate several issues, including overwatering, underwatering, or nutrient deficiencies. Check soil moisture and adjust watering habits. Ensure proper drainage. If yellowing persists, consider fertilizing during the growing season.
- Brown Leaf Edges: Brown crispy edges are often a sign of low humidity or too much direct sunlight. Increase humidity and relocate the plant to a spot with indirect light.
- Wilting: Wilting is usually a clear sign of dehydration. Water the plant thoroughly. If wilting is persistent even after watering, check for root rot caused by overwatering.
- Fungus Gnats: Small flies around the soil are likely fungus gnats, attracted to moist soil. Allow the topsoil to dry out more between waterings. You can also use sticky traps or Bacillus thuringiensis (Bt) to control infestations.
Choosing and Buying a Healthy Peace Lily
When selecting a peace lily, look for:
- Healthy Leaves: Vibrant green leaves without yellowing or excessive brown edges.
- Buds and Flowers: Check for buds or emerging flowers, indicating blooming potential.
- Pest-Free: Inspect the plant for any signs of pests or diseases.
- Avoid Cold-Exposed Plants: If buying from a store, especially in colder months, avoid plants near entrances that may have been exposed to cold drafts.
By following these comprehensive peace lily care tips, you’ll be well-equipped to nurture these elegant plants and enjoy their beauty and air-purifying benefits in your home for years to come.