Have you noticed the trendy Car Coasters popping up everywhere? If you’re like me, you might have just recently discovered these nifty little accessories that add a personal touch to your vehicle while protecting your cup holders. Intrigued by their popularity, I decided to try my hand at making some custom car coasters for an upcoming craft fair. Join me as I dive into the world of sublimation and learn how to create vibrant neoprene car coasters.
Gathering Inspiration and Designs
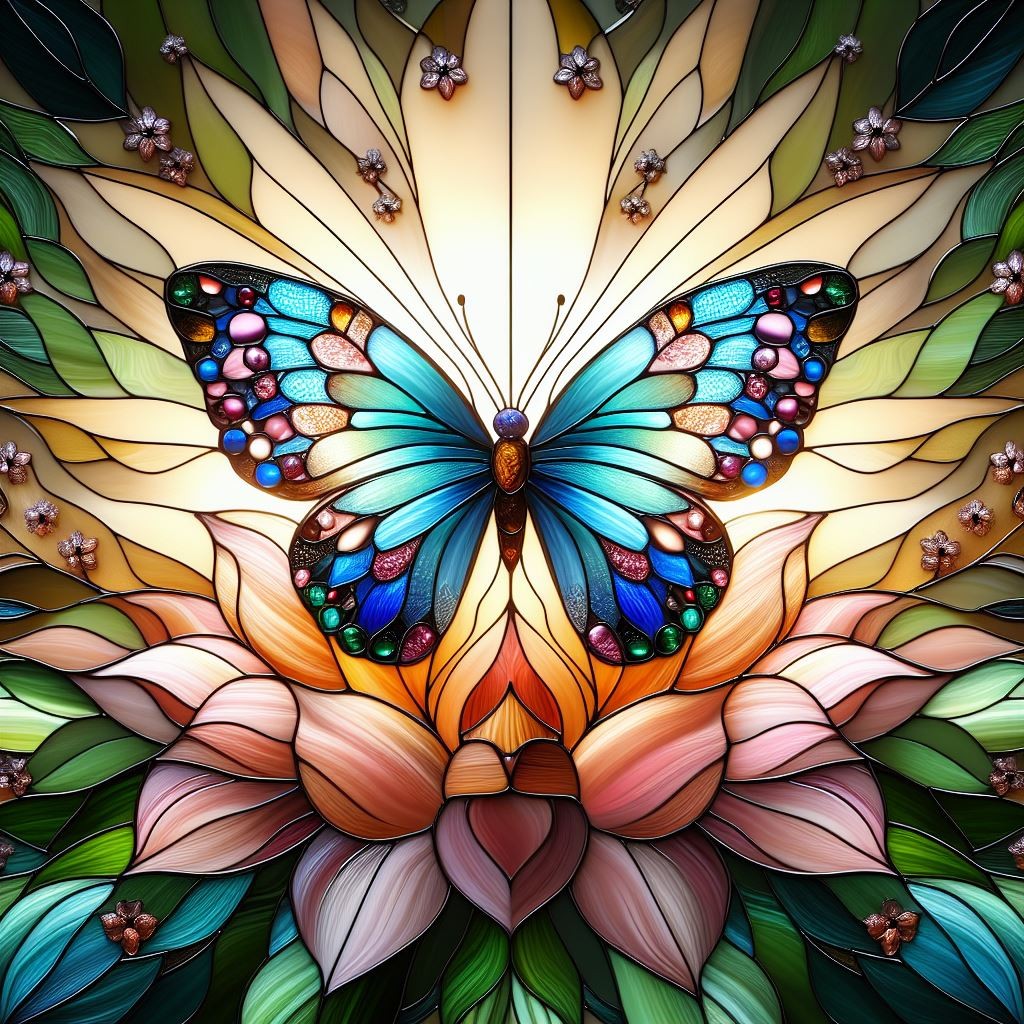
The beauty of car coasters lies in their versatility. Designs range from simple patterns to intricate floral arrangements, and even humorous quotes. For my first attempt, I’m using butterfly images I created using Bing AI a few months back, aiming for a stained glass effect. I was thrilled with how both designs turned out.
I also discovered some stunning Dream Catcher designs on Creative Fabrica. These files are specifically designed for car coasters and include both notched and full circle versions. I opted for the full circle images to simplify the alignment process during sublimation.
Creating a Template in Canva
While the Dream Catcher images were pre-sized, my AI-generated butterfly images needed resizing. Canva, even the free version, is perfect for creating a template. Let’s start by clicking “Create a Design.”
Next, select “Custom Size.”
Enter your desired dimensions, ensuring you switch the units to inches if needed. I’m making a 3” x 3” square template for my round coasters.
Now, let’s add a circular frame. Navigate to “Elements” on the left menu, click on “Frames,” and then “See All” if necessary. Choose the circle frame to add it to your square.
Resize the circle frame. My car coasters are approximately 2.75” in diameter. To avoid wasting ink, I’ll size the frame to 2.8”. Center the frame both horizontally and vertically within the square. Your template is now ready! I duplicated the template and locked the first one to prevent accidental adjustments.
To incorporate your image, go to the “Uploads” menu and upload your chosen design if it’s not already there. Select your image, and it will appear in the center of your design. To clip it into the frame, drag the image slightly, and it will snap into place.
You’re now set to download and print your car coaster designs! I recommend downloading sublimation images as PNG files and printing them using Word.
Preparing Your Neoprene Coasters for Sublimation
With your designs printed, it’s time to prepare the coasters. Cleaning the surface of sublimation blanks is crucial for vibrant transfers. Since I had recently worked with glitter, extra care was needed. I thoroughly lint-rolled the front surface of each coaster to remove any debris.
Once clean, carefully position the car coaster over the printed image, aligning it precisely. Since the design is slightly larger than the coaster, accuracy is key. Secure the coaster to the image with heat-resistant tape, paying attention to the notch placement if your coasters have one. For sets, ensure consistent notch placement on both coasters.
Sublimating Your Car Coaster Design
Before starting, I checked the manufacturer’s recommended settings for these car coasters. The suggested temperature range was broad, from 356°F to 428°F, with times from 20 to 60 seconds – not very specific! After watching several tutorials, I decided to start with 385°F for 50 seconds using my HTVRont Auto Heat Press. For the first coaster, I stuck with these settings to assess the results before making adjustments.
The first coaster turned out beautifully, but for the second, I increased the time slightly to 55 seconds. It also sublimated perfectly. In the image below, the 50-second coaster is on the left, and the 55-second one is on the right. The color difference is minimal.
Learning from Mistakes: Upside Down Disaster!
Eager to see the first coaster, I lifted the heat press only to find a cupped neoprene blank with no ink transfer. Initially, I thought pre-pressing was needed. But then it dawned on me – the coaster was upside down!
Sadly, this wasn’t a one-time mistake. My brain had a momentary lapse, and I repeated it with another set! Even worse, I compounded the error by flipping them over and re-pressing immediately. As you can see, while they did flatten and sublimate, the coaster and image shifted, resulting in a misaligned print. Oh well, my husband now has these for his work truck!
Admiring the Finished Car Coasters
Despite a couple of mishaps, I had more successes than failures! The first butterfly set turned out stunningly. I’m also thrilled with the dream catcher coasters, which sublimated beautifully. I’m slightly less certain about the wood and sunflower design. The wood background has a slight green tint that I’m unsure about. It could be the design itself, or perhaps I need to adjust the temperature or time.
Since I plan to sell these at a craft bazaar in October, packaging is important. The car coasters I ordered from Amazon included cellophane bags and display cards, providing a professional presentation. Before sealing the bags, I’ll stamp my information on the back of the cards and include a care instruction card, also found on Creative Fabrica.
Thank you for joining me on this sublimation car coaster journey! I hope you learned something new, or at least enjoyed a laugh at my upside-down coaster mishaps. If you want to explore more of my projects, check out my other Sublimation Crafts. Have a wonderful week, and see you in the craft room soon!