Peace lilies, with their elegant white blooms and lush green foliage, are a popular choice for indoor plant enthusiasts. Known for their air-purifying qualities and striking appearance, peace lilies can thrive and bring beauty to your home with the right care. Understanding how to properly care for a peace lily plant is key to ensuring its health and encouraging those beautiful, iconic flowers to bloom. This guide will walk you through everything you need to know to keep your peace lily flourishing.
Understanding Your Peace Lily
Peace lilies ( Spathiphyllum ) are not true lilies but are part of the Araceae family. Native to tropical rainforests, they are accustomed to dappled shade, consistent moisture, and warm, humid environments. Replicating these conditions in your home is essential for their wellbeing. Peace lilies are relatively low-maintenance, making them perfect for both beginners and experienced plant owners. However, understanding their specific needs will help you avoid common pitfalls and ensure your peace lily thrives.
Watering Your Peace Lily
Watering is crucial for peace lily care. The key is to maintain consistent soil moisture without overwatering. Allow the top third of the soil to dry out before watering again. You can check this by simply inserting your finger into the soil. If the top layer feels dry to the touch and only a few soil particles stick to your finger, it’s time to water.
Avoid a rigid watering schedule, as the drying time can vary depending on environmental factors like temperature and humidity. Water thoroughly until water drains from the drainage holes at the bottom of the pot, ensuring the entire root ball is hydrated. Discard any excess water that accumulates in the saucer to prevent root rot. Peace lilies do not typically experience dormancy, so their watering needs remain relatively consistent throughout the year.
Light and Location for Peace Lilies
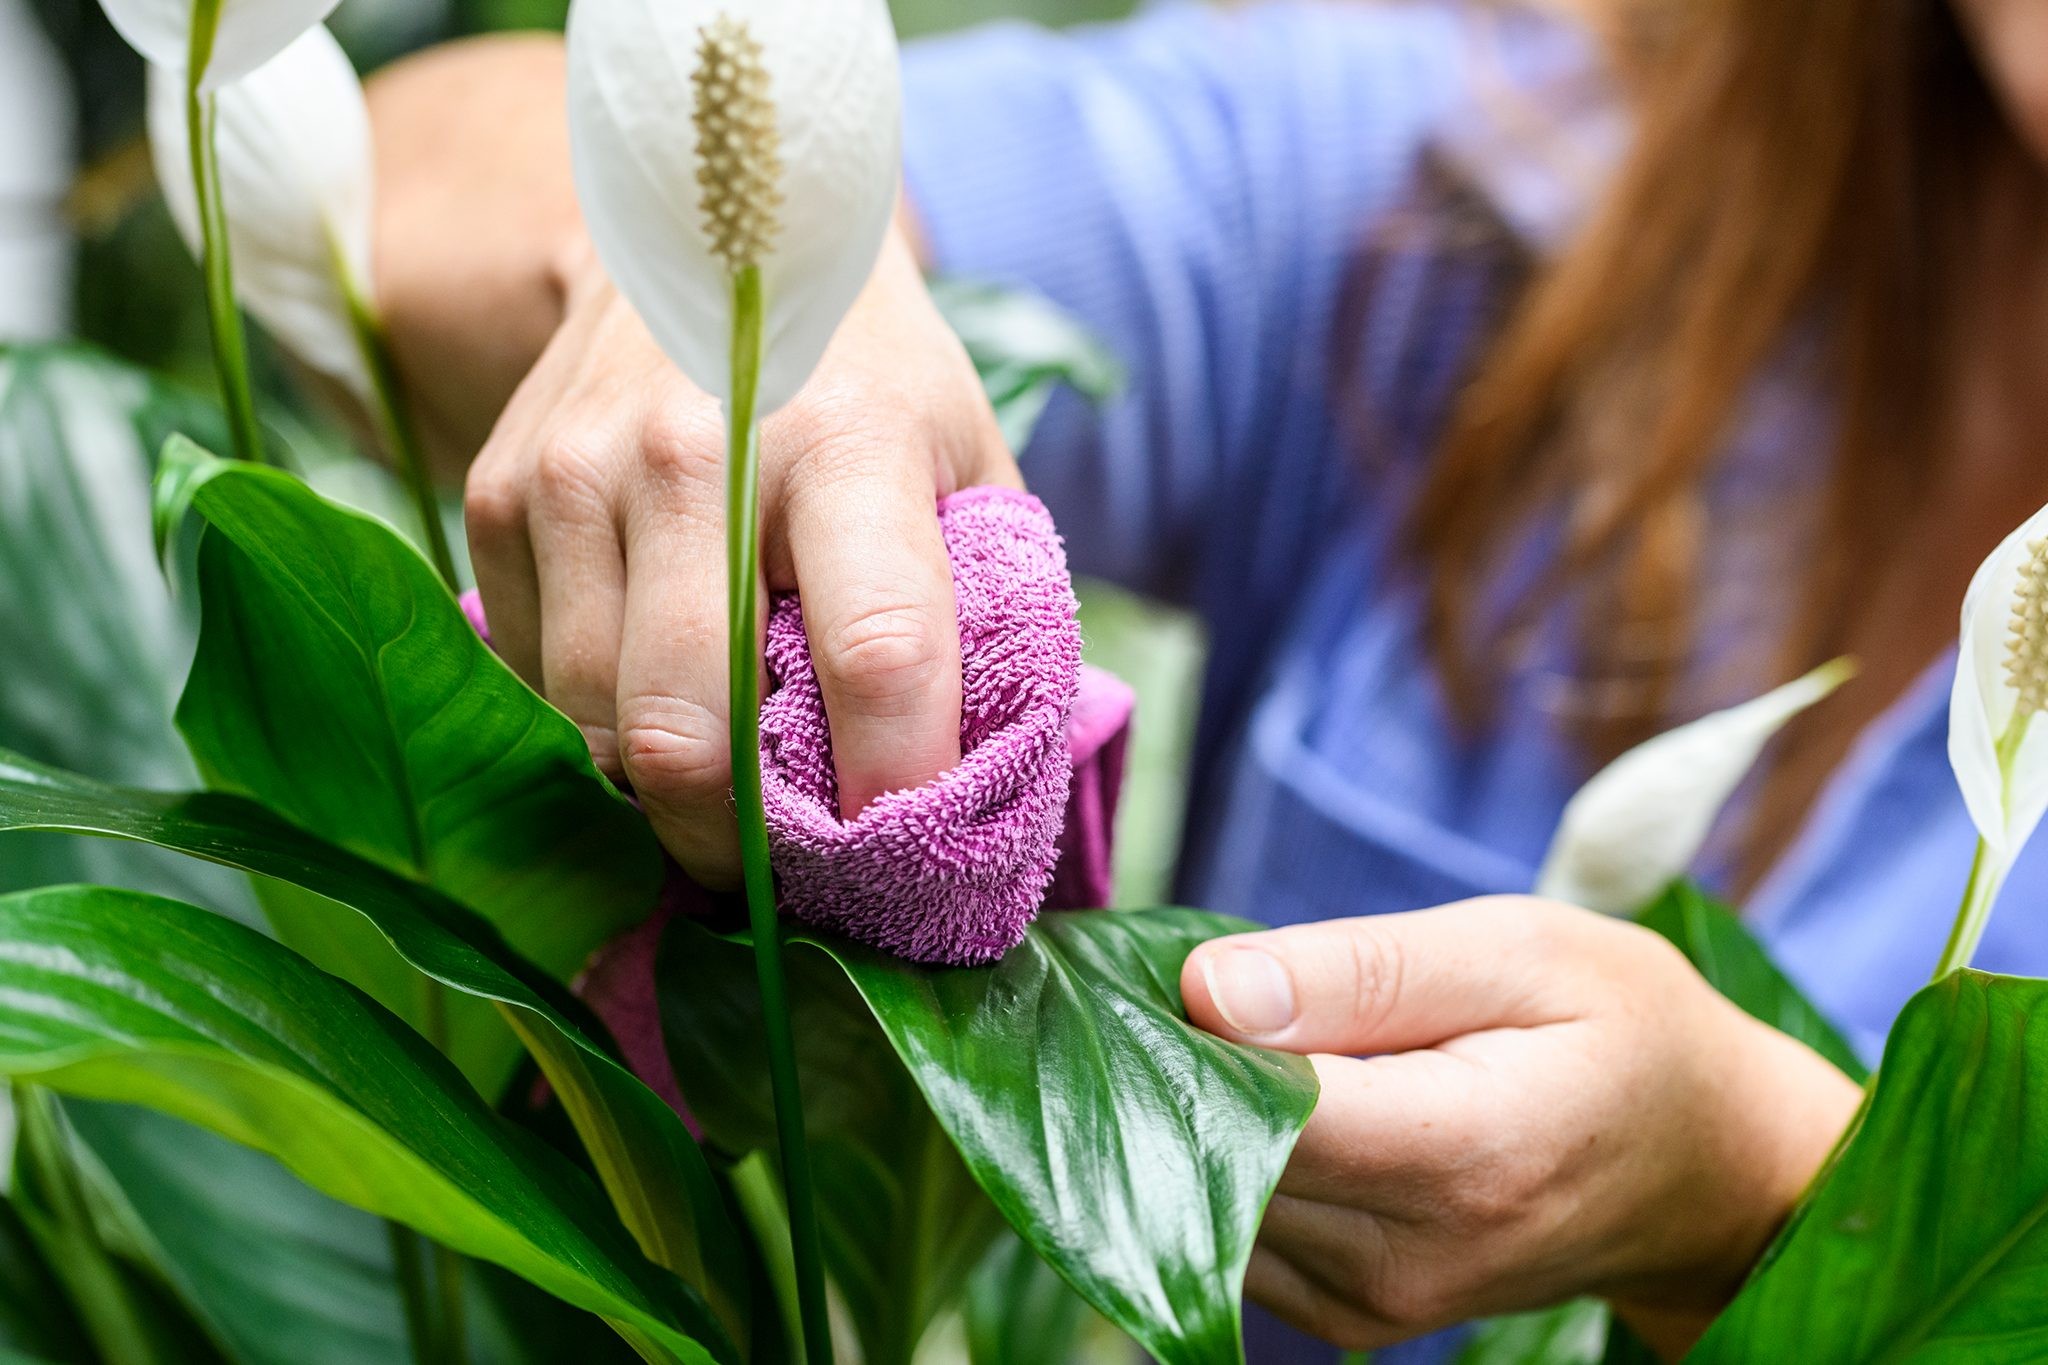
To ensure optimal growth, dusting peace lily leaves enhances their photosynthesis process.
Peace lilies flourish in bright, indirect sunlight. Mimicking their natural rainforest habitat, they prefer filtered light rather than harsh, direct sun, which can scorch their delicate leaves. A north, north-east, or north-west facing window is usually ideal, providing ample light without direct sun exposure. Smaller peace lilies can thrive on windowsills, while larger plants might be better positioned slightly away from the window to avoid overly intense light.
While peace lilies can tolerate lower light conditions, insufficient light may hinder flowering. If your peace lily is placed on a shelf, ensure the light source is directly above it, such as a skylight. Regularly dust the leaves with a damp cloth to remove accumulated dust, as this allows the plant to photosynthesize efficiently and maintain its vibrant appearance.
Soil and Fertilizing Peace Lilies
Soil: The best soil for peace lilies is a well-draining potting mix. You can use a general-purpose, peat-free houseplant potting mix. For a more specialized option, some brands offer potting mixes specifically formulated for peace lilies, which tend to be slightly more acidic and nutrient-rich.
Fertilizer: Peace lilies are moderate feeders and benefit from regular fertilization, especially during the growing season (spring and summer). Use a balanced liquid houseplant fertilizer diluted to half strength, every third watering throughout the year. To encourage flowering, consider using a foliar feed spray specifically designed for flowering houseplants every two weeks. This provides nutrients directly to the leaves and can boost bloom production.
Temperature and Humidity Requirements
Peace lilies thrive in typical household temperatures, ideally between 60-75°F (15-24°C). Avoid exposing them to temperatures below 60°F (15°C), as cold temperatures can lead to leaf damage and increase the risk of root rot.
As tropical plants, peace lilies appreciate higher humidity levels. If your home has dry air, especially during winter, you can increase humidity by placing your peace lily on a pebble tray. Fill a tray with pebbles and water, ensuring the water level is just below the top of the pebbles. As the water evaporates, it will increase the humidity around the plant. Avoid letting the pot sit directly in water, as this can lead to root rot.
Pruning Your Peace Lily
Regular pruning helps maintain the peace lily’s appearance and overall health. Use clean scissors or pruning shears to remove any brown or yellow leaves and spent flowers. Cutting away dead or dying foliage encourages new growth and prevents potential fungal issues.
If you notice yellowing leaves, especially older ones, don’t rush to remove them immediately. Yellowing leaves can still provide the plant with nutrients as they gradually turn brown. Wait until the leaves are fully brown before pruning them away.
Repotting Peace Lilies: When and How
Peace lilies prefer to be slightly root-bound and do not need frequent repotting. Repotting is usually necessary every 1-2 years, or when you notice the plant becoming too crowded in its current pot. Signs that it’s time to repot include roots growing out of the drainage holes or the plant drying out very quickly after watering.
When repotting, choose a pot that is only slightly larger (about 1-2 inches wider in diameter) than the current one. Repotting into a pot that is too large can lead to excess moisture retention and root rot.
Here’s a step-by-step guide to repotting:
- Water the plant: Water your peace lily about 12 hours before repotting. This helps to hydrate the plant and reduce transplant shock.
- Prepare the new pot: Fill the bottom of the new pot with about 1-2 inches of fresh, peat-free houseplant potting mix or peace lily-specific mix.
- Remove the plant: Gently remove the peace lily from its current pot. You may need to loosen the soil around the edges of the pot to ease removal.
- Place in new pot: Position the root ball in the center of the new pot, on top of the fresh soil.
- Fill with soil: Fill the space around the root ball with more fresh potting mix, ensuring the top of the root ball is level with the soil surface. Gently tap the pot to settle the soil and eliminate air pockets.
- Water thoroughly: Water the newly repotted peace lily thoroughly until water drains from the drainage holes.
- Return to location: Place the repotted peace lily back in its original location to minimize stress.
Propagating Peace Lilies: Growing New Plants
Propagating peace lilies involves carefully removing side shoots to create new plants.
Peace lilies are easily propagated through division, which is best done in spring when the plant is actively growing. Division involves separating offsets (smaller plants growing from the base of the parent plant) to create new individual plants. This method is most successful with peace lilies that are at least two years old.
Follow these steps to propagate your peace lily:
- Water the plant: Water the peace lily about 12 hours before propagation to hydrate the plant and reduce stress.
- Remove from pot: Carefully take the peace lily out of its pot.
- Identify offsets: Locate the offsets, which appear as smaller versions of the main plant, growing from the base.
- Divide offsets: Using a clean, sharp knife or pruning shears, carefully separate the offsets from the parent plant. You may hear a snapping sound as you divide the roots.
- Tease roots apart: Gently tease apart the roots of the offsets from the main root ball.
- Pot offsets: Pot each offset individually in a 4-inch (10cm) pot filled with peat-free houseplant potting mix.
- Repot parent plant: Repot the parent plant back into its original pot or a slightly smaller pot, filling any gaps with fresh potting mix.
- Care for new plants: Care for both the parent plant and the new offsets as you normally would. The offsets may take some time to establish themselves, so ensure they receive proper watering and indirect light.
Common Peace Lily Problems and Solutions
Yellow leaves on a peace lily can indicate various issues, including overwatering or nutrient deficiency.
Yellowing Older Leaves: A few yellowing older leaves (one or two per month) are normal as the plant ages. However, if more than a third of the leaves are turning yellow, it could indicate overwatering or root rot. Check the roots for signs of rot – they will appear brown and mushy.
Lack of Flowers: Insufficient light is a common reason for peace lilies not flowering. Ensure your plant is in a bright, indirect light location. Fertilizing every third watering can also encourage blooming.
Brown Leaf Tips: Brown leaf tips can be caused by several factors, including dry air (low humidity), inconsistent watering, or fluoride in tap water. Increase humidity, ensure consistent watering, and consider using filtered water.
Curling or Drooping Leaves: Drooping leaves can be a sign of underwatering, overwatering, heat stress, or transplant shock. Check the soil moisture and ensure the plant is not in direct sunlight or exposed to extreme temperatures. If recently repotted, allow time for the plant to recover from transplant shock.
Peace Lily Toxicity: Safety First
Peace lilies are considered poisonous if ingested by humans and pets. They contain calcium oxalate crystals, which can cause irritation and discomfort if chewed or swallowed. Keep peace lilies out of reach of children and pets. If ingestion occurs, seek medical or veterinary advice.
Popular Peace Lily Varieties
The ‘Diamond’ peace lily variety is known for its unique white variegated foliage.
- Spathiphyllum ‘Chopin’: A classic and widely available variety, known for its reliable blooming and moderate size (Height & Spread: 50cm x 50cm).
- Spathiphyllum ‘Pearl Cupido’: A medium-sized variety featuring striking dark green leaves (Height & Spread: 1m x 80cm).
- Spathiphyllum ‘Diamond’: A newer variety distinguished by its variegated leaves with white speckles, adding visual interest (Height & Spread: 80cm x 0.5m).
- Spathiphyllum ‘Sensation’: The largest peace lily variety, ideal for spacious rooms with ample light (Height & Spread: 1.3m x 1m).
Frequently Asked Questions About Peace Lily Care
Where should I put my peace lily in my house?
Place your peace lily near a north, north-east, or north-west facing window, ideally within 3 feet (1 meter). Avoid locations with direct sunlight exposure for more than two hours daily to prevent leaf scorch.
What are the disadvantages of peace lilies?
Peace lilies are susceptible to root rot, particularly if overwatered or placed in low-light conditions (more than 3 feet/1 meter from a window). They are also toxic if ingested.
How long do peace lilies last?
Peace lily flowers typically last for around two months. The plant itself can live for many years with proper care, continuing to produce new leaves and potentially more flowers each spring.
What does an overwatered peace lily look like?
Signs of overwatering include a musty or earthy smell from the soil, mold growth on the soil surface, and yellowing, curling, or wilting leaves despite moist soil.
Should I cut the brown tips off of my peace lily?
Yes, trimming brown leaf tips can improve the plant’s appearance.
How can I get my peace lily to flower again?
To encourage re-blooming, place your peace lily in a bright, indirect light location and use a foliar feed fertilizer every two weeks to promote flower production.
By following these comprehensive care guidelines, you can ensure your peace lily thrives, bringing beauty and tranquility to your indoor space for years to come. Enjoy the elegance and air-purifying benefits of this wonderful plant!