Taking care of a Chinese money plant, also known as Pilea peperomioides, is easier than you think, and CARS.EDU.VN is here to guide you through the process. This guide will cover everything from potting to propagation. Unlock the secrets to a thriving Pilea and bring good fortune into your home. Learn about Pilea care tips, money plant maintenance, and indoor plant care.
1. Understanding the Chinese Money Plant
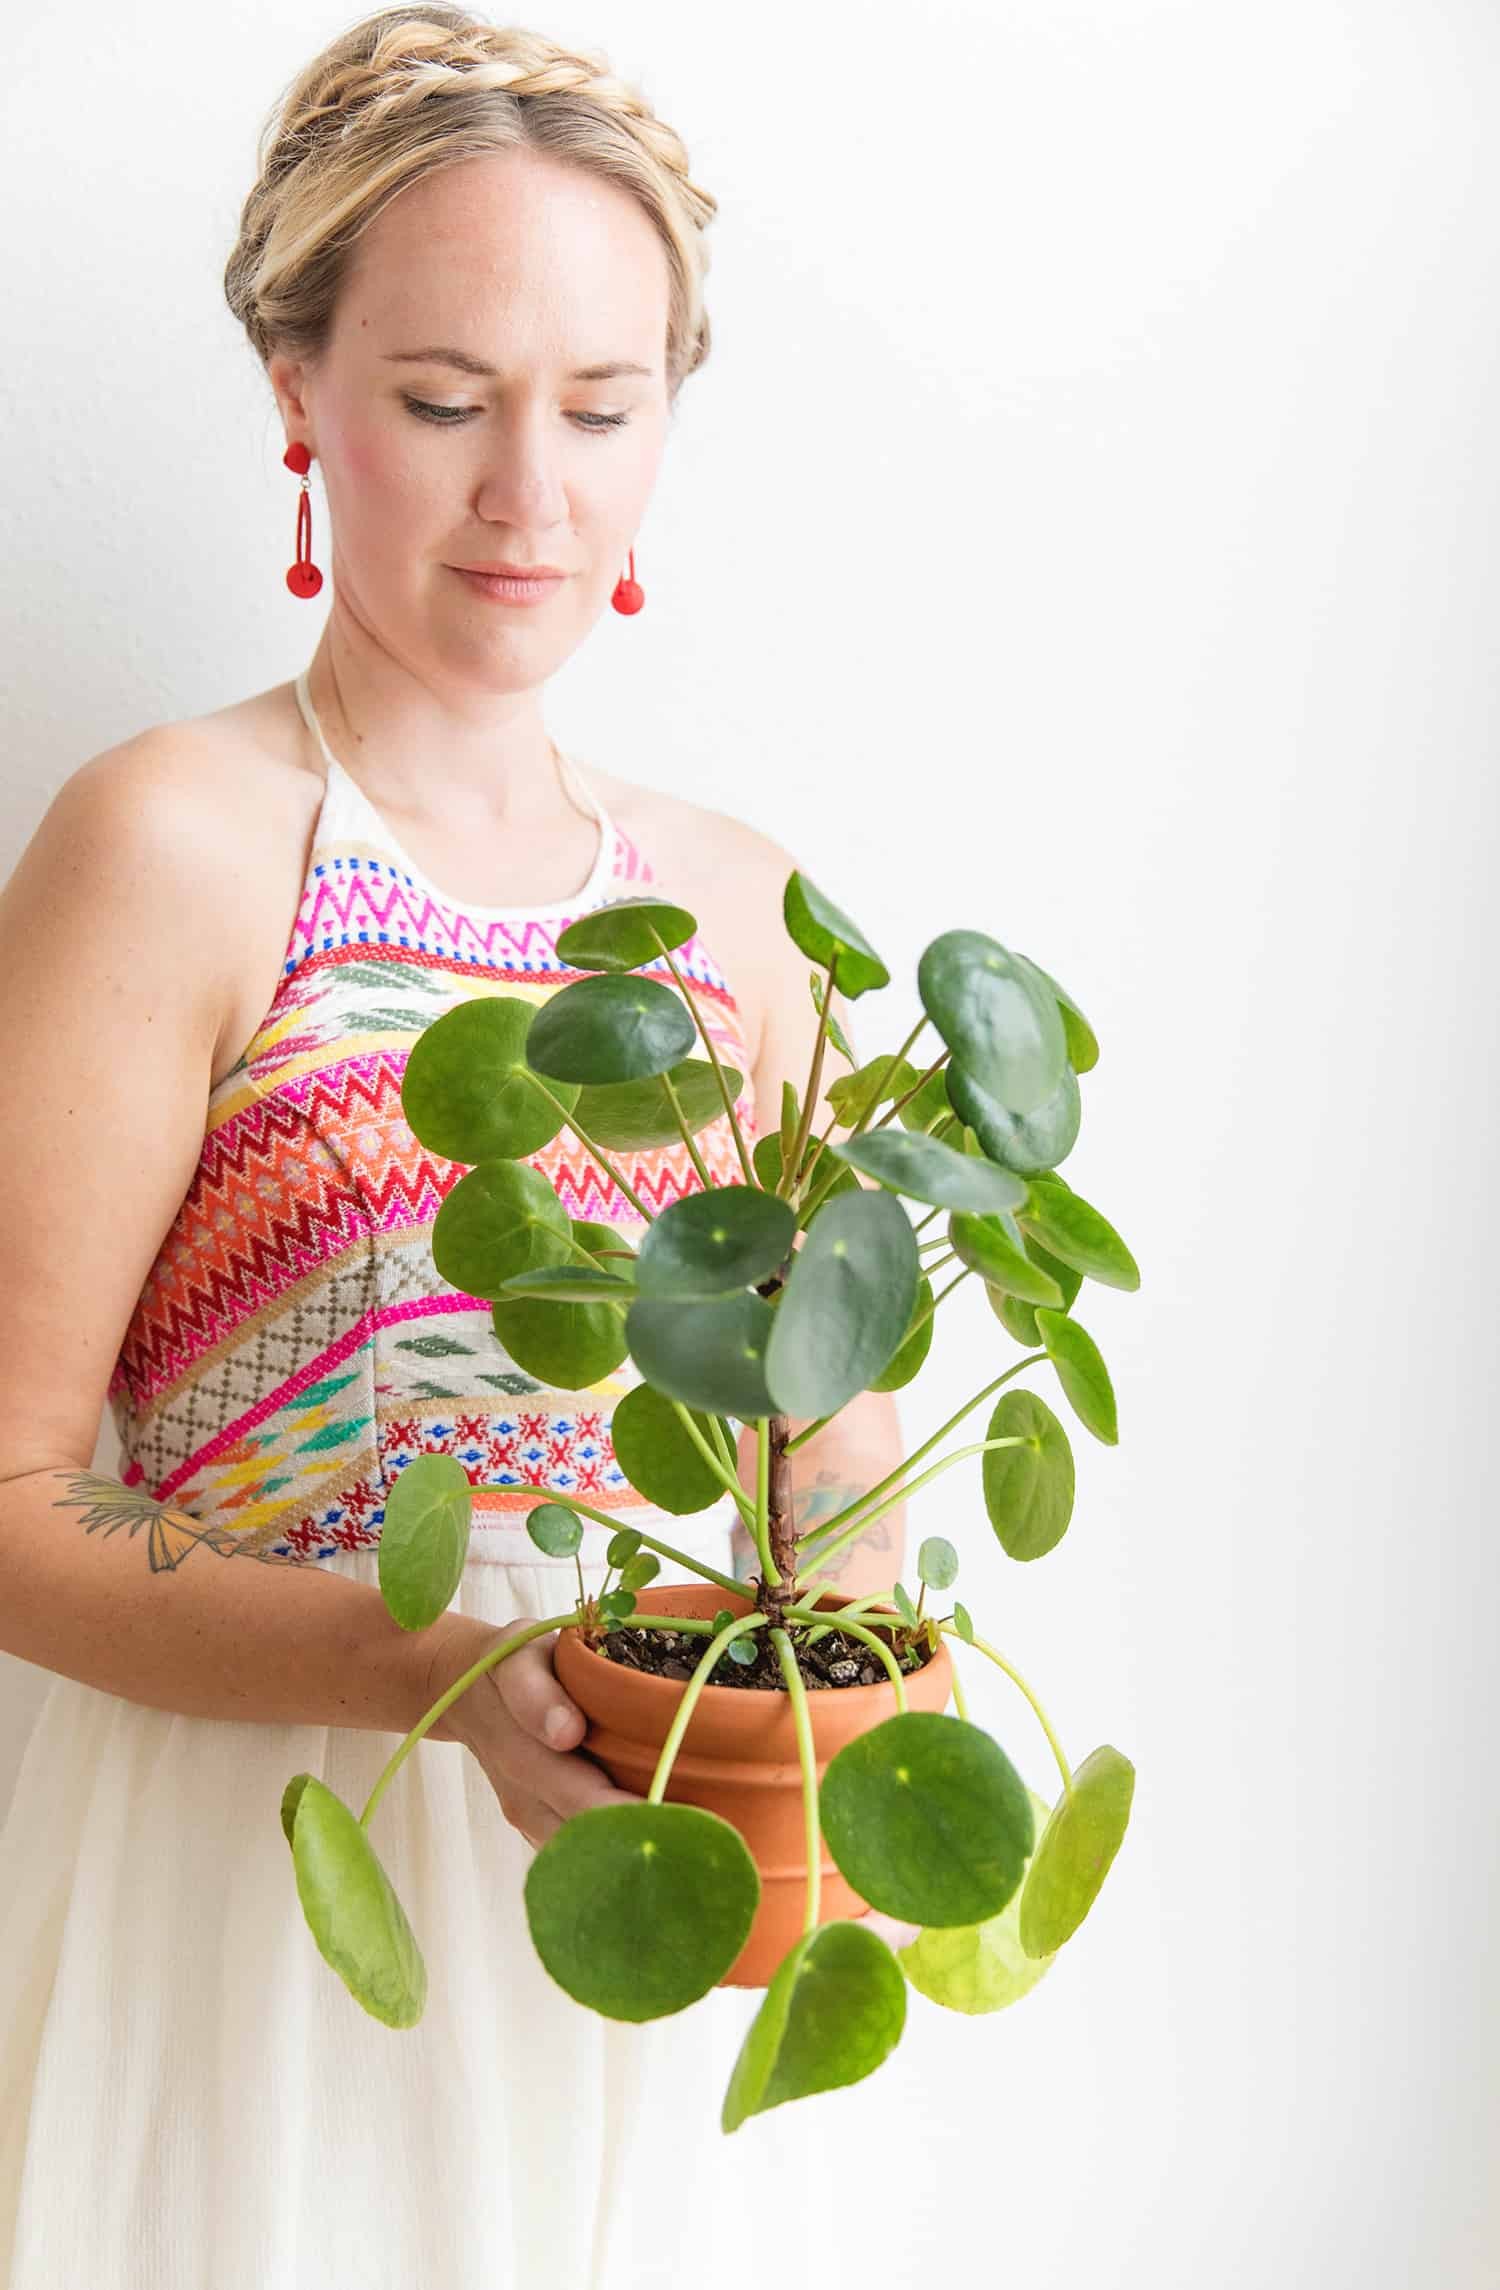
The Chinese Money Plant, scientifically known as Pilea peperomioides, is a popular houseplant cherished for its unique coin-shaped leaves and easy-to-care-for nature. Originating from the Yunnan province of Southern China, this plant has a fascinating history. According to the Royal Horticultural Society, a botanist named George Forrest first collected it in 1906 and again in 1910, but it wasn’t until 1945 that it gained popularity.
A Norwegian missionary named Agnar Espegren is credited with bringing the plant to Europe, sharing cuttings with friends and family. This sharing continued and contributed to the widespread distribution of the Pilea across Scandinavia and eventually the rest of the world. Today, it’s a beloved plant in homes and offices worldwide.
1.1 Benefits of Growing Pilea Peperomioides
Growing a Chinese Money Plant isn’t just about aesthetics; it offers several benefits:
- Air Purification: Like many houseplants, Pileas help to purify the air by absorbing toxins and releasing oxygen. A NASA study on houseplants found that certain indoor plants can remove up to 87% of air toxins in 24 hours.
- Stress Reduction: Studies have shown that being around plants can reduce stress and improve mental well-being.
- Easy Propagation: Pileas produce “pups” or baby plants, making propagation easy and fun.
- Aesthetic Appeal: The unique, round leaves add a touch of elegance to any space.
- Symbolism: In many cultures, the round leaves are said to resemble coins, symbolizing wealth and prosperity.
1.2 Common Problems and Solutions
Even though Pilea peperomioides are easy to care for, you might encounter a few common problems. Here’s a quick troubleshooting guide:
| Problem | Possible Cause | Solution |
|---|---|---|
| Yellowing Leaves | Overwatering, poor drainage, or nutrient deficiency | Check soil moisture before watering; ensure the pot has drainage holes; fertilize during the growing season. |
| Drooping Leaves | Underwatering, too much direct sunlight | Water thoroughly when the top inch of soil is dry; move the plant to a spot with indirect light. |
| Leggy Growth | Insufficient light | Move the plant to a brighter location or supplement with artificial light. |
| Leaf Drop | Sudden changes in temperature, drafts | Keep the plant away from drafts and maintain a consistent temperature. |
| Root Rot | Overwatering, poor drainage | Repot the plant in fresh, well-draining soil and ensure the pot has drainage holes. |
| Pests | Spider mites, mealybugs | Isolate the plant and treat it with insecticidal soap or neem oil. |
2. Potting Your Pilea for Success
Choosing the right pot and soil is crucial for the health and growth of your Chinese Money Plant.
2.1 Selecting the Right Pot
- Drainage is Key: The most important factor is drainage. Root rot is a common issue with Pileas, so make sure your pot has at least one drainage hole.
- Material Matters: Terracotta pots are excellent because they allow the soil to breathe. Plastic pots retain moisture, so be cautious not to overwater.
- Size Considerations: Choose a pot that’s slightly larger than the root ball. Repotting every 1-2 years will encourage growth.
- Aesthetic Appeal: While functionality is essential, don’t forget about aesthetics. Choose a pot that complements your decor.
Pro Tip: If you have a decorative pot without drainage, use it as a cachepot. Place your Pilea in a terracotta pot with drainage and then set it inside the decorative pot. Remember to remove the terracotta pot when watering to allow excess water to drain.
2.2 Choosing the Best Soil Mix
The ideal soil mix for a Pilea peperomioides is well-draining and slightly acidic. Here’s a recipe:
- 1 part potting soil
- 1 part perlite
- 1 part peat moss or coco coir
This mix provides adequate drainage, aeration, and nutrients.
Alternative Options:
- Succulent Mix: A commercial succulent mix can also work well, as it’s designed for good drainage.
- DIY Mix: Combine equal parts of potting soil, coarse sand, and compost.
Why This Works:
- Potting Soil: Provides essential nutrients.
- Perlite: Improves drainage and aeration.
- Peat Moss/Coco Coir: Retains moisture while still allowing for good drainage.
2.3 Step-by-Step Repotting Guide
Repotting your Pilea is a simple process that can significantly boost its growth.
- Gather Your Supplies: You’ll need a new pot, the appropriate soil mix, small stones or gravel, and a trowel.
- Prepare the Pot: Place a layer of small stones or gravel at the bottom of the new pot to improve drainage.
- Remove the Plant: Gently remove the Pilea from its current pot. If the roots are tightly bound, gently loosen them.
- Inspect the Roots: Check for any signs of root rot (mushy, brown roots). Trim away any affected areas with clean scissors.
- Plant the Pilea: Place the Pilea in the center of the new pot and fill the remaining space with the soil mix.
- Water Thoroughly: Water the plant thoroughly until water drains from the bottom of the pot.
- Settle In: Place the repotted Pilea in a spot with bright, indirect light.
3. Watering Your Pilea Correctly
Proper watering is essential for a healthy Pilea. Overwatering is a common mistake, so it’s crucial to get it right.
3.1 How Often to Water
Water your Pilea moderately, allowing the soil to dry out between waterings. Generally, once a week is sufficient, but it depends on environmental conditions.
- Check the Soil: Stick your finger about an inch into the soil. If it feels dry, it’s time to water. If it feels moist, wait a few more days.
- Seasonal Adjustments: Water less frequently in the fall and winter when the plant’s growth slows down.
- Observe the Plant: Look for signs of underwatering (drooping leaves) or overwatering (yellowing leaves).
3.2 Watering Techniques
- Water Thoroughly: When you water, do so thoroughly until water drains from the bottom of the pot. This ensures that the entire root system is hydrated.
- Empty the Saucer: Never let your Pilea sit in water. Empty the saucer beneath the pot to prevent root rot.
- Use Room Temperature Water: Cold water can shock the plant. Use room temperature water for best results.
- Top vs. Bottom Watering: Both methods are effective. Top watering involves pouring water over the soil. Bottom watering involves placing the pot in a dish of water and allowing the plant to absorb moisture from the bottom.
3.3 Signs of Overwatering and Underwatering
| Sign | Cause | Solution |
|---|---|---|
| Yellowing Leaves | Overwatering | Allow the soil to dry out completely before watering again; ensure the pot has drainage holes; consider repotting in fresh, well-draining soil. |
| Drooping Leaves | Underwatering | Water thoroughly when the top inch of soil is dry; check the plant more frequently during hot or dry periods. |
| Soft, Mushy Stems | Overwatering | This is a sign of root rot. Repot the plant in fresh, well-draining soil, trimming away any affected roots. |
| Dry, Crispy Edges | Underwatering | Increase watering frequency; consider increasing humidity around the plant by misting or placing it on a pebble tray. |
4. Lighting Requirements for a Thriving Pilea
Proper lighting is crucial for the growth and appearance of your Chinese Money Plant.
4.1 Ideal Light Conditions
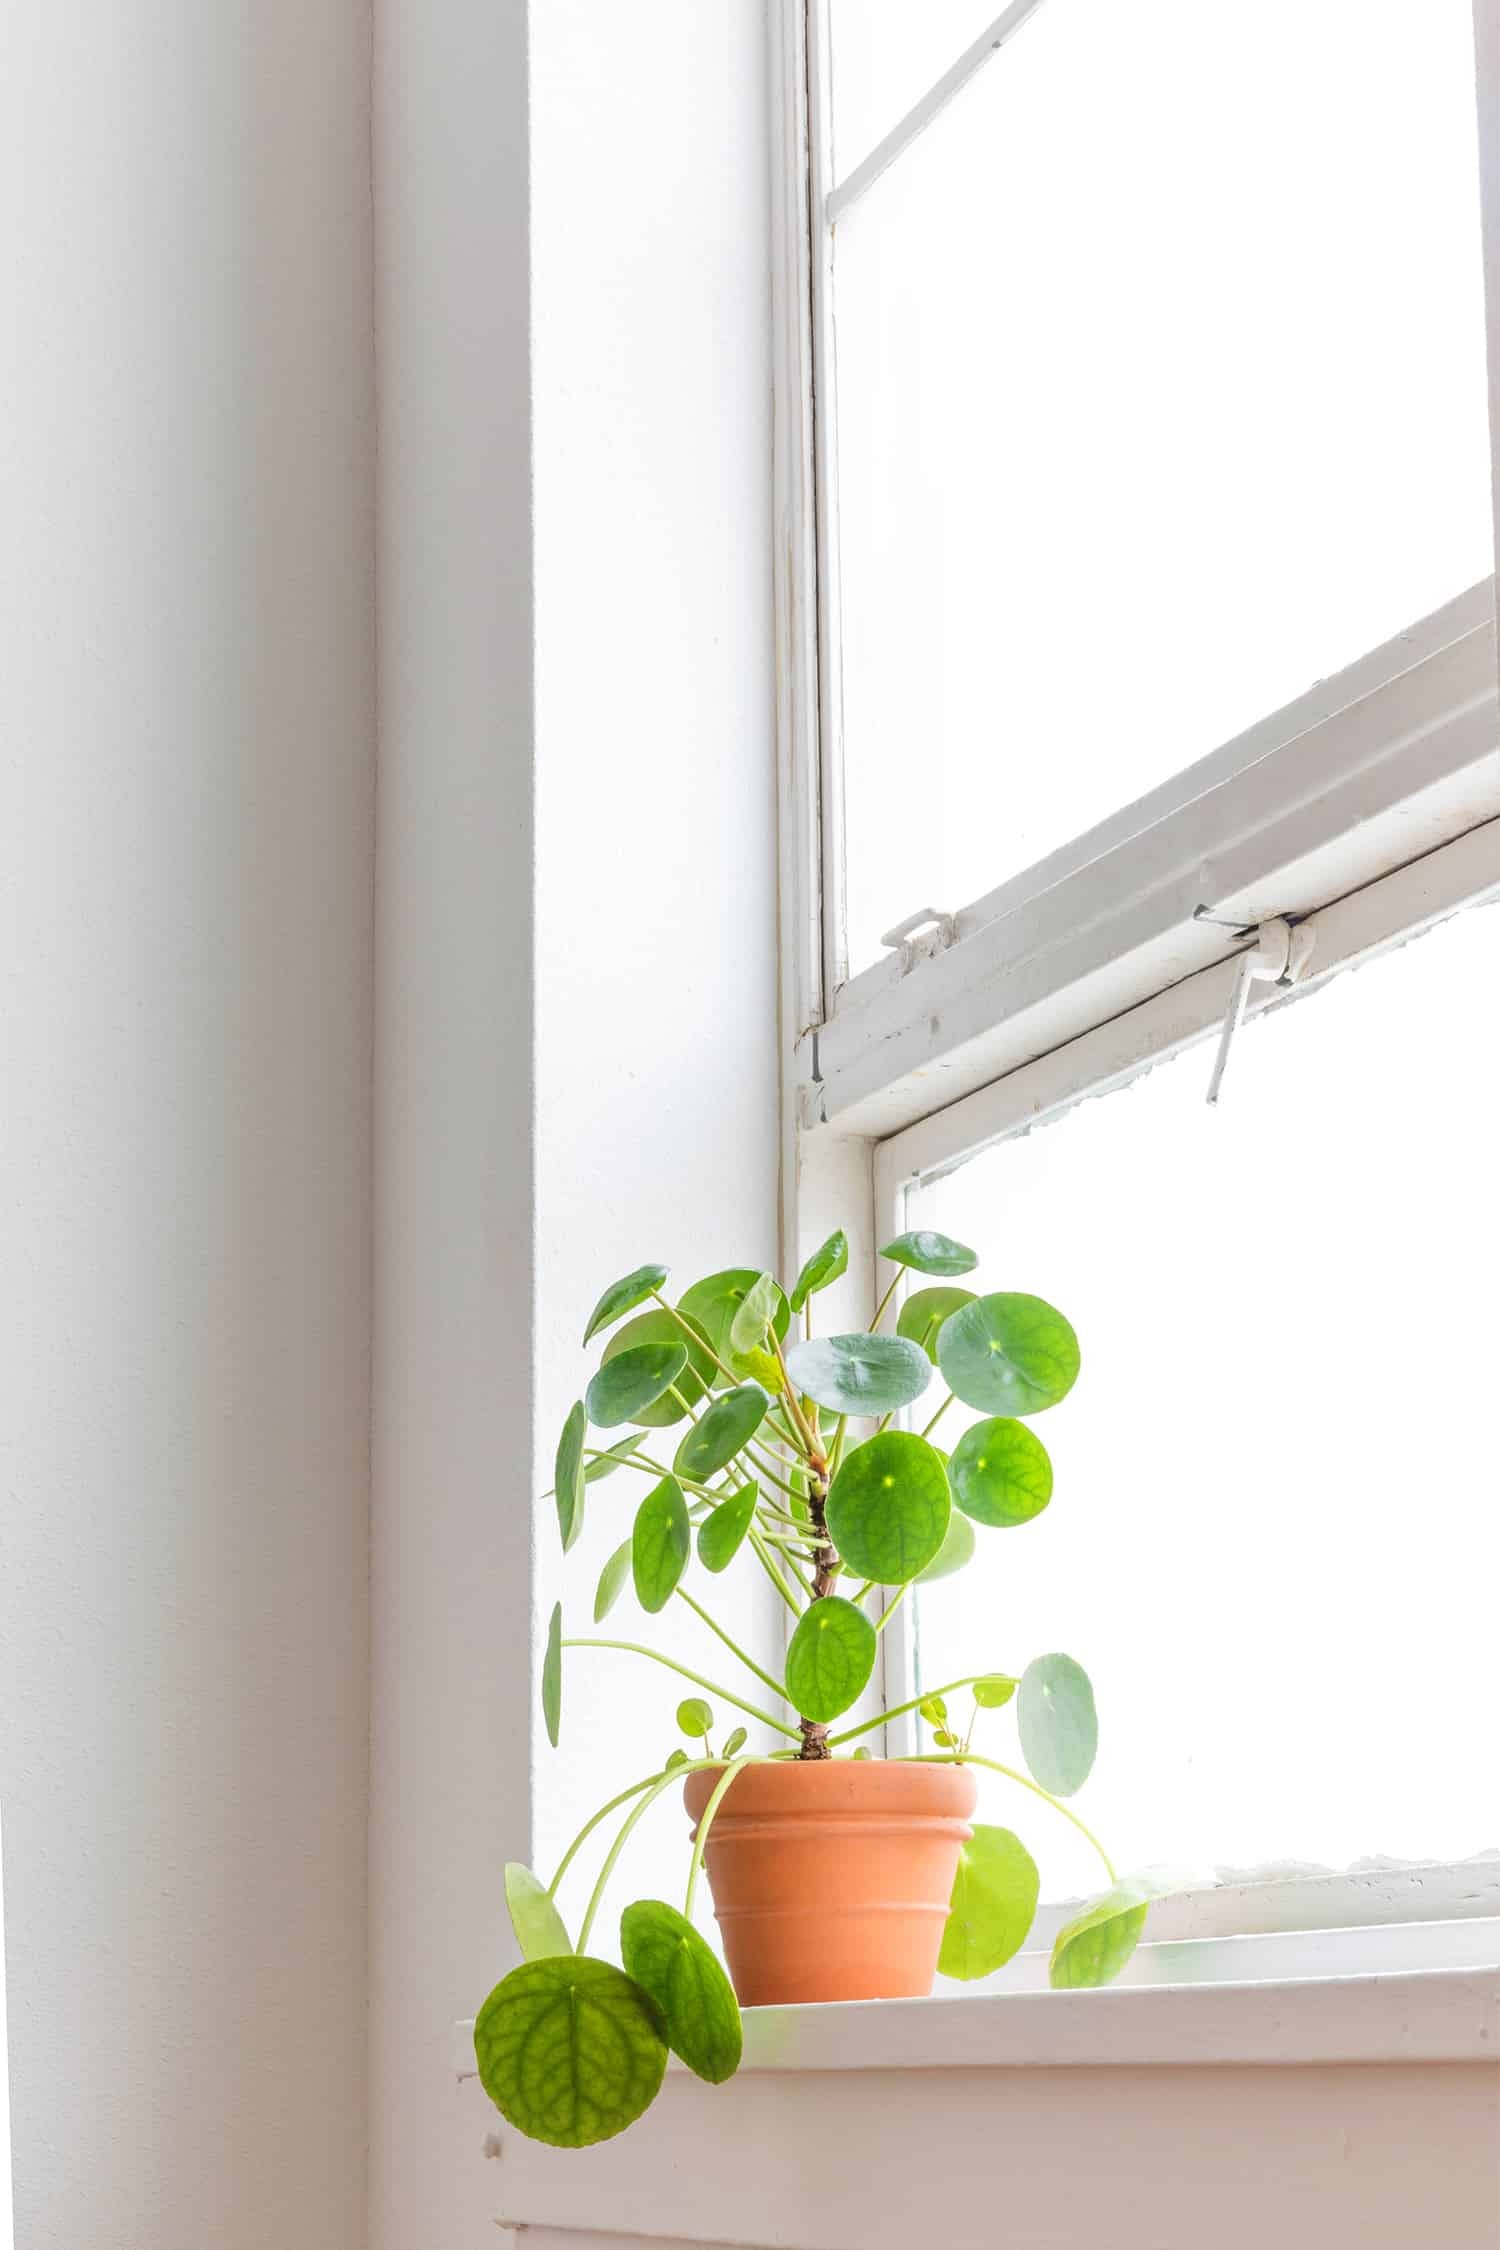
Pilea peperomioides thrives in bright, indirect light. This means placing it near a window where it receives plenty of light, but not direct sunlight.
- East-Facing Windows: These are often ideal, providing gentle morning light.
- West-Facing Windows: Can work, but be cautious of intense afternoon sun.
- South-Facing Windows: Can be too intense. Place the plant a few feet away from the window or use a sheer curtain to filter the light.
- North-Facing Windows: May not provide enough light, especially in the winter.
4.2 Signs of Too Much or Too Little Light
| Sign | Cause | Solution |
|---|---|---|
| Scorched Leaves | Too Much Direct Sun | Move the plant to a spot with indirect light or use a sheer curtain to filter the light. |
| Pale or Yellowing Leaves | Insufficient Light | Move the plant to a brighter location or supplement with artificial light. |
| Leggy Growth | Insufficient Light | Move the plant to a brighter location and prune the leggy stems to encourage bushier growth. |
| Leaning Towards Light | Uneven Light | Rotate the plant regularly to ensure even growth on all sides. |
4.3 Using Artificial Light
If you don’t have access to bright, indirect light, you can use artificial grow lights.
- LED Grow Lights: These are energy-efficient and provide the full spectrum of light that plants need.
- Fluorescent Grow Lights: Another option, but they may need to be replaced more frequently than LEDs.
- Placement: Position the grow light about 6-12 inches above the plant.
- Timing: Keep the grow light on for about 12-16 hours per day.
5. Propagating Your Pilea: Growing New Plants
One of the joys of owning a Pilea is how easy it is to propagate, allowing you to create new plants and share them with friends.
5.1 Identifying and Removing Pups
Pileas produce “pups,” or baby plants, that grow from the base of the mother plant or along the stem.
- Timing: Wait until the pups are at least 2-3 inches tall before removing them.
- Tools: Use a clean, sharp knife or scissors.
- Technique: Gently cut the pup from the mother plant, making sure to include some roots if possible.
- Stem Cuttings: For pups growing along the stem, cut the stem just below the pup.
5.2 Water Propagation Method
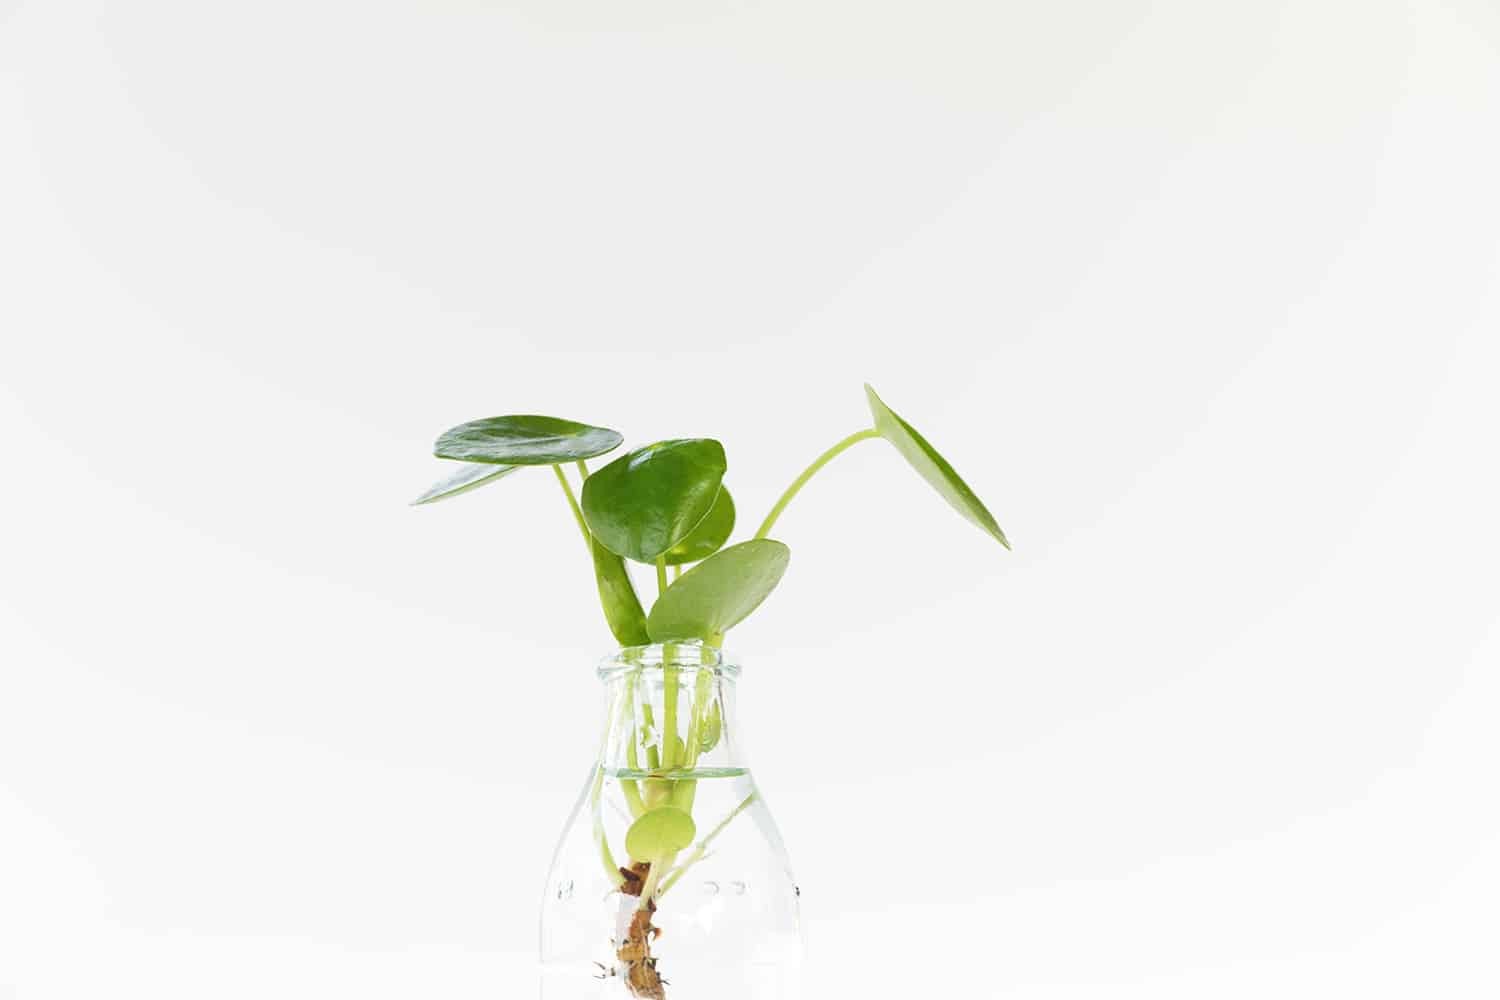
Water propagation is a popular method because it allows you to see the roots develop.
- Prepare the Cutting: Remove any lower leaves that will be submerged in water.
- Place in Water: Put the cutting in a small glass or jar filled with water.
- Location: Place the glass in a spot with bright, indirect light.
- Change the Water: Change the water every few days to keep it fresh.
- Wait for Roots: Roots should start to appear within a few weeks.
- Plant in Soil: Once the roots are about an inch long, plant the cutting in a pot with well-draining soil.
5.3 Soil Propagation Method
Soil propagation is another effective method.
- Prepare the Cutting: Allow the cut end of the pup to callous over for a day or two.
- Plant in Soil: Plant the pup directly in a small pot with well-draining soil.
- Water Gently: Water gently to moisten the soil.
- Humidity: Cover the pot with a plastic bag or dome to create a humid environment.
- Location: Place the pot in a spot with bright, indirect light.
- Remove Cover: Once the pup starts to grow, gradually remove the plastic bag or dome.
5.4 Caring for New Plantlets
- Watering: Keep the soil consistently moist, but not waterlogged.
- Lighting: Provide bright, indirect light.
- Fertilizing: Start fertilizing the plantlet with a diluted liquid fertilizer after a few weeks.
6. Fertilizing Your Pilea for Optimal Growth
Fertilizing provides your Pilea with the nutrients it needs to thrive.
6.1 Best Types of Fertilizer
- Balanced Liquid Fertilizer: A 10-10-10 fertilizer is a good option.
- Organic Fertilizer: Compost tea or fish emulsion are excellent organic choices.
- Slow-Release Granules: These provide a steady supply of nutrients over several months.
6.2 Fertilizing Schedule
- Growing Season: Fertilize every 4-6 weeks during the spring and summer months.
- Dormant Season: Do not fertilize during the fall and winter months.
- Dilution: Always dilute the fertilizer to half strength to avoid burning the roots.
6.3 Signs of Over-Fertilization
- Brown Leaf Tips: This is a common sign of fertilizer burn.
- Salt Buildup on Soil: White crust on the soil surface indicates salt buildup.
- Stunted Growth: Excessive fertilizer can sometimes inhibit growth.
If you notice any of these signs, flush the soil with water to remove excess fertilizer.
7. Maintaining Humidity for Your Pilea
Pileas prefer moderate humidity levels.
7.1 Assessing Humidity Levels
- Humidity Monitor: Use a hygrometer to measure the humidity level in your home. Pileas thrive in humidity levels between 40-60%.
- Observe the Plant: Dry, crispy leaf edges can indicate low humidity.
7.2 Increasing Humidity
- Misting: Mist the plant regularly with water.
- Pebble Tray: Place the pot on a tray filled with pebbles and water. As the water evaporates, it will increase the humidity around the plant.
- Humidifier: Use a humidifier to increase the overall humidity in the room.
- Grouping Plants: Grouping plants together can create a microclimate with higher humidity.
8. Pest and Disease Management
While Pileas are generally hardy, they can be susceptible to certain pests and diseases.
8.1 Common Pests
- Spider Mites: These tiny pests can cause yellowing and stippling on the leaves.
- Mealybugs: These white, cottony pests suck sap from the plant.
- Aphids: These small, soft-bodied insects can cause distorted growth.
- Fungus Gnats: These small flies breed in the soil and can damage the roots.
8.2 Natural Pest Control Methods
- Neem Oil: A natural insecticide that can be used to treat a variety of pests.
- Insecticidal Soap: Effective against soft-bodied insects like aphids and mealybugs.
- Water Spray: A strong spray of water can dislodge many pests.
- Beneficial Insects: Introduce beneficial insects like ladybugs to control pests.
8.3 Dealing with Diseases
- Root Rot: Caused by overwatering, root rot can be treated by repotting the plant in fresh, well-draining soil and trimming away any affected roots.
- Fungal Infections: Treat with a fungicide if necessary.
9. Pruning and Shaping Your Pilea
Pruning helps to maintain the shape and health of your Pilea.
9.1 When to Prune
- Remove Yellowing or Damaged Leaves: Prune these as soon as you see them.
- Control Leggy Growth: Prune leggy stems to encourage bushier growth.
- Shape the Plant: Prune to maintain the desired shape and size.
9.2 Pruning Techniques
- Use Clean Tools: Use clean, sharp scissors or pruning shears.
- Cut at an Angle: Cut stems at a 45-degree angle just above a node (the point where a leaf grows from the stem).
- Remove Pups: Prune pups to propagate new plants or to maintain the shape of the mother plant.
10. Troubleshooting Common Issues
Let’s delve into some common issues and how to solve them:
10.1 Yellowing Leaves
Yellowing leaves can be a sign of several issues, including overwatering, underwatering, nutrient deficiency, or pest infestation.
- Check Soil Moisture: Ensure the soil is not consistently wet or bone dry.
- Inspect for Pests: Look for signs of pests like spider mites or mealybugs.
- Fertilize: If the plant is not getting enough nutrients, fertilize with a balanced liquid fertilizer.
10.2 Drooping Leaves
Drooping leaves usually indicate underwatering or too much direct sunlight.
- Water Thoroughly: Water the plant thoroughly when the top inch of soil is dry.
- Adjust Lighting: Move the plant to a spot with indirect light.
10.3 Leggy Growth
Leggy growth occurs when the plant is not getting enough light.
- Increase Light Exposure: Move the plant to a brighter location or supplement with artificial light.
- Prune: Prune leggy stems to encourage bushier growth.
10.4 Leaf Drop
Leaf drop can be caused by sudden changes in temperature, drafts, or stress.
- Maintain Consistent Conditions: Keep the plant away from drafts and maintain a consistent temperature.
- Avoid Stress: Avoid sudden changes in lighting or watering.
11. Displaying Your Pilea: Decorating Ideas
Your Pilea can be a stunning addition to your home decor.
11.1 Choosing the Right Location
- Bright, Indirect Light: Place your Pilea in a spot with bright, indirect light.
- Avoid Direct Sunlight: Protect it from direct sunlight to prevent leaf burn.
- Consider Humidity: Keep it away from drafts and areas with low humidity.
11.2 Container Choices
- Terracotta Pots: Classic and functional.
- Ceramic Pots: Add a touch of elegance.
- Hanging Baskets: Showcase the plant’s unique shape.
- Decorative Cachepots: Enhance your decor.
11.3 Creative Display Ideas
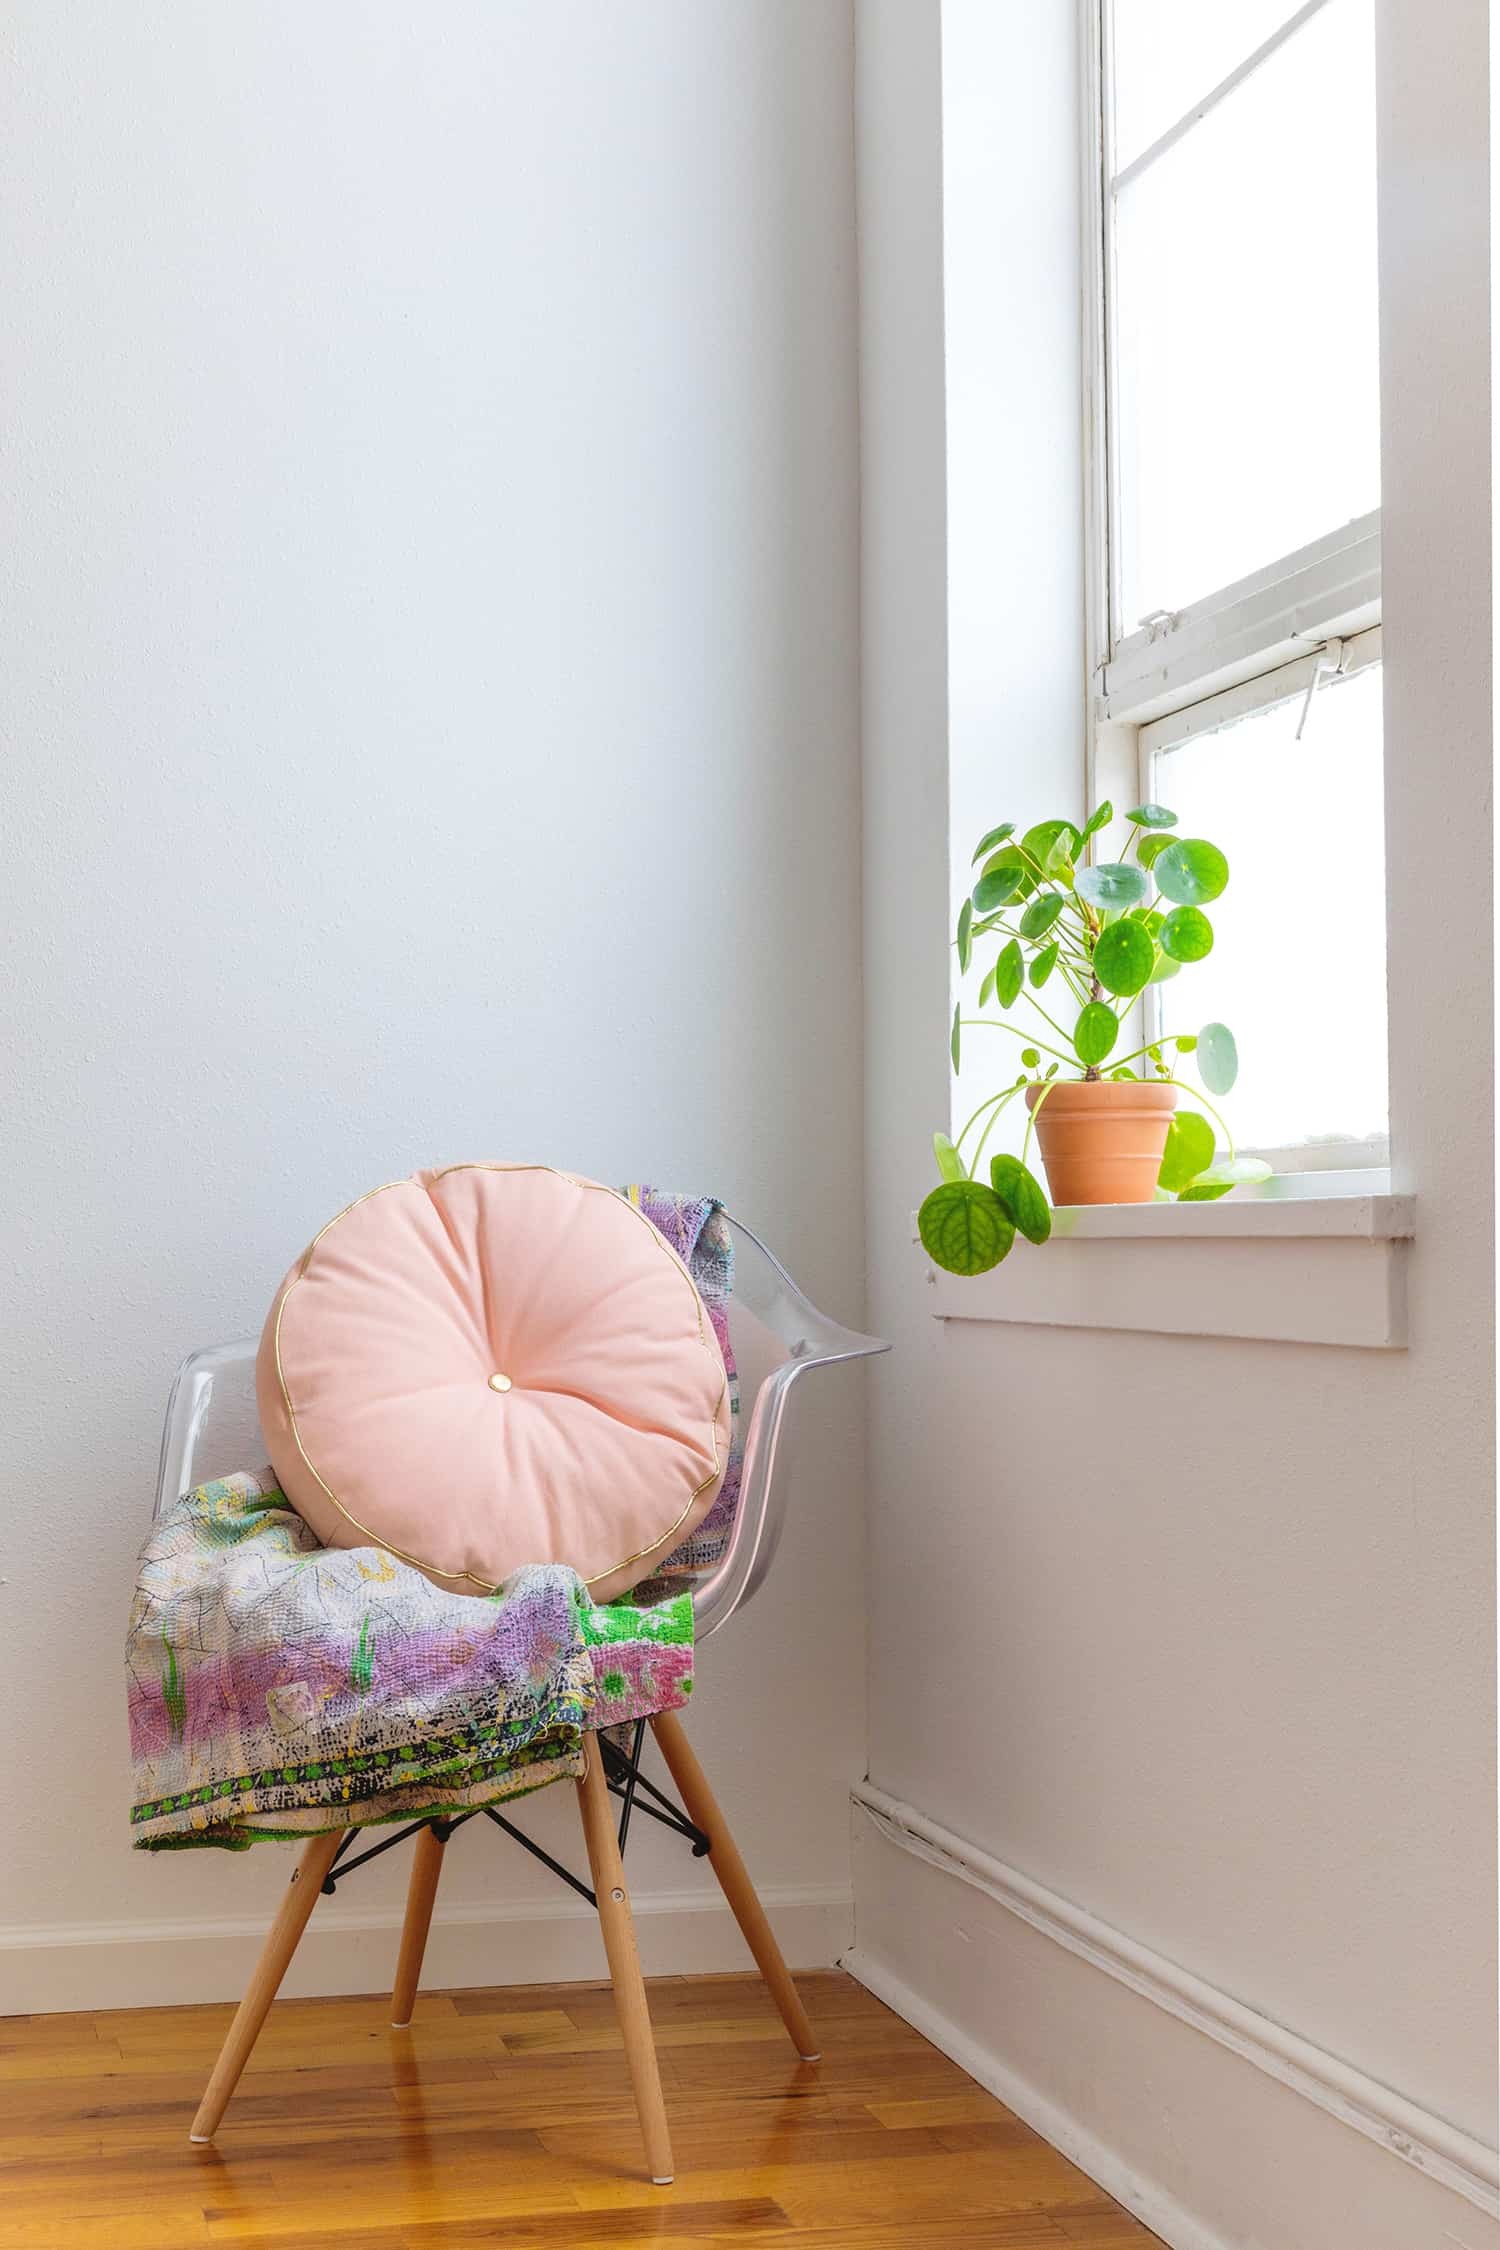
- Windowsill Display: A classic choice.
- Shelving Unit: Create a plant display with multiple Pileas.
- Coffee Table Centerpiece: Add a touch of greenery to your living room.
- Hanging Display: Showcase the plant in a macrame hanger.
12. Advanced Care Tips for Pilea Enthusiasts
For those looking to take their Pilea care to the next level, here are some advanced tips:
12.1 Soil Amendments
- Mycorrhizae: Adding mycorrhizae to the soil can improve nutrient uptake.
- Worm Castings: A natural fertilizer that provides essential nutrients.
- Biochar: Improves soil drainage and aeration.
12.2 Foliar Feeding
- Diluted Fertilizer: Spray the leaves with a diluted liquid fertilizer for quick nutrient absorption.
- Seaweed Extract: A natural foliar feed that promotes healthy growth.
12.3 Air Circulation
- Fan: Use a small fan to improve air circulation around the plant.
- Open Windows: Open windows regularly to provide fresh air.
13. Understanding Pilea Varieties
While Pilea peperomioides is the most well-known, there are other Pilea varieties to explore.
13.1 Popular Pilea Species
- Pilea involucrata (Friendship Plant): Known for its textured leaves and reddish-brown foliage.
- Pilea microphylla (Artillery Plant): Features tiny, delicate leaves.
- Pilea nummulariifolia (Creeping Charlie): A trailing plant with small, round leaves.
- Pilea cadierei (Aluminum Plant): Distinctive silver markings on the leaves.
13.2 Caring for Different Varieties
Each Pilea variety has slightly different care requirements. Research the specific needs of each plant to ensure it thrives.
14. Seasonal Care for Your Chinese Money Plant
Adjusting your care routine based on the seasons is crucial for the health of your Pilea.
14.1 Spring
- Repotting: Spring is the best time to repot your Pilea.
- Fertilizing: Start fertilizing regularly.
- Propagation: Propagate new plants from pups.
14.2 Summer
- Watering: Water more frequently during hot weather.
- Lighting: Protect from intense sunlight.
- Humidity: Maintain adequate humidity levels.
14.3 Fall
- Reduce Watering: Water less frequently as growth slows down.
- Reduce Fertilizing: Stop fertilizing in late fall.
- Monitor for Pests: Check for pests as plants are brought indoors.
14.4 Winter
- Watering: Water sparingly.
- Lighting: Provide adequate light, possibly with grow lights.
- Humidity: Increase humidity to combat dry indoor air.
15. Common Myths About Pilea Care Debunked
Let’s clear up some common misconceptions about caring for Chinese Money Plants.
15.1 Myth: Pileas Need Direct Sunlight
Reality: Pileas thrive in bright, indirect light. Direct sunlight can scorch the leaves.
15.2 Myth: Pileas Need Constant Watering
Reality: Overwatering is a common mistake. Allow the soil to dry out between waterings.
15.3 Myth: Pileas Don’t Need Fertilizer
Reality: While Pileas can survive without fertilizer, they will grow better with regular feeding during the growing season.
15.4 Myth: Pileas Can’t Be Propagated
Reality: Propagation is one of the easiest and most rewarding aspects of Pilea care.
16. The Role of CARS.EDU.VN in Your Plant Care Journey
At CARS.EDU.VN, we believe that taking care of your plants should be an enjoyable and educational experience. We provide expert advice, detailed guides, and practical tips to help you cultivate a thriving indoor garden.
16.1 Expert Advice and Guidance
Our team of experienced horticulturists and plant enthusiasts are dedicated to providing you with the most accurate and up-to-date information. Whether you’re a beginner or an experienced plant parent, we have something for everyone.
16.2 Detailed Guides and Resources
We offer a wide range of detailed guides and resources covering everything from basic plant care to advanced techniques. Our articles are designed to be easy to understand and implement.
16.3 Community Support
Join our community of plant lovers to share your experiences, ask questions, and connect with other enthusiasts. We believe that learning from each other is one of the best ways to improve our plant care skills.
17. Further Resources and Reading
Expand your knowledge with these valuable resources:
- Books:
- “How Not to Kill Your Houseplant” by Veronica Peerless
- “The Complete Houseplant Survival Manual” by Barbara Pleasant
- Websites:
- Royal Horticultural Society (https://www.rhs.org.uk/)
- Missouri Botanical Garden (https://www.missouribotanicalgarden.org/)
- Podcasts:
- Bloom and Grow Radio
- Plant Daddy Podcast
18. Conclusion: Nurturing Your Pilea and Enjoying the Rewards
Caring for a Chinese Money Plant is a rewarding experience that brings beauty and positive energy into your home. By following the tips and guidelines outlined in this comprehensive guide, you can ensure that your Pilea thrives and brings you joy for years to come.
Remember, the key to success is understanding your plant’s needs and providing it with the right conditions. With a little care and attention, your Pilea will flourish, bringing good fortune and a touch of green to your living space.
FAQ: Your Questions About Pilea Care Answered
-
How often should I water my Pilea?
- Water when the top inch of soil is dry, usually once a week. Adjust based on environmental conditions.
-
What kind of light does a Pilea need?
- Bright, indirect light is ideal. Avoid direct sunlight.
-
How do I propagate a Pilea?
- Remove pups from the base of the plant and propagate in water or soil.
-
Why are my Pilea leaves turning yellow?
- Could be due to overwatering, underwatering, or nutrient deficiency. Check soil moisture and fertilize if needed.
-
How do I increase humidity for my Pilea?
- Mist the plant regularly, use a pebble tray, or use a humidifier.
-
What kind of soil is best for a Pilea?
- Well-draining soil mix with equal parts potting soil, perlite, and peat moss.
-
How often should I fertilize my Pilea?
- Every 4-6 weeks during the growing season (spring and summer).
-
Why are my Pilea leaves drooping?
- Usually due to underwatering or too much direct sunlight.
-
How do I get rid of pests on my Pilea?
- Use neem oil, insecticidal soap, or a strong spray of water.
-
What is the ideal temperature for a Pilea?
- Between 65-75°F (18-24°C).
Are you struggling to keep your Pilea peperomioides healthy and vibrant? Do you want expert advice on everything from choosing the right pot to propagating new plants? Visit CARS.EDU.VN today for more detailed guides, personalized tips, and a supportive community of plant lovers. Let us help you unlock the secrets to a thriving indoor garden!
Contact Us:
- Address: 456 Auto Drive, Anytown, CA 90210, United States
- Whatsapp: +1 555-123-4567
- Website: cars.edu.vn