CARS.EDU.VN provides insights into How To Care For A Hydrangea, focusing on optimal growing conditions and maintenance. Cultivating vibrant hydrangeas involves understanding their specific needs, and by exploring this guide, discover the secrets to hydrangea care, ensuring your garden flourishes with these beautiful blooms. Delve into our resources for further information on flower care, gardening tips, and landscape design.
1. Understanding Hydrangea Varieties
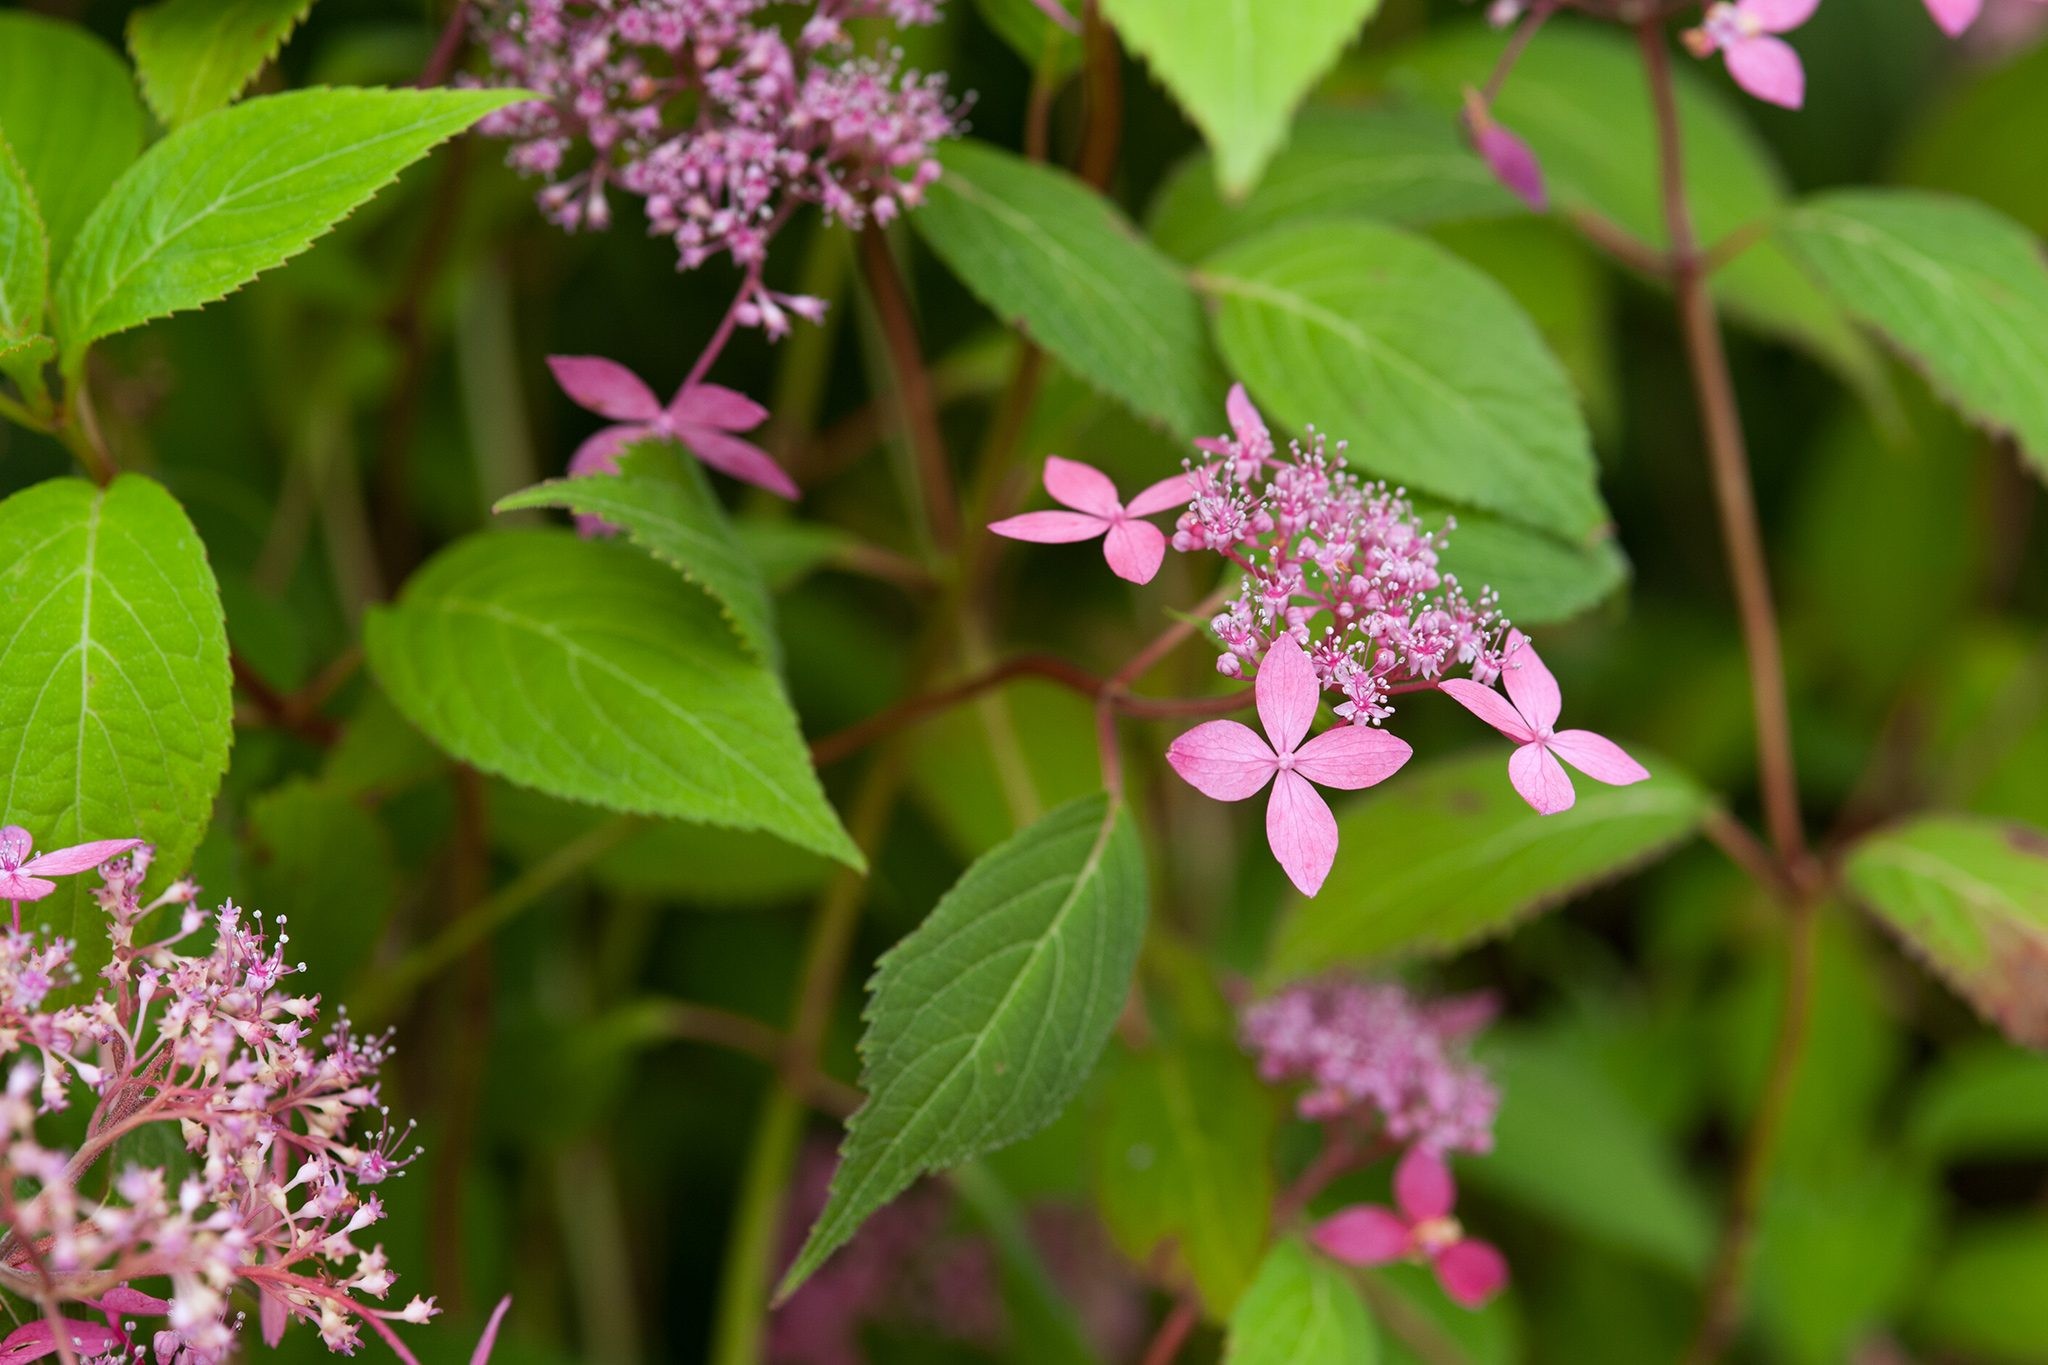
Hydrangeas, celebrated for their lush blooms and vibrant colors, are a garden favorite. Before diving into how to care for a hydrangea, it’s important to recognize the diversity within the Hydrangea genus. Each type has unique characteristics that influence its care requirements. Whether it’s the classic Hydrangea macrophylla with its mophead or lacecap flowers, the cold-hardy Hydrangea paniculata, or the shade-loving Hydrangea quercifolia, understanding these differences is key to successful cultivation.
| Variety | Flower Shape | Bloom Color (Soil Dependent) | Pruning Needs |
|---|---|---|---|
| Hydrangea macrophylla | Mophead/Lacecap | Pink/Blue | Light pruning, remove deadheads after bloom |
| Hydrangea paniculata | Conical | White/Pink | Prune in early spring for larger blooms |
| Hydrangea quercifolia | Conical | White/Bronze | Minimal pruning, remove dead or crossing stems |
1.1. Hydrangea Macrophylla (Bigleaf Hydrangea)
Hydrangea macrophylla ‘King George’
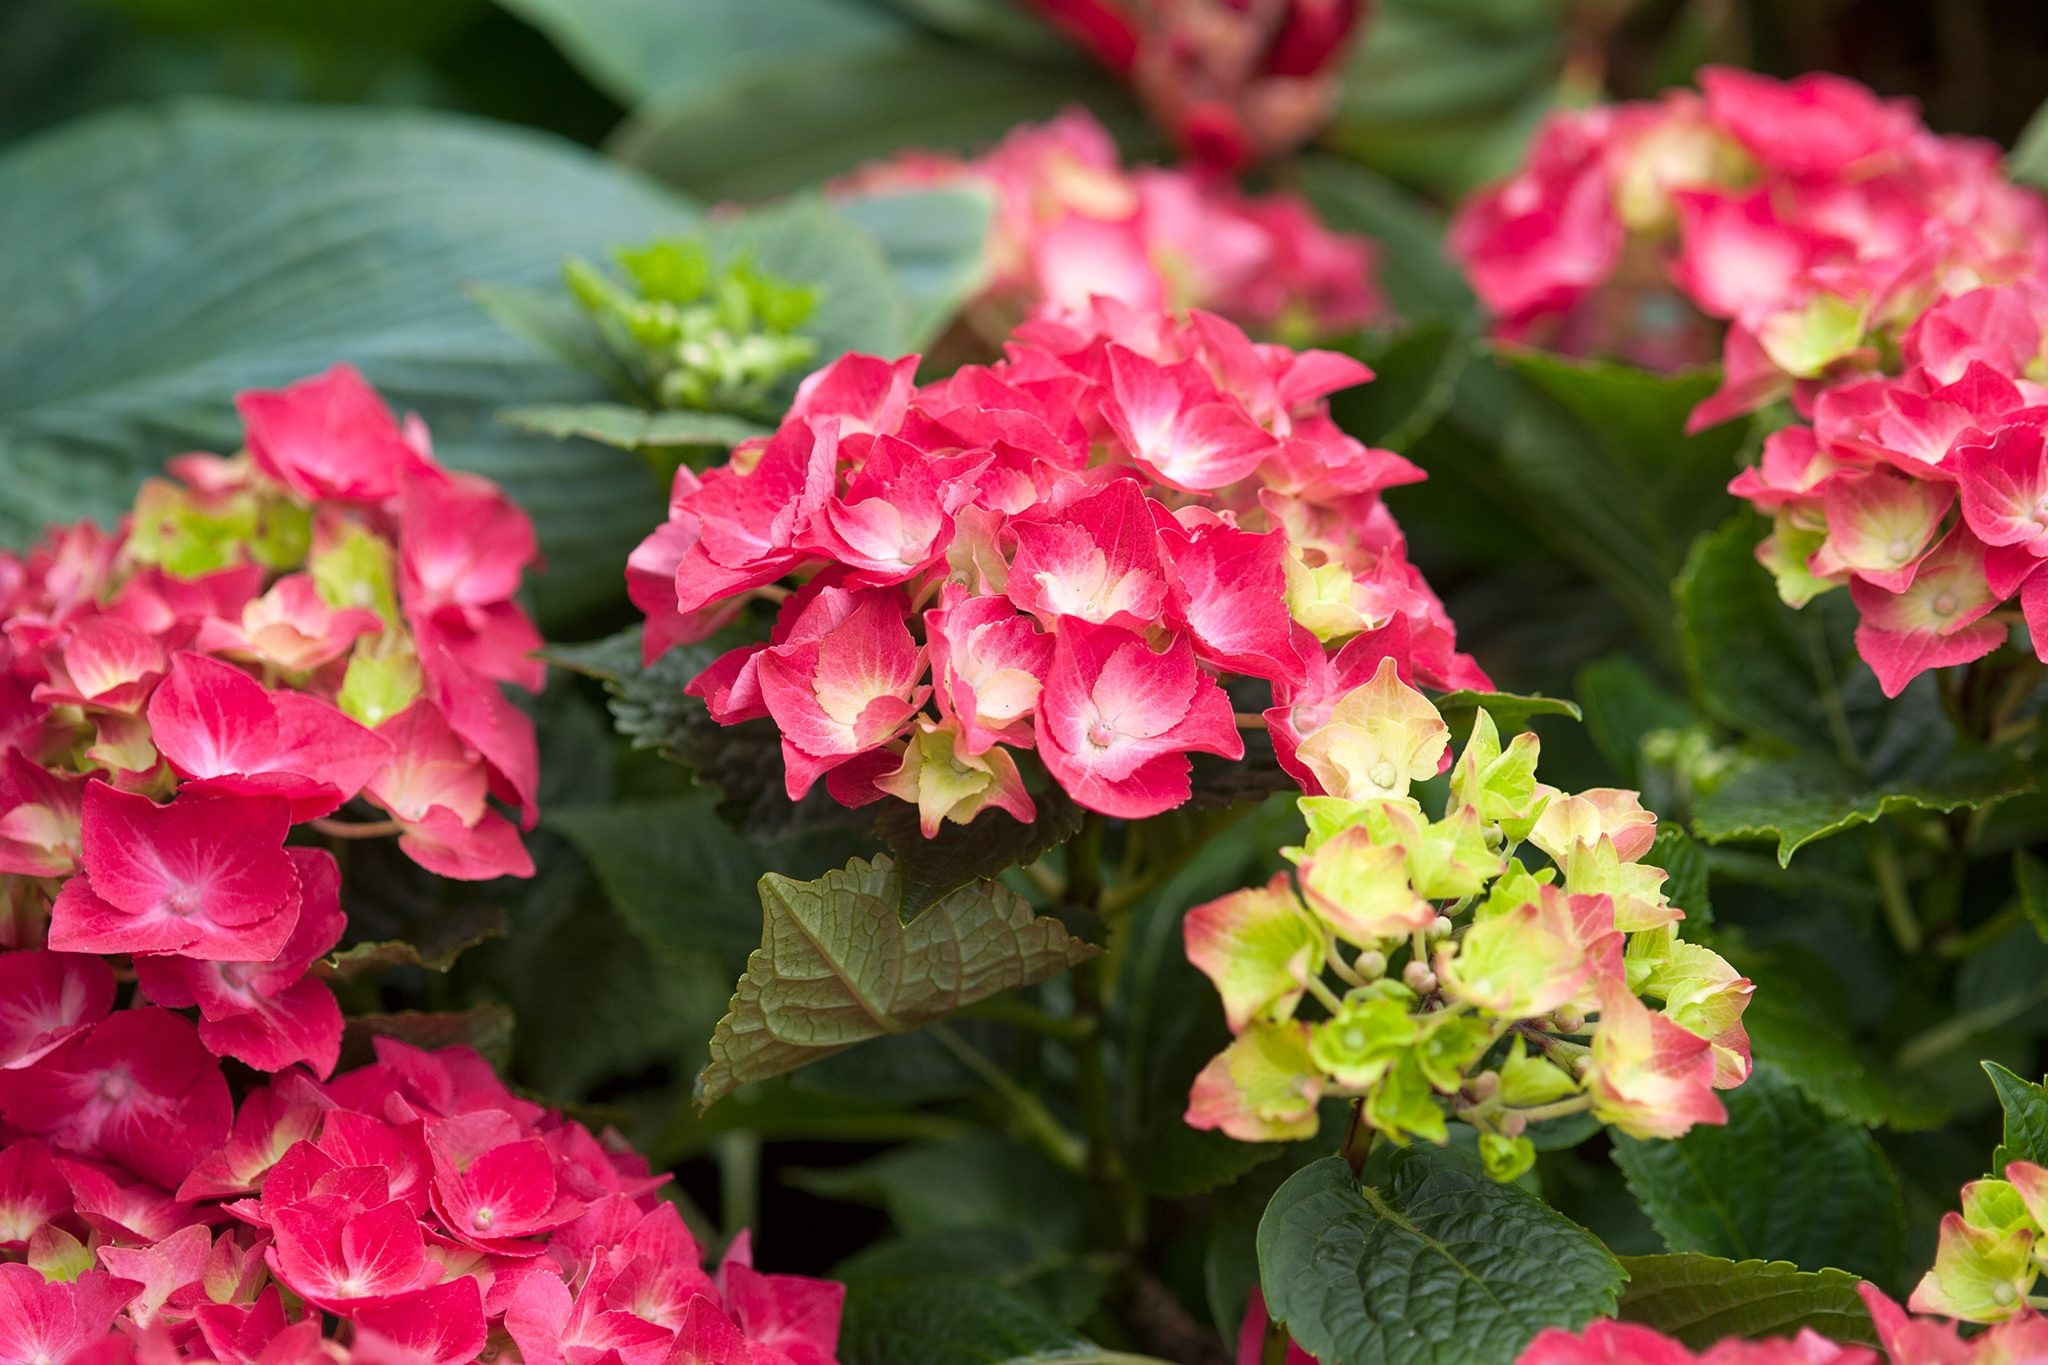
Known for its large, showy flowerheads, Hydrangea macrophylla is perhaps the most recognizable type. This variety includes both mophead and lacecap types, with the former featuring large, round flower clusters and the latter showcasing a flat, delicate appearance. One of the most fascinating aspects of Hydrangea macrophylla is its ability to change flower color based on soil pH. Acidic soils (pH below 7) tend to produce blue flowers, while alkaline soils (pH above 7) result in pink blooms.
1.2. Hydrangea Paniculata (Panicle Hydrangea)
Hydrangea paniculata ‘Phantom’
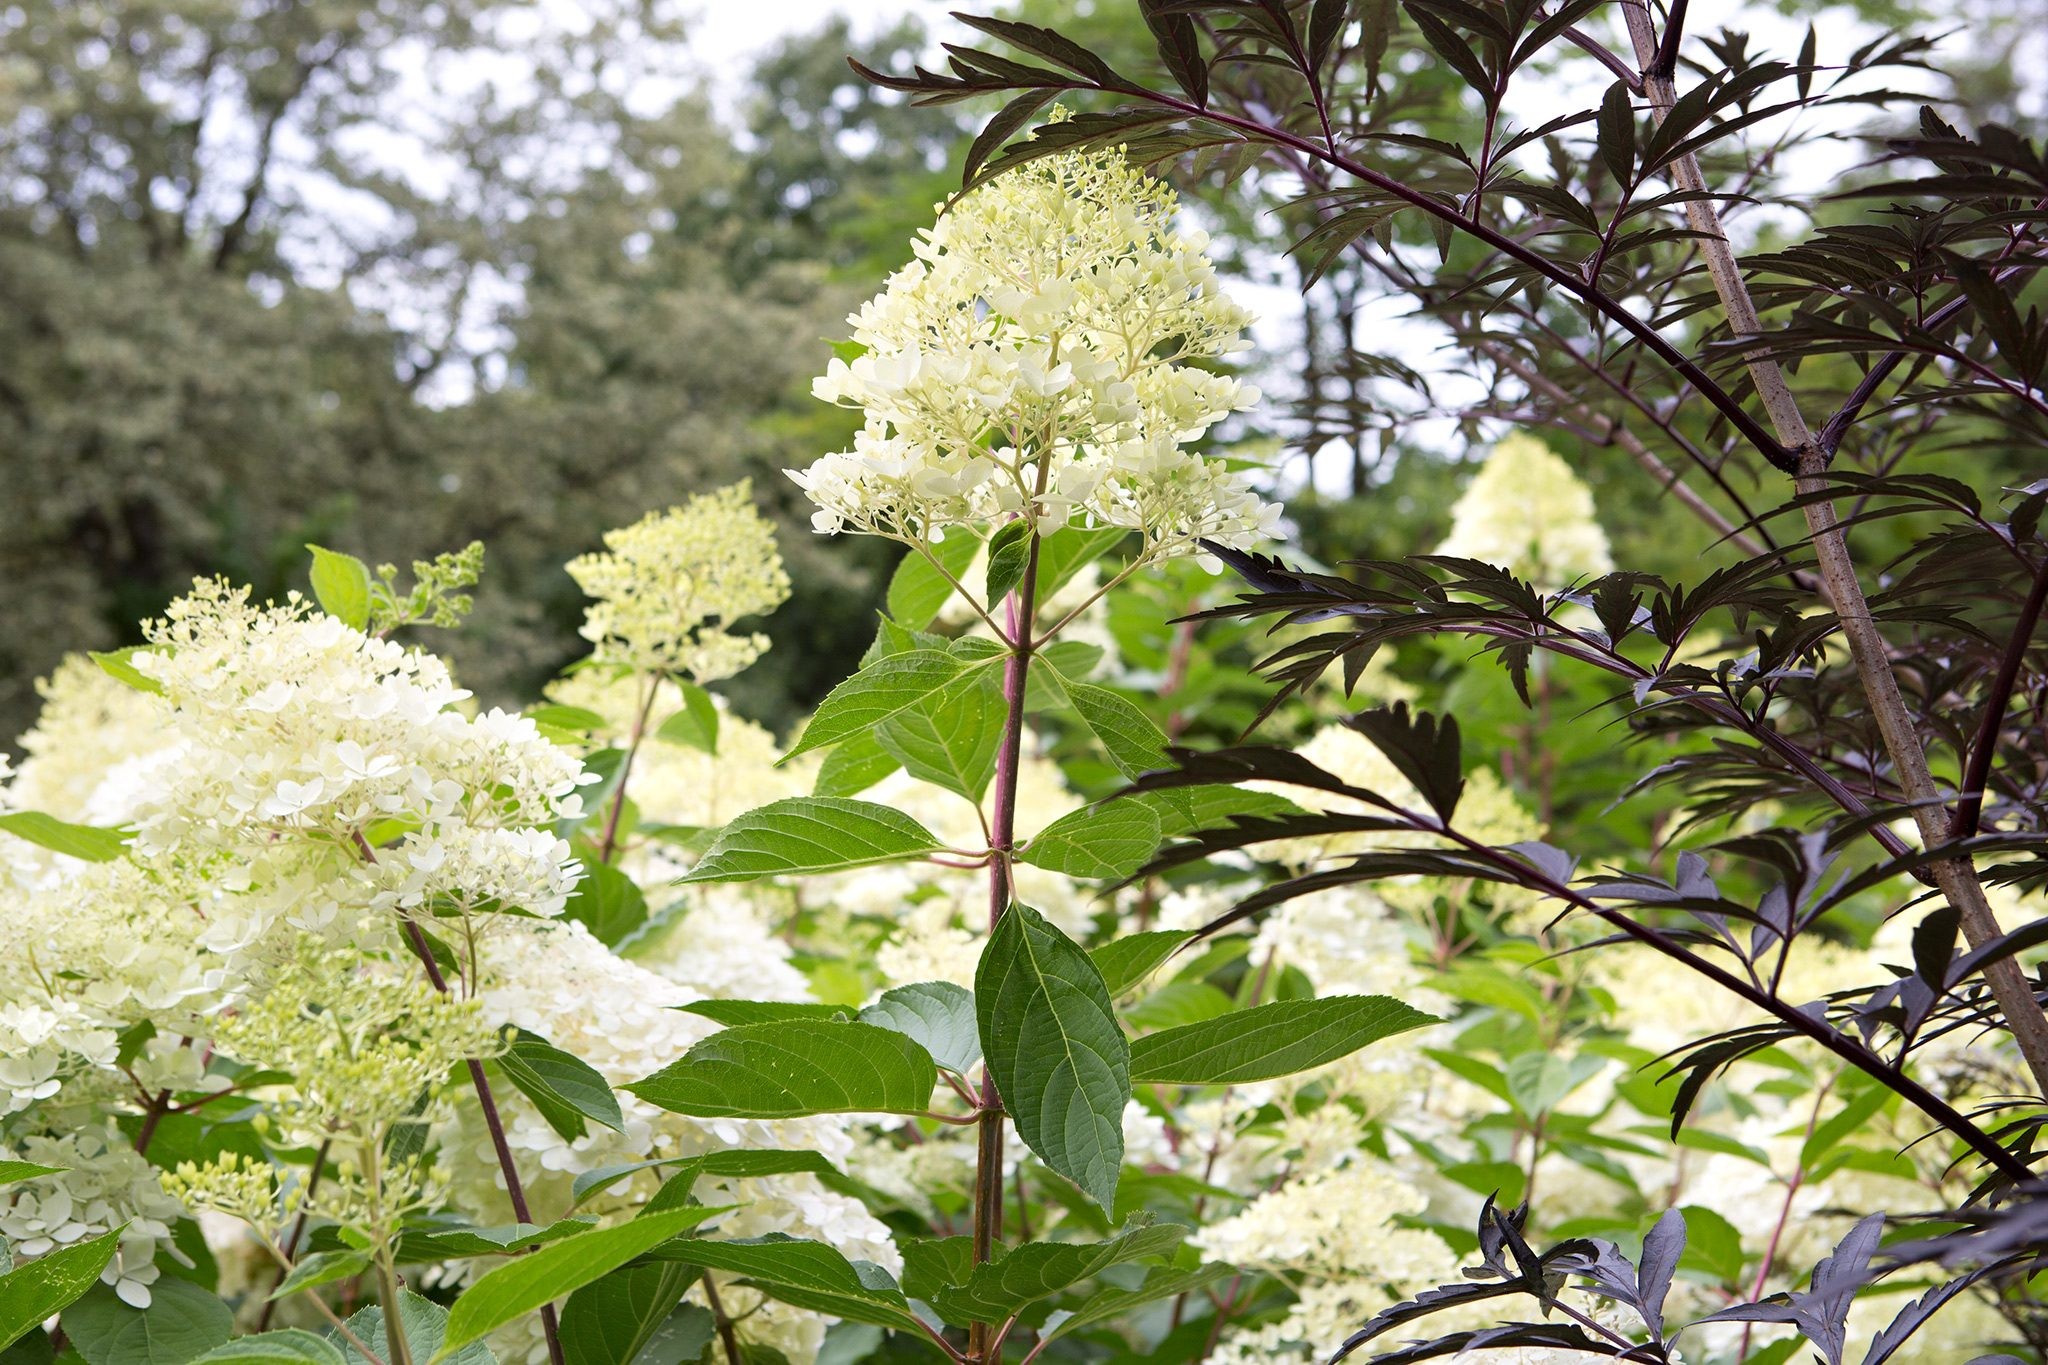
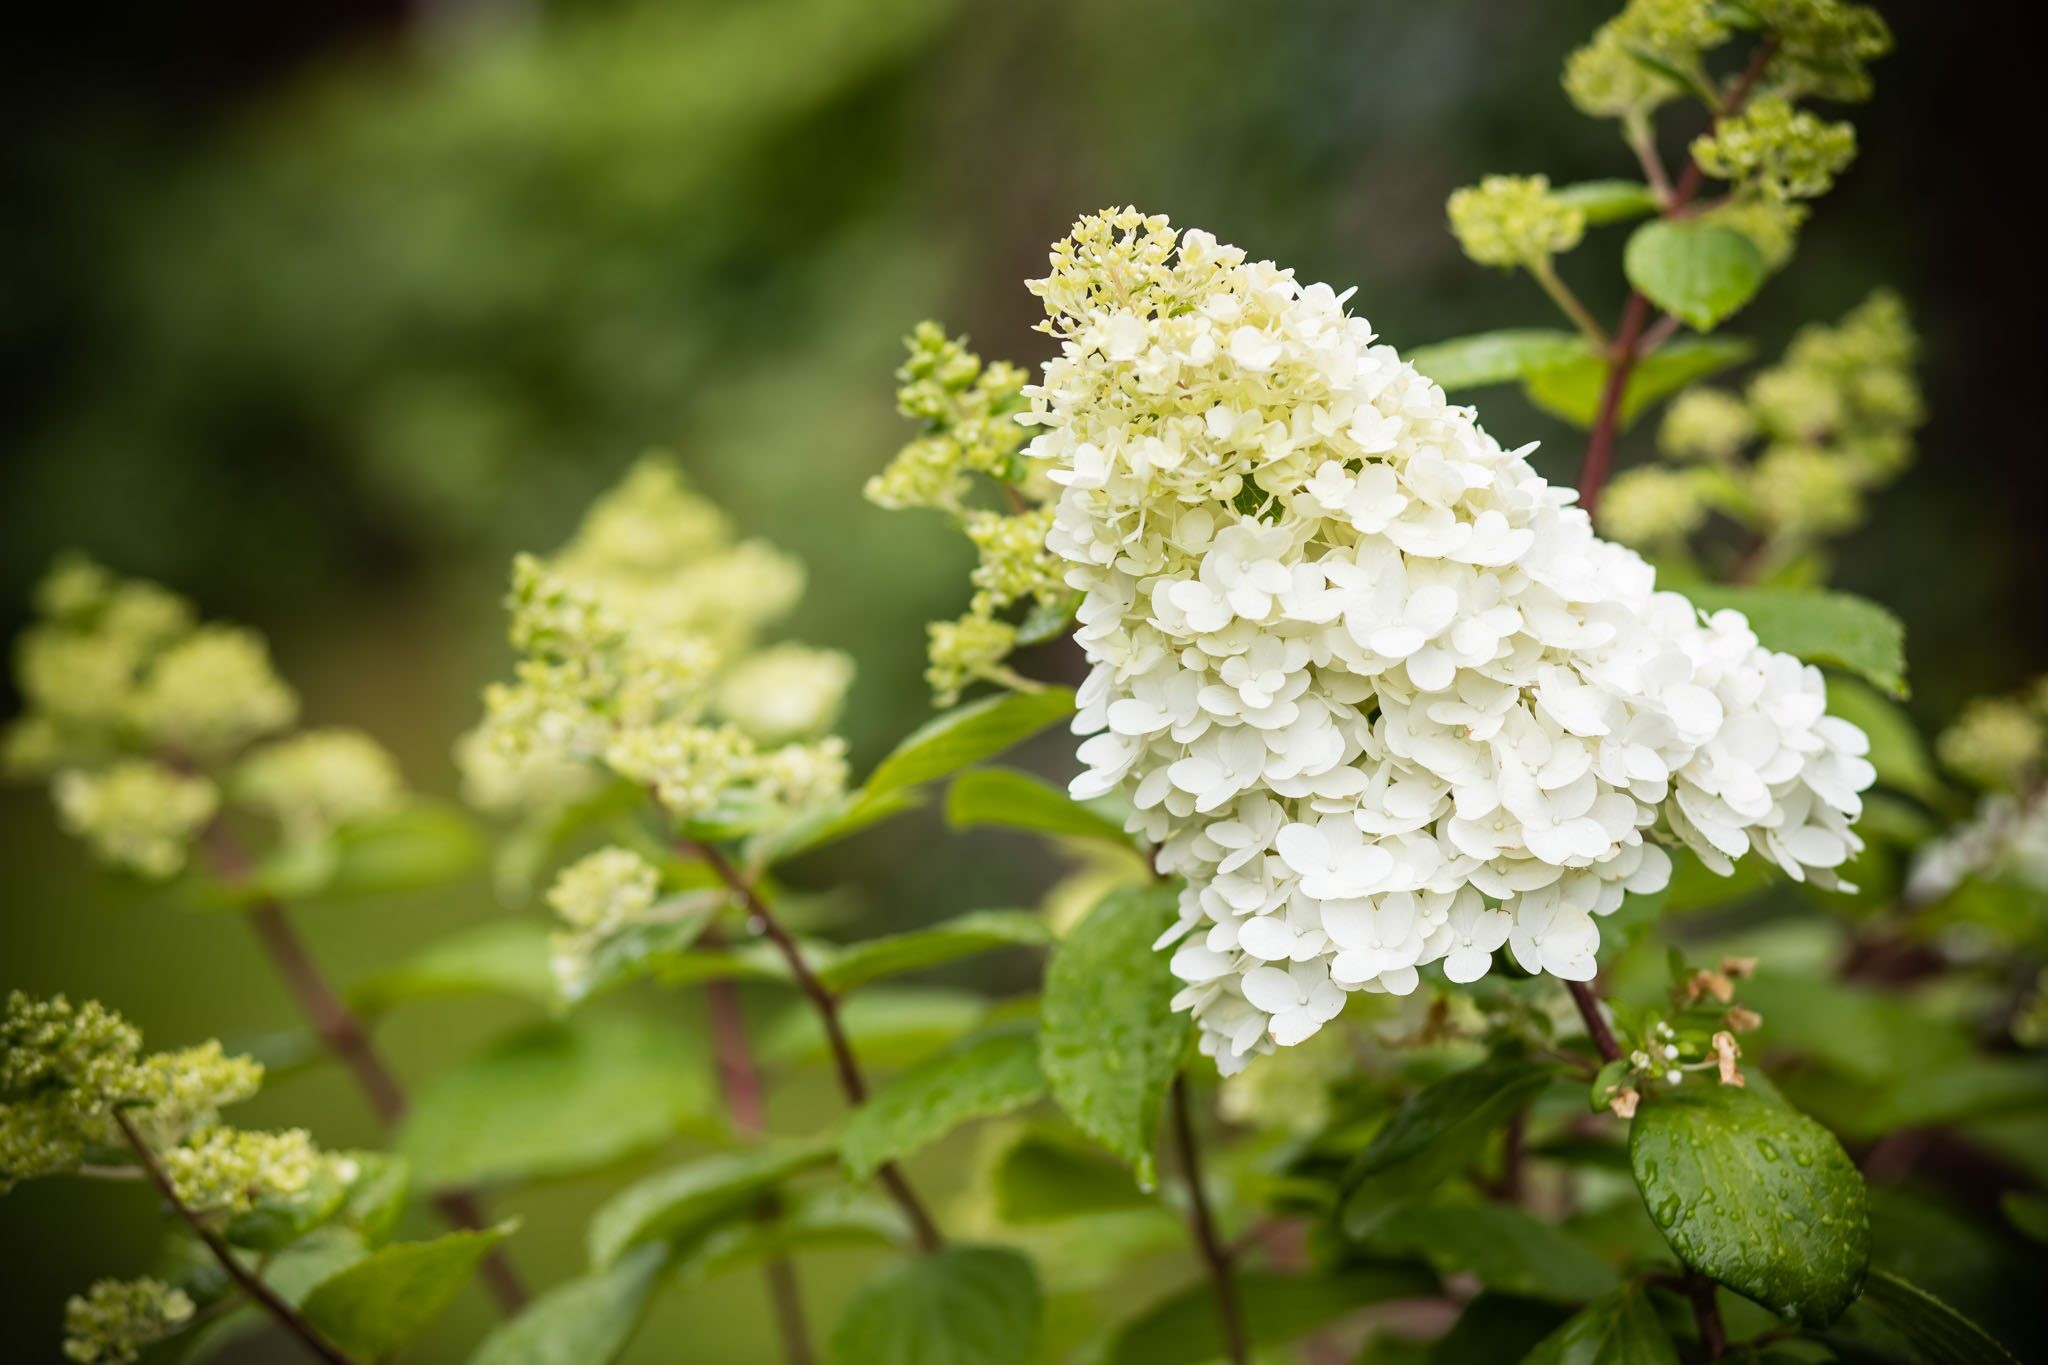
Unlike Hydrangea macrophylla, Hydrangea paniculata is known for its cone-shaped flowerheads and its ability to thrive in colder climates. This type blooms on new wood, meaning it produces flowers on the current year’s growth. This characteristic makes it more forgiving in terms of pruning, as you can prune it back harder in early spring without sacrificing blooms. Popular cultivars include ‘Limelight’ and ‘Phantom’, which offer stunning displays of white and pink flowers that change color as they age.
1.3. Hydrangea Quercifolia (Oakleaf Hydrangea)
Hydrangea quercifolia
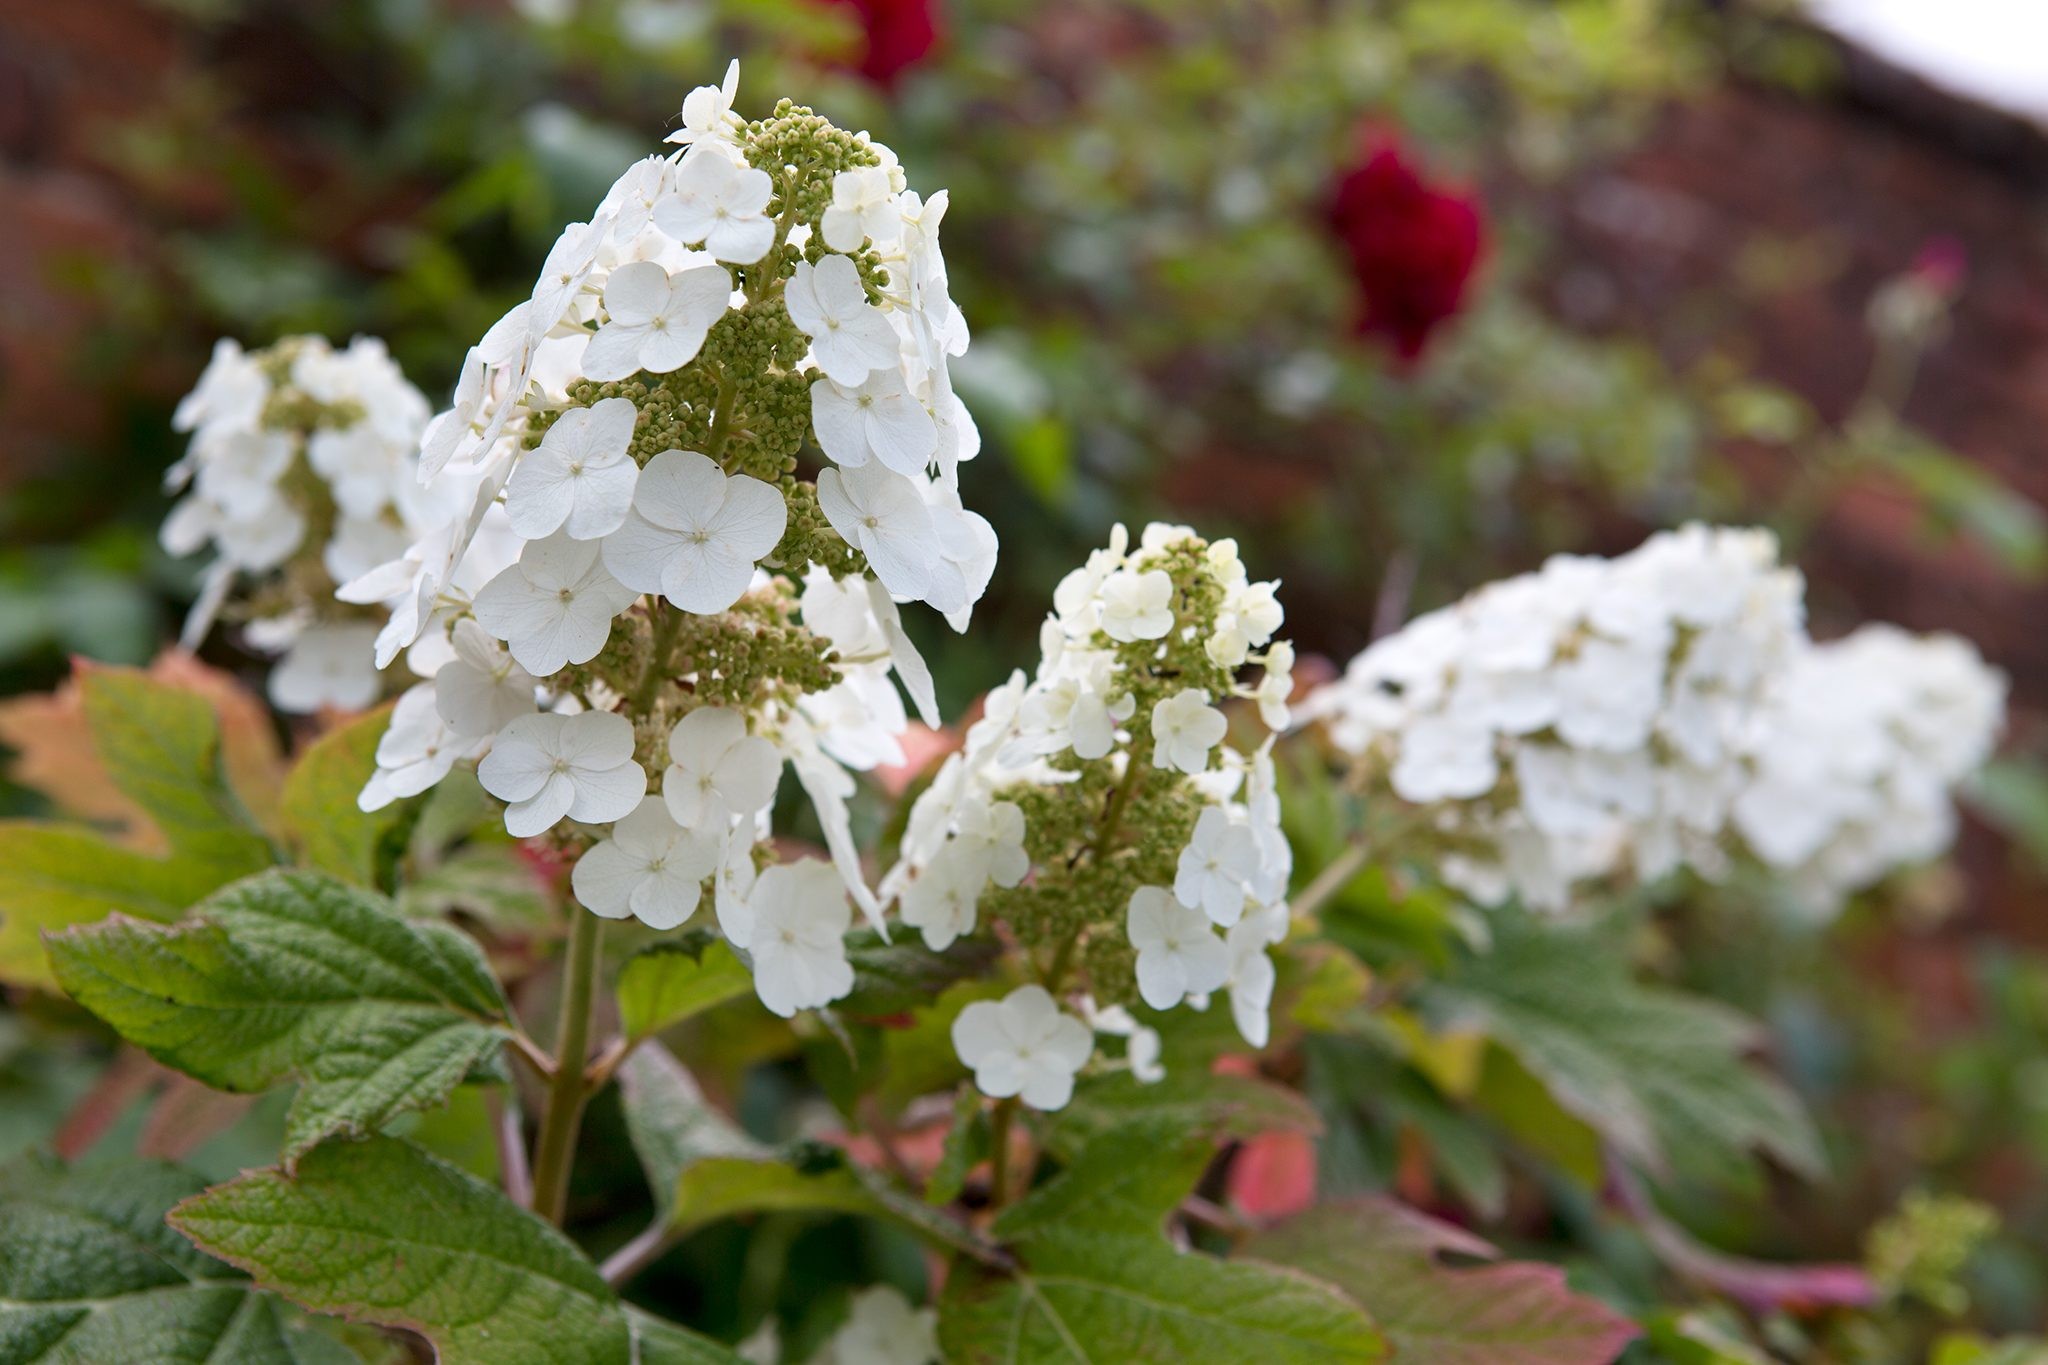
Hydrangea quercifolia, or Oakleaf Hydrangea, stands out with its distinctive oak-shaped leaves that turn brilliant shades of red and purple in the fall. This variety produces large, conical flowerheads that start white and gradually fade to pink and bronze as they mature. Native to the southeastern United States, Hydrangea quercifolia is more drought-tolerant than other hydrangeas and prefers well-drained soil. It blooms on old wood, so pruning should be done sparingly, mainly to remove dead or crossing branches.
1.4. Hydrangea Arborescens (Smooth Hydrangea)
Hydrangea arborescens
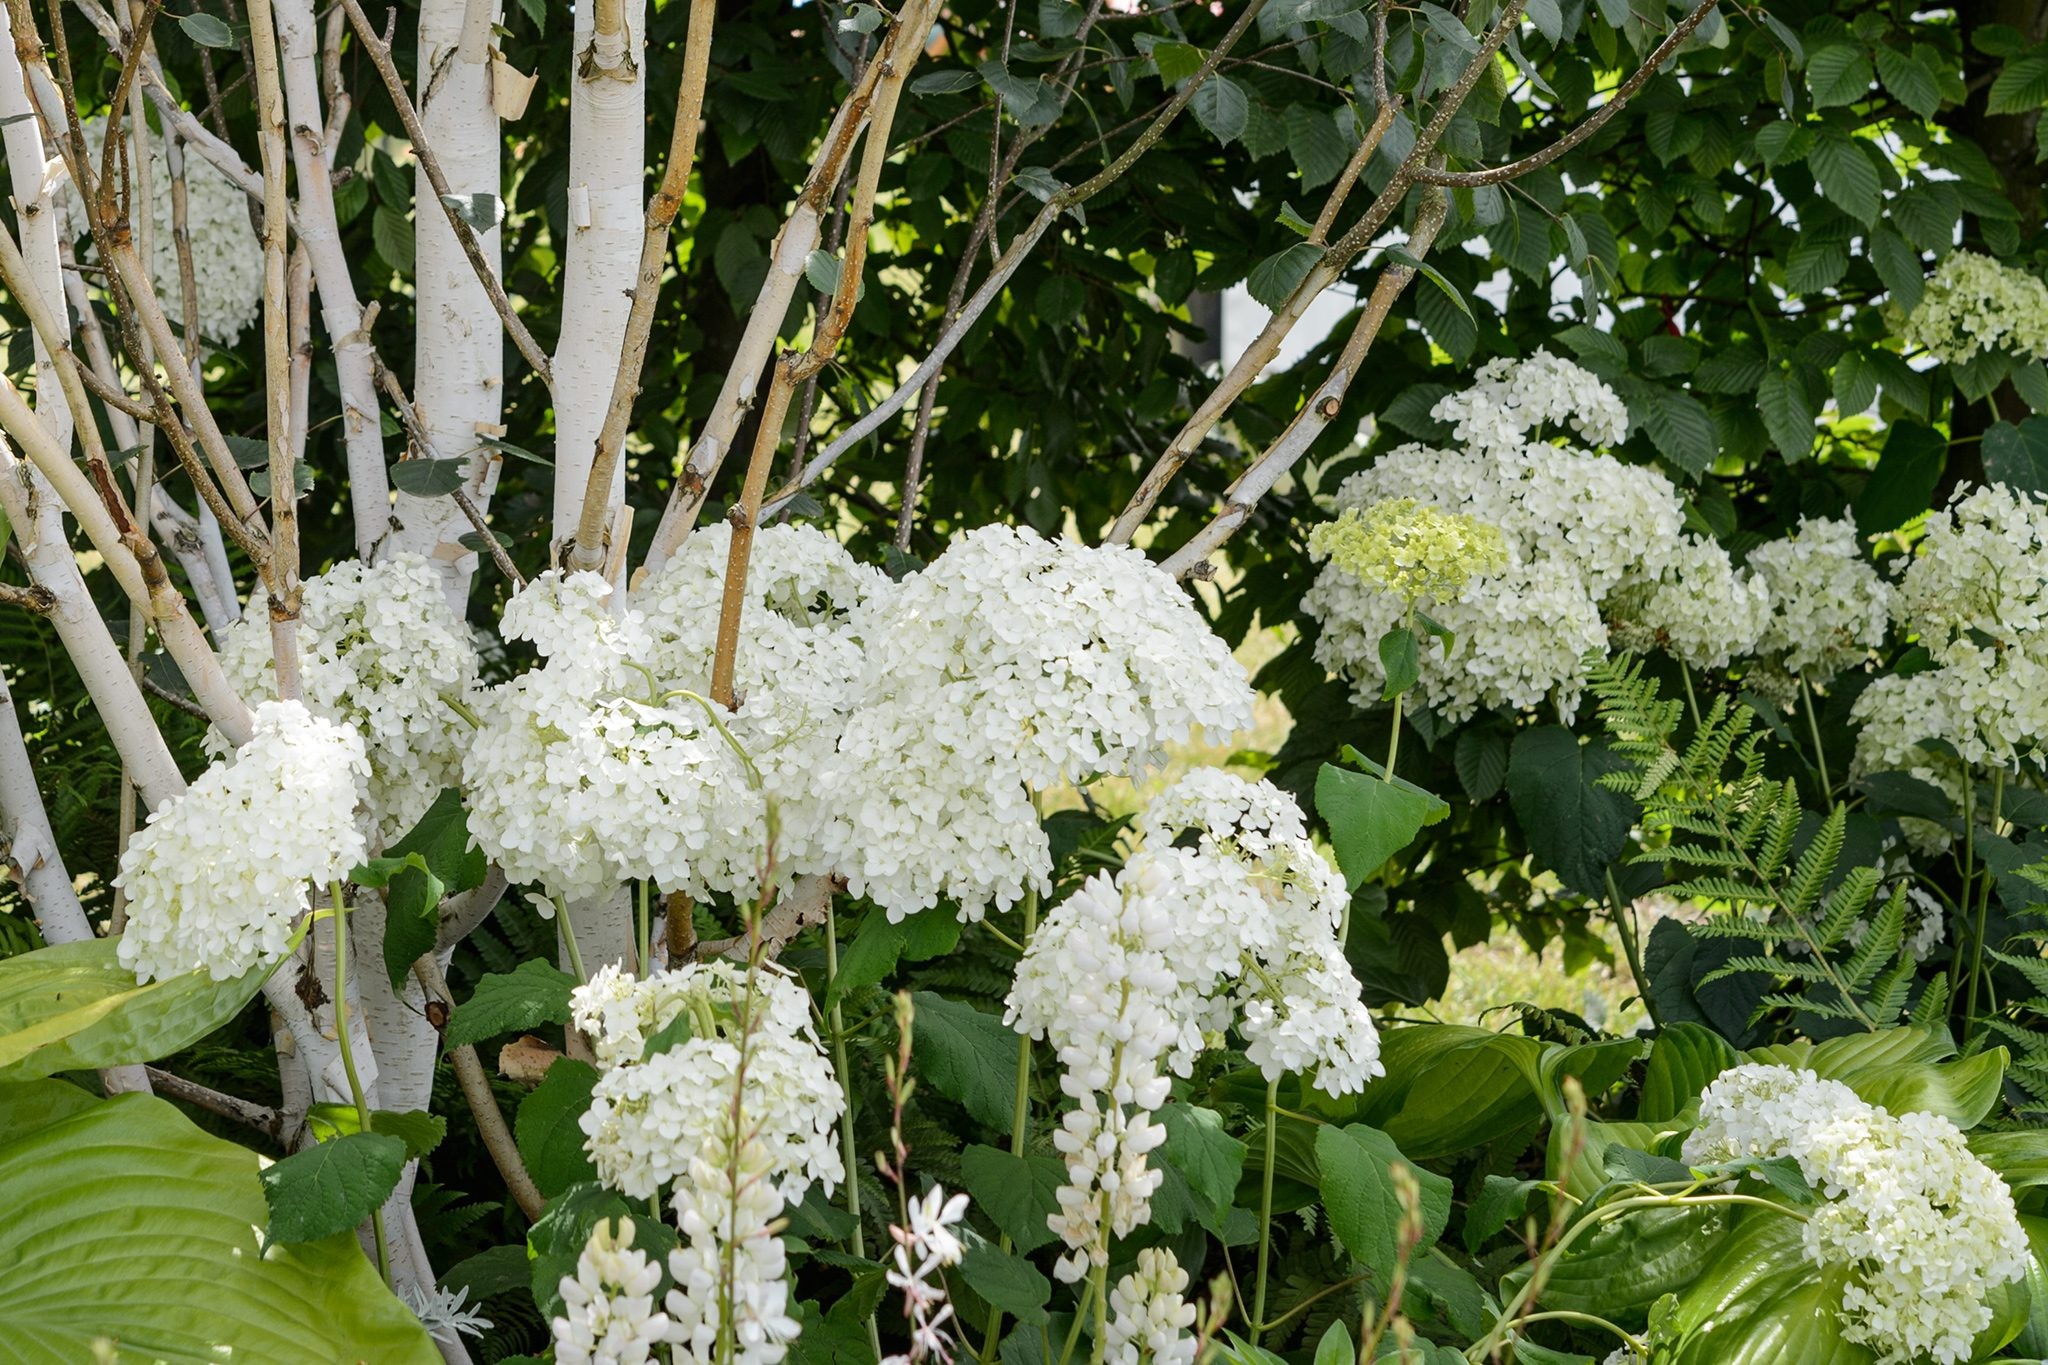
Hydrangea arborescens, commonly known as Smooth Hydrangea, is celebrated for its large, round flowerheads that can reach up to 12 inches in diameter. The most popular cultivar, ‘Annabelle’, is known for its pure white blooms that gradually turn green as they age. Hydrangea arborescens is native to the eastern United States and is highly adaptable, thriving in a range of soil conditions. Like Hydrangea paniculata, it blooms on new wood, making it easy to prune in late winter or early spring.
1.5. Hydrangea Serrata (Mountain Hydrangea)
Hydrangea serrata ‘Mont Aso’
Hydrangea serrata, or Mountain Hydrangea, is a compact variety that is closely related to Hydrangea macrophylla. It features lacecap flowers with delicate, star-shaped florets surrounding a cluster of tiny, fertile flowers. Hydrangea serrata is known for its excellent cold hardiness and its ability to change flower color based on soil pH, similar to Hydrangea macrophylla. This variety is ideal for smaller gardens and woodland settings, offering a refined and elegant display.
2. Planting Hydrangeas: Timing and Location
Successful hydrangea cultivation begins with proper planting techniques. Timing and location are crucial factors that can significantly impact the health and vitality of your hydrangeas. Understanding when and where to plant these beautiful shrubs will set the stage for a thriving garden.
2.1. Optimal Planting Times
The best times to plant hydrangeas are in the spring and fall. During these seasons, the weather is milder, and the soil is warm and moist, providing ideal conditions for root establishment. Planting in the spring allows the hydrangea to acclimate to its new environment before the heat of summer, while fall planting gives the roots time to develop before winter dormancy.
| Season | Advantages | Disadvantages |
|---|---|---|
| Spring | Allows plant to establish before summer heat | Requires more frequent watering during the initial weeks |
| Fall | Roots develop during dormancy, leading to vigorous growth in the spring | Risk of frost damage to newly planted shrubs if winter arrives prematurely |
2.2. Choosing the Right Location
Hydrangeas thrive in locations that offer dappled shade and protection from the harsh afternoon sun. While they need sunlight to bloom, too much direct sun can scorch their leaves and dry out the soil. A spot that receives morning sun and afternoon shade is ideal. Additionally, consider the mature size of the hydrangea when selecting a location, ensuring it has enough room to grow without being crowded by other plants.
2.3. Soil Requirements
Hydrangeas prefer well-draining soil that is rich in organic matter. Before planting, amend the soil with compost or well-rotted manure to improve its fertility and drainage. The pH of the soil is also crucial, especially for Hydrangea macrophylla and Hydrangea serrata, as it affects the flower color. To encourage blue flowers, aim for a soil pH between 5.5 and 6.0. For pink flowers, maintain a pH between 6.5 and 7.0. Soil testing kits are available at most garden centers to help you determine your soil’s pH level.
2.4. Step-by-Step Planting Guide
- Dig the Hole: Dig a hole that is twice as wide as the root ball and just as deep.
- Amend the Soil: Mix compost or well-rotted manure into the excavated soil.
- Position the Hydrangea: Gently remove the hydrangea from its container and loosen any circling roots. Place the plant in the hole, ensuring the top of the root ball is level with the ground.
- Backfill the Hole: Fill the hole with the amended soil, gently firming it around the root ball.
- Water Thoroughly: Water the newly planted hydrangea deeply to help settle the soil and establish good root contact.
- Mulch: Apply a layer of mulch around the base of the plant to help retain moisture and suppress weeds.
2.5. Planting in Containers
Hydrangeas can also be successfully grown in containers, making them a great option for patios and small spaces. Choose a large container with drainage holes and use a high-quality potting mix that is well-draining. Container-grown hydrangeas require more frequent watering and fertilization than those planted in the ground. Additionally, they may need protection from extreme winter temperatures, as their roots are more exposed in containers.
3. Watering Hydrangeas: Maintaining Moisture Balance
Proper watering is essential for the health and vibrancy of hydrangeas. These plants thrive in moist, well-drained soil, and understanding how to maintain the right moisture balance is key to preventing common problems such as wilting and root rot.
3.1. Watering Frequency and Techniques
The frequency of watering depends on several factors, including the type of hydrangea, the climate, and the soil conditions. Generally, hydrangeas need about 1 inch of water per week, either from rainfall or irrigation. During hot, dry periods, more frequent watering may be necessary.
| Factor | Watering Frequency |
|---|---|
| Climate | Hot and dry: More frequent watering |
| Cool and humid: Less frequent watering | |
| Soil Type | Sandy soil: More frequent watering |
| Clay soil: Less frequent watering | |
| Hydrangea Variety | H. macrophylla: Higher water needs |
| H. paniculata: More drought-tolerant |
When watering, aim to soak the soil deeply, encouraging the roots to grow downward. Avoid shallow, frequent watering, as this can lead to surface roots that are more susceptible to drying out. Use a soaker hose or drip irrigation system to deliver water directly to the root zone.
3.2. Recognizing Signs of Overwatering and Underwatering
Knowing how to identify the signs of both overwatering and underwatering is crucial for maintaining healthy hydrangeas. Overwatered hydrangeas may exhibit yellowing leaves, wilting, and root rot. The soil will feel soggy, and the plant may have a musty odor. Underwatered hydrangeas, on the other hand, will show signs of wilting, dry and brittle leaves, and stunted growth. The soil will feel dry to the touch.
3.3. Best Time to Water
The best time to water hydrangeas is in the morning. This allows the foliage to dry out during the day, reducing the risk of fungal diseases. Avoid watering in the evening, as the leaves will remain wet overnight, creating a favorable environment for pathogens.
3.4. Using Rainwater
Whenever possible, water your hydrangeas with rainwater. Rainwater is naturally soft and slightly acidic, which is beneficial for hydrangeas, especially those that prefer acidic soil conditions. Collect rainwater in barrels or containers and use it to irrigate your plants.
3.5. Mulching to Conserve Moisture
Applying a layer of mulch around the base of your hydrangeas is an effective way to conserve soil moisture and reduce the need for frequent watering. Organic mulches such as wood chips, shredded bark, or leaf mold are ideal, as they also improve the soil’s fertility as they decompose.
4. Fertilizing Hydrangeas: Nutrient Management
Fertilizing hydrangeas is an important aspect of their care, providing them with the nutrients they need to thrive and produce abundant blooms. However, it’s essential to strike a balance, as over-fertilizing can lead to excessive foliage growth at the expense of flowers.
4.1. Understanding Hydrangea Nutrient Needs
Hydrangeas benefit from a balanced fertilizer that contains nitrogen (N), phosphorus (P), and potassium (K). Nitrogen promotes healthy foliage growth, phosphorus supports flower development, and potassium enhances overall plant vigor. The specific nutrient needs of hydrangeas can vary depending on the type and the soil conditions.
| Nutrient | Role in Plant Growth | Deficiency Symptoms |
|---|---|---|
| Nitrogen (N) | Promotes healthy foliage growth | Yellowing leaves, stunted growth |
| Phosphorus (P) | Supports flower development | Poor flowering, small leaves |
| Potassium (K) | Enhances overall plant vigor and disease resistance | Scorched leaf edges, weak stems |
4.2. Types of Fertilizers
There are several types of fertilizers available for hydrangeas, including granular, liquid, and slow-release formulations. Granular fertilizers are typically applied to the soil around the base of the plant and release nutrients gradually over time. Liquid fertilizers are diluted with water and applied directly to the soil or foliage, providing a quick boost of nutrients. Slow-release fertilizers are designed to release nutrients slowly over several months, providing a consistent supply of nourishment.
4.3. Fertilizing Schedule
The best time to fertilize hydrangeas is in the early spring, just as new growth begins to emerge. Apply a balanced fertilizer according to the manufacturer’s instructions. Avoid fertilizing in the late summer or fall, as this can encourage new growth that is susceptible to frost damage.
4.4. Soil pH and Flower Color
As mentioned earlier, the soil pH can significantly influence the flower color of Hydrangea macrophylla and Hydrangea serrata. To encourage blue flowers, use a fertilizer that is formulated for acid-loving plants or amend the soil with aluminum sulfate. To promote pink flowers, use a fertilizer that is low in phosphorus and high in potassium or add lime to the soil.
4.5. Organic Fertilizing Options
For a more sustainable approach, consider using organic fertilizers such as compost, well-rotted manure, or bone meal. These materials provide a slow-release source of nutrients and also improve the soil’s structure and fertility.
5. Pruning Hydrangeas: Encouraging Blooms
Pruning is a critical aspect of hydrangea care, but it can be tricky because different types of hydrangeas have different pruning requirements. Understanding when and how to prune your hydrangeas is essential for encouraging abundant blooms and maintaining healthy growth.
5.1. Pruning Based on Hydrangea Type
The most important factor in pruning hydrangeas is knowing whether they bloom on old wood or new wood. Old wood refers to the previous year’s growth, while new wood refers to the current year’s growth.
| Hydrangea Type | Blooms On | Pruning Time | Pruning Method |
|---|---|---|---|
| Hydrangea macrophylla | Old Wood | After Flowering | Remove dead or weak stems, lightly shape the plant |
| Hydrangea serrata | Old Wood | After Flowering | Remove dead or weak stems, lightly shape the plant |
| Hydrangea paniculata | New Wood | Early Spring | Cut back stems to a healthy framework, 1-2 feet above the ground |
| Hydrangea arborescens | New Wood | Early Spring | Cut back stems to a healthy framework, 1-2 feet above the ground |
| Hydrangea quercifolia | Old Wood | After Flowering | Remove dead or crossing stems, lightly shape the plant |
| Hydrangea anomala petiolaris | Old Wood | After Flowering | Prune to control size and shape, remove any dead or overcrowded stems |
5.2. Pruning Hydrangea Macrophylla and Hydrangea Serrata
These types bloom on old wood, so it’s important to prune them sparingly. The best time to prune is immediately after flowering. Remove any dead or weak stems, and lightly shape the plant. Avoid cutting back healthy stems, as this will remove the buds for next year’s flowers.
5.3. Pruning Hydrangea Paniculata and Hydrangea Arborescens
These types bloom on new wood, so they can be pruned more aggressively. The best time to prune is in early spring, before new growth begins. Cut back the stems to a healthy framework, about 1-2 feet above the ground. This will encourage strong new growth and larger blooms.
5.4. Pruning Hydrangea Quercifolia
Hydrangea quercifolia also blooms on old wood, so it should be pruned sparingly. Remove any dead or crossing stems after flowering, and lightly shape the plant. Avoid heavy pruning, as this can reduce flowering.
5.5. Pruning Tools
Use sharp, clean pruning tools to prevent the spread of disease. Bypass pruners are ideal for making clean cuts without crushing the stems.
6. Propagating Hydrangeas: Expanding Your Collection
Propagating hydrangeas is a rewarding way to expand your collection and share these beautiful plants with friends and family. There are several methods of propagation, including cuttings, layering, and division.
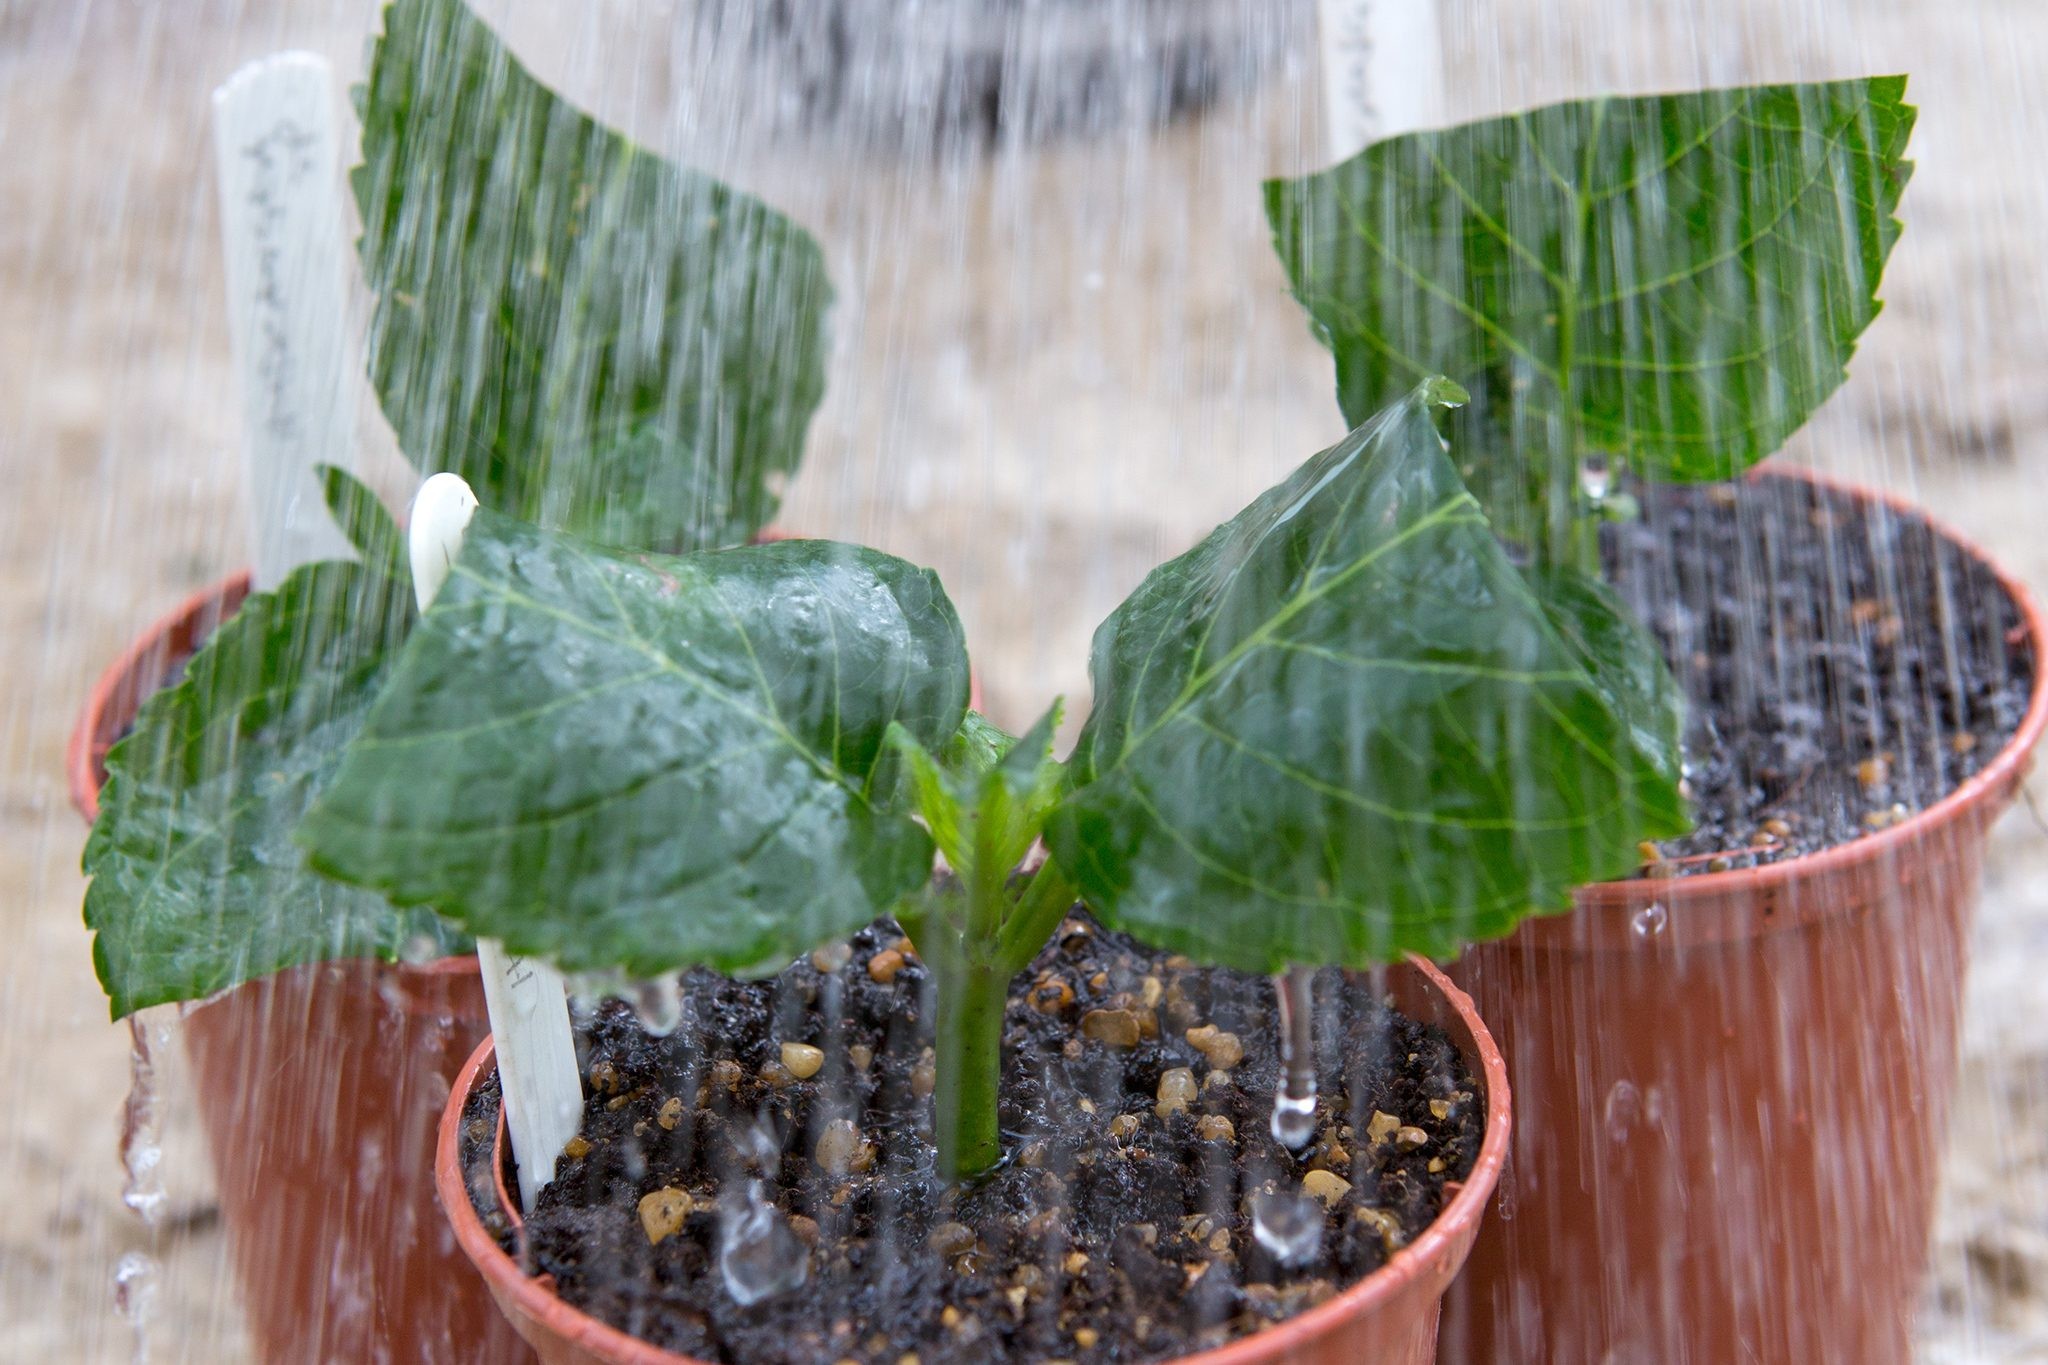
6.1. Propagation by Cuttings
Taking cuttings is the most common method of propagating hydrangeas. The best time to take cuttings is in the late spring or early summer, when the plant is actively growing.
- Select a Cutting: Choose a healthy, non-flowering stem and cut a 4-6 inch section just below a node.
- Prepare the Cutting: Remove the lower leaves, leaving only the top two or three leaves.
- Rooting Hormone: Dip the cut end of the stem in rooting hormone to encourage root development.
- Planting: Insert the cutting into a pot filled with well-draining potting mix.
- Humidity: Cover the pot with a plastic bag or humidity dome to maintain high humidity levels.
- Care: Place the pot in a warm, bright location, but out of direct sunlight. Keep the soil moist but not waterlogged.
- Rooting: After several weeks, the cutting should develop roots. You can check for roots by gently tugging on the stem. If it resists, roots have formed.
- Transplanting: Once the cutting has established a strong root system, it can be transplanted into a larger pot or directly into the garden.
Hydrangea cuttings being watered
6.2. Propagation by Layering
Layering is a simple method of propagation that involves rooting a stem while it is still attached to the parent plant.
- Select a Stem: Choose a low-growing stem that can easily be bent to the ground.
- Prepare the Stem: Remove the leaves from the section of the stem that will be buried.
- Bury the Stem: Dig a shallow trench in the soil and bury the prepared section of the stem, securing it with a rock or landscape pin.
- Care: Keep the soil moist.
- Rooting: After several months, the buried stem should develop roots.
- Separation: Once the new plant has established a strong root system, it can be separated from the parent plant and transplanted.
6.3. Propagation by Division
Division is a method of propagation that involves separating a mature plant into multiple smaller plants. This method is best suited for hydrangeas that have multiple stems or a spreading growth habit.
- Dig Up the Plant: Carefully dig up the entire plant.
- Separate the Roots: Use a sharp knife or spade to separate the root ball into several sections, each with its own set of stems and roots.
- Replant: Replant each section in a separate location, ensuring the roots are well-covered with soil.
- Care: Water thoroughly and provide regular care until the new plants are established.
7. Common Hydrangea Problems and Solutions
While hydrangeas are generally easy to grow, they can be susceptible to certain problems, including pests, diseases, and environmental stressors. Understanding these issues and how to address them is essential for maintaining healthy, thriving plants.
7.1. Pests
| Pest | Symptoms | Solutions |
|---|---|---|
| Aphids | Small, sap-sucking insects on stems and leaves, sticky honeydew | Spray with insecticidal soap or neem oil |
| Spider Mites | Fine webbing on leaves, yellowing or stippled foliage | Increase humidity, spray with miticide |
| Hydrangea Scale | Brown, scale-like insects on stems, poor growth | Prune affected stems, apply horticultural oil in dormant season |
| Vine Weevils | Notched leaves, C-shaped grubs in soil, plant decline | Apply nematodes to soil, use weevil traps |
7.2. Diseases
| Disease | Symptoms | Solutions |
|---|---|---|
| Powdery Mildew | White, powdery coating on leaves, distorted growth | Improve air circulation, apply fungicide |
| Leaf Spot | Circular spots on leaves, yellowing or browning foliage | Remove affected leaves, apply fungicide |
| Root Rot | Wilting, yellowing leaves, mushy roots | Improve drainage, avoid overwatering, apply fungicide |
| Botrytis Blight | Brown, fuzzy mold on flowers and leaves | Improve air circulation, remove affected parts, apply fungicide |
7.3. Environmental Stressors
| Stressor | Symptoms | Solutions |
|---|---|---|
| Sun Scorch | Brown, crispy leaves, especially on outer edges | Provide afternoon shade, ensure adequate watering |
| Frost Damage | Blackened foliage or buds in spring | Plant in sheltered location, protect with burlap or blankets during frost, prune damaged areas |
| Nutrient Deficiency | Yellowing leaves, poor growth, lack of flowers | Apply balanced fertilizer, amend soil with organic matter |
| Water Stress | Wilting, dry leaves | Water deeply and regularly, mulch to conserve moisture |
7.4. Addressing Chlorosis
Chlorosis, or yellowing of the leaves, is a common problem in hydrangeas, often caused by iron deficiency due to high soil pH. To address chlorosis, amend the soil with sulfur or iron chelate to lower the pH and increase iron availability.
8. Nine of the Best Hydrangeas to Grow
Choosing the right hydrangea varieties for your garden can make all the difference in creating a stunning display. Here are nine of the best hydrangeas to grow, each with its unique characteristics and appeal.
8.1. Hydrangea Macrophylla ‘Ayesha’
Mopheads are the hydrangeas to grow if you want bold colour. The blooms last for months, finally ageing to muted tones before drying to brown over the winter. Held in small, silvery lavender flowerheads, the florets of Hydrangea macrophylla ‘Ayesha’ have unusual curled edges.
Height x Spread: 1.5m x 1.5m
8.2. Hydrangea Macrophylla ‘Zebra’
Large, white mophead flowers, near-black stems and rich-green leaves give this plant a dramatic look.
H x S: 1m x 1m
8.3. Hydrangea Macrophylla Miss Saori
You’ll get two flushes of the double pink and white flowers from this RHS Chelsea Plant of the Year 2014 winner.
H x S: 1m x 1m
8.4. Hydrangea Macrophylla ‘Veitchii’
Lacecap varieties are more delicate than mopheads and are generally very hardy. Hydrangea macrophylla ‘Veitchii’ is a free-flowering lacecap with large, white bracts that turn pink with age, set around a mass of small flowers that start off blue but then fade to violet.
H x S: 1.6m x 1.6m
8.5. Hydrangea Macrophylla ‘Jogasaki’
The bracts range from palest pink through lilac to icy blue. It offers vibrant autumn leaf colour, too.
H x S: 1.5m x 2m
8.6. Hydrangea Serrata ‘Bluebird’
As well as pink or blue florets around flat clusters of tiny, blue flowers, this lacecap hydrangea offers fiery autumn foliage.
H x S: 1.2m x 1.2m
8.7. Hydrangea Paniculata ‘Phantom’
Hydrangea paniculata varieties have large, conical flowerheads that start off white or green, then become pink or even red. The large flowerheads of Hydrangea paniculata ‘Phantom’ have yellow-tinged tips.
H x S: 1.8 x 2m
8.8. Hydrangea Arborescens ‘Annabelle’
Hydrangea aborescens varieties have huge domed flowerheads in white or pink. Full of impact, the flowerheads of Hydrangea aborescens ‘Annabelle’ fade to a lime-green.
H x S: 2.5m x 2.5m (shorter with regular pruning)
8.9. Hydrangea Quercifolia
Hydrangea quercifolia varieties have large, oak-shaped leaves that turn fiery shades in autumn, along with large conical flowerheads.
H x S: 2m x 2.5m
8.10. Hydrangea Paniculata ‘Limelight’
Hydrangea paniculata ‘Limelight’. Getty Images
Hydrangea paniculata ‘Limelight’ is an upright shrub with yellow-green leaves, grey-green stems and large, green flowers, which fade to creamy white before turning pink in autumn.
H x S: 2.5m x 2.5m
9. Hydrangea Care Calendar: Year-Round Maintenance
A year-round care calendar can help you stay on track with the essential tasks for maintaining healthy and beautiful hydrangeas. Here is a general guideline:
| Month | Task | Description |
|---|---|---|
| January | Dormancy | Check plants for winter damage, ensure soil is not overly dry |
| February | Pruning (for new wood bloomers) | Prune Hydrangea paniculata and Hydrangea arborescens |
| March | Fertilizing | Apply balanced fertilizer as new growth begins |
| April | Planting | Plant new hydrangeas |
| May | Watering | Monitor soil moisture, water deeply as needed |
| June | Pest and Disease Control | Check for pests and diseases, treat as necessary |
| July | Pruning (for old wood bloomers) | Prune Hydrangea macrophylla, Hydrangea serrata, and Hydrangea quercifolia after flowering |
| August | Watering | Continue to monitor soil moisture, water deeply during hot, dry periods |
| September | Soil Testing | Test soil pH to prepare for adjustments if needed |
| October | Mulching | Apply fresh mulch to protect roots during winter |
| November | Winter Protection | Protect young or sensitive hydrangeas from frost damage |
| December | Dormancy | Check plants for any signs of winter damage |
10. Frequently Asked Questions About Hydrangea Care
Here are some frequently asked questions to help you better understand how to care for your hydrangeas:
10.1. Can I Grow Hydrangeas in Shade?
Hydrangeas do best in partial shade and dappled shade. In warmer climates, they can tolerate full shade in the afternoon, as long as they receive sun in the morning. However, if they receive too much shade they won’t flower well and their stems may become weak and floppy.
10.2. When Is the Best Time to Move a Hydrangea?
The best time to move a hydrangea is while it is dormant between mid-autumn and late winter.
10.3. What Compost Should I Use for a Hydrangea in a Pot?
Hydrangeas work well in pots. Use a soil-based compost such as John Innes No.3, perhaps with some added multi-purpose. Make sure your container has drainage holes at the bottom so any water can drain from the pot and prevent waterlogging.
10.4. How Do I Change the Color of My Hydrangea Flowers?
To change the color of Hydrangea macrophylla and Hydrangea serrata flowers, adjust the soil pH. Acidic soils (pH below 6.0) produce blue flowers, while alkaline soils (pH above 7.0) result in pink blooms.
10.5. Why Is My Hydrangea Not Blooming?
There are several reasons why a hydrangea may not be blooming, including improper pruning, insufficient sunlight, nutrient deficiencies, and frost damage.
10.6. How Often Should I Water My Hydrangeas?
Hydrangeas typically need about 1 inch of water per week, but this can vary depending on the climate, soil type, and hydrangea variety.
10.7. What Are the Common Pests and Diseases That Affect Hydrangeas?
Common pests include aphids, spider mites, hydrangea scale, and vine weevils. Common diseases include powdery mildew, leaf spot, root rot, and botrytis blight.
10.8. How Do I Protect My Hydrangeas From Frost Damage?
Plant hydrangeas in a sheltered location, and protect them with burlap or blankets during frost. Leave the faded flowerheads on over winter, and prune at the correct time.
10.9. When Should I Prune My Hydrangeas?
The timing of pruning depends on the type of hydrangea. Prune old wood bloomers ( Hydrangea macrophylla, Hydrangea serrata, Hydrangea quercifolia) after flowering, and prune new wood bloomers (Hydrangea paniculata, Hydrangea arborescens) in early spring.
10.10. Can I Grow Hydrangeas in Containers?
Yes, hydrangeas can be successfully grown in containers. Choose a large container with drainage holes and use a high-quality potting mix that is well-draining.
By following these tips and guidelines, you can ensure that your hydrangeas thrive and provide you with years of beautiful blooms.
CARS.EDU.VN is committed to providing you with expert advice and resources to help you succeed in your gardening endeavors. Whether you’re looking for information on how to care for a hydrangea or seeking tips on other gardening topics, we’re here to help.
Are you struggling to find reliable information on caring for your car? Do you feel overwhelmed by the options for auto repair and maintenance? At CARS.EDU.VN, we understand your challenges. We provide detailed guides, expert advice, and trusted resources to help you make informed decisions about your vehicle. Visit CARS.EDU.VN today to discover a wealth of information that will empower you to take the best possible care of your car. Contact us at 456 Auto Drive, Anytown, CA 90210, United States or via Whatsapp at +1 555-123-4567. Let cars.edu.vn be your go-to source for all things automotive.