How To Care For Norfolk Pine involves understanding its needs and creating the right environment for this unique houseplant. At CARS.EDU.VN, we provide essential tips to help you keep your Norfolk Pine healthy and vibrant, ensuring it thrives year-round. Explore our detailed guide for expert advice on Norfolk Pine care, ensuring a lush, green addition to your home with proper lighting, watering, and humidity control techniques.
1. Understanding the Norfolk Island Pine
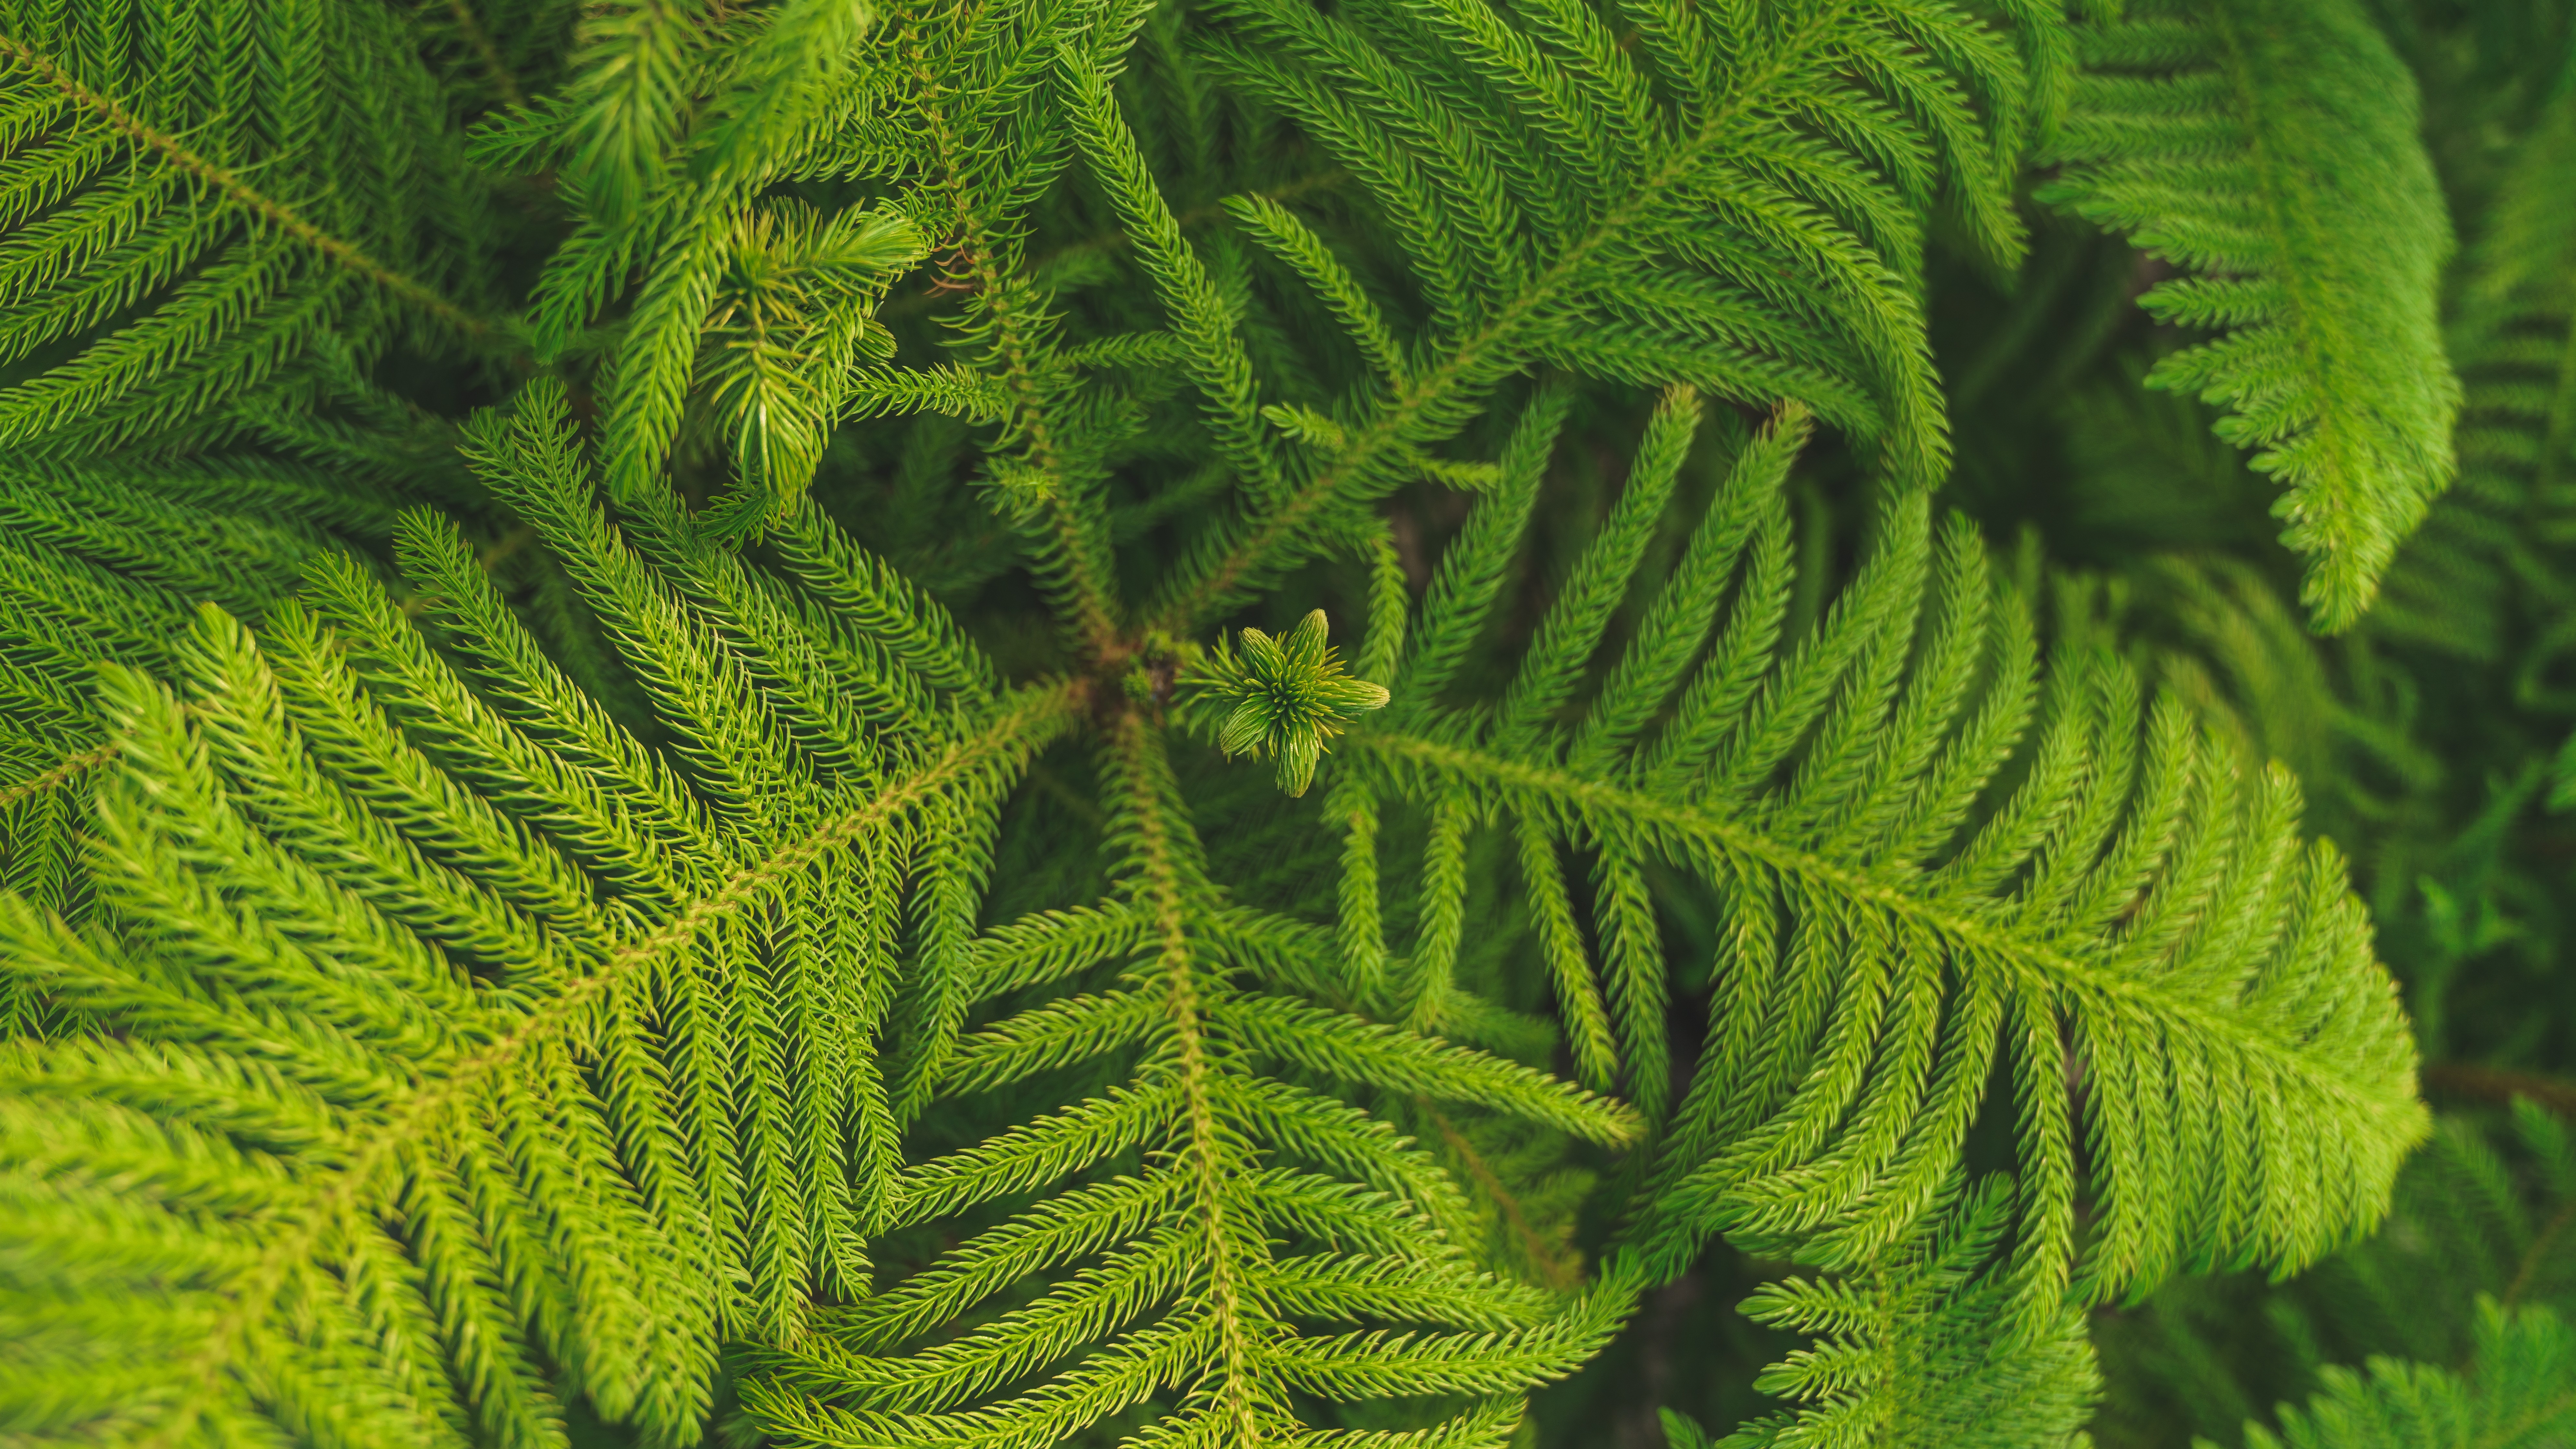
The Norfolk Island Pine (Araucaria heterophylla) isn’t a true pine but rather a unique evergreen native to Norfolk Island in the South Pacific. Its symmetrical, tiered branches create a distinctive Christmas tree-like appearance, making it a popular choice for indoor decor. According to a study by the University of Florida IFAS Extension, understanding its natural habitat is crucial for successful indoor care. This tropical beauty brings a touch of the exotic indoors, offering a refreshing, evergreen presence. To ensure your Norfolk Island Pine thrives, it’s essential to provide the proper environment, mimicking its native conditions as closely as possible. Factors like light, humidity, and temperature play vital roles in its health and growth.
2. Providing the Right Light Conditions
Norfolk Island Pines thrive in bright, indirect light. Too much direct sunlight can scorch the needles, while insufficient light can lead to leggy growth.
2.1. Ideal Light Exposure
Place your Norfolk Island Pine near an east-facing or west-facing window where it can receive plenty of bright, indirect light. Avoid placing it in direct sunlight, especially during the hottest parts of the day. According to the Missouri Botanical Garden, consistent, indirect light is key to healthy growth.
2.2. Using Grow Lights
If you don’t have access to sufficient natural light, consider using a grow light. LED grow lights are energy-efficient and can provide the necessary spectrum of light for your Norfolk Island Pine to thrive. Position the grow light about 12-18 inches above the plant for optimal results.
2.3. Rotating Your Plant
To ensure even growth, rotate your Norfolk Island Pine every few weeks. This prevents the plant from leaning excessively towards the light source, resulting in a more balanced and aesthetically pleasing appearance.
3. Watering Techniques for Norfolk Island Pines
Proper watering is crucial for the health of your Norfolk Island Pine. The goal is to keep the soil consistently moist but not waterlogged.
3.1. Determining When to Water
Check the soil moisture by inserting your finger about 1-2 inches into the soil. If the soil feels dry to the touch, it’s time to water. According to the North Carolina State University Extension, allowing the topsoil to dry slightly between waterings helps prevent root rot.
3.2. Watering Thoroughly
When watering, saturate the soil until water drains out of the bottom of the pot. This ensures that the entire root system is adequately hydrated. Discard any excess water that accumulates in the saucer to prevent the plant from sitting in standing water, which can lead to root rot.
3.3. Adjusting Watering Frequency
Adjust your watering frequency based on the season. During the growing season (spring and summer), your Norfolk Island Pine will need more frequent watering. In the dormant season (fall and winter), reduce watering as the plant’s growth slows down.
4. Maintaining Optimal Humidity Levels
Norfolk Island Pines thrive in high humidity environments, mimicking their native tropical habitat. Maintaining adequate humidity is essential, especially during dry winter months.
4.1. Using a Humidifier
The most effective way to increase humidity is by using a humidifier. Place a humidifier near your Norfolk Island Pine to maintain a humidity level of 50-60%. This will help prevent the needles from browning and keep the plant healthy.
4.2. Creating a Humidity Tray
Alternatively, create a humidity tray by filling a shallow dish with pebbles and water. Place the pot on top of the pebbles, ensuring the bottom of the pot does not touch the water. As the water evaporates, it will increase the humidity around the plant.
4.3. Misting Regularly
Misting your Norfolk Island Pine regularly can also help increase humidity. Use a spray bottle to mist the plant with water, especially during dry conditions. According to Clemson Cooperative Extension, misting should be done in the morning to allow the foliage to dry before nightfall, reducing the risk of fungal diseases.
5. Controlling Temperature for Healthy Growth
Norfolk Island Pines prefer moderate temperatures, similar to those found in most homes.
5.1. Ideal Temperature Range
Maintain a temperature range of 65°F to 75°F (18°C to 24°C) for your Norfolk Island Pine. Avoid exposing the plant to temperatures below 55°F (13°C) or above 85°F (29°C), as extreme temperatures can stress the plant.
5.2. Avoiding Drafts
Keep your Norfolk Island Pine away from cold drafts from windows or doors, as well as heat sources like radiators or vents. Sudden temperature fluctuations can negatively impact the plant’s health.
5.3. Seasonal Adjustments
During the winter months, when indoor heating systems can dry out the air, take extra care to maintain humidity levels and avoid placing the plant near direct heat sources.
6. Fertilizing Your Norfolk Island Pine
Fertilizing provides your Norfolk Island Pine with the necessary nutrients for healthy growth.
6.1. Choosing the Right Fertilizer
Use a balanced, water-soluble fertilizer with an N-P-K ratio of 20-20-20. According to the University of Minnesota Extension, a balanced fertilizer promotes overall plant health.
6.2. Fertilizing Schedule
Fertilize your Norfolk Island Pine every 4-6 weeks during the growing season (spring and summer). Reduce or stop fertilizing during the dormant season (fall and winter).
6.3. Diluting Fertilizer
Always dilute the fertilizer to half strength to avoid burning the roots. Over-fertilizing can lead to salt buildup in the soil, which can harm the plant.
7. Repotting Your Norfolk Island Pine
Repotting is necessary when your Norfolk Island Pine outgrows its current container.
7.1. Determining When to Repot
Repot your Norfolk Island Pine every 2-3 years, or when you notice the roots circling the bottom of the pot. Signs that it’s time to repot include slow growth, frequent drying out of the soil, and roots emerging from the drainage holes.
7.2. Choosing the Right Pot and Soil
Select a pot that is 1-2 inches larger in diameter than the current pot. Use a well-draining potting mix, such as a blend of peat moss, perlite, and vermiculite. This ensures proper aeration and drainage, preventing root rot.
7.3. Repotting Process
Gently remove the Norfolk Island Pine from its current pot, being careful not to damage the roots. Loosen any circling roots and place the plant in the new pot. Fill the pot with fresh potting mix, ensuring the top of the root ball is level with the soil surface. Water thoroughly after repotting.
8. Pruning and Shaping Your Norfolk Island Pine
Pruning helps maintain the shape and health of your Norfolk Island Pine.
8.1. Removing Dead or Damaged Branches
Regularly inspect your Norfolk Island Pine for dead, damaged, or yellowing branches. Use clean, sharp pruning shears to remove these branches, cutting close to the main stem.
8.2. Shaping the Plant
To maintain a symmetrical shape, you can lightly prune the tips of the branches. Avoid heavy pruning, as this can distort the plant’s natural form.
8.3. Pruning for Air Circulation
Pruning can also improve air circulation within the plant, reducing the risk of fungal diseases. Remove any crossing or overcrowded branches to promote better airflow.
9. Common Problems and Solutions
Even with proper care, you may encounter some common problems with your Norfolk Island Pine.
9.1. Browning Needles
Browning needles are often a sign of low humidity, underwatering, or overwatering. Adjust your watering and humidity levels accordingly.
9.2. Yellowing Needles
Yellowing needles can indicate overwatering, nutrient deficiencies, or pest infestations. Check the soil moisture, fertilize if necessary, and inspect the plant for pests.
9.3. Leggy Growth
Leggy growth, characterized by long spaces between branches, is usually caused by insufficient light. Move your Norfolk Island Pine to a brighter location or supplement with a grow light.
9.4. Pest Infestations
Norfolk Island Pines can be susceptible to pests such as spider mites, mealybugs, and aphids. Regularly inspect your plant for signs of infestation and treat promptly with insecticidal soap or neem oil. According to the EPA, insecticidal soap and neem oil are effective and safe options for controlling many common houseplant pests.
10. Preventing Pests and Diseases
Prevention is key to keeping your Norfolk Island Pine healthy and free from pests and diseases.
10.1. Regular Inspections
Regularly inspect your Norfolk Island Pine for signs of pests or diseases. Early detection can prevent minor issues from becoming major problems.
10.2. Proper Air Circulation
Ensure proper air circulation around the plant to reduce the risk of fungal diseases. Avoid overcrowding the plant and prune as needed to improve airflow.
10.3. Quarantine New Plants
Before introducing a new plant to your collection, quarantine it for a few weeks to ensure it is free from pests and diseases. This prevents the spread of infestations to your other plants.
10.4. Cleaning the Foliage
Dust and debris can accumulate on the foliage of your Norfolk Island Pine, reducing its ability to photosynthesize. Wipe the leaves regularly with a damp cloth to keep them clean and healthy.
11. Selecting the Right Potting Mix
The right potting mix is essential for providing your Norfolk Island Pine with the proper drainage and nutrients.
11.1. Well-Draining Mix
Choose a well-draining potting mix that retains some moisture but does not become waterlogged. A mix of peat moss, perlite, and vermiculite is a good option.
11.2. Avoiding Heavy Soils
Avoid using heavy soils that can compact and restrict root growth. These soils can also retain too much water, leading to root rot.
11.3. Adding Amendments
You can amend your potting mix with compost or other organic matter to improve its nutrient content and drainage. According to Oregon State University Extension, adding compost to your potting mix can improve its water-holding capacity and provide essential nutrients.
12. Understanding the Growth Cycle
Understanding the growth cycle of your Norfolk Island Pine can help you provide the best possible care.
12.1. Growing Season
During the growing season (spring and summer), your Norfolk Island Pine will actively produce new growth. Provide adequate light, water, and fertilizer during this time to support healthy growth.
12.2. Dormant Season
During the dormant season (fall and winter), the plant’s growth slows down. Reduce watering and stop fertilizing during this time.
12.3. Adjusting Care
Adjust your care routine based on the plant’s growth cycle. Provide more frequent watering and fertilizing during the growing season, and reduce these activities during the dormant season.
13. Displaying Your Norfolk Island Pine
Properly displaying your Norfolk Island Pine can enhance its beauty and create a focal point in your home.
13.1. Choosing the Right Location
Select a location that provides bright, indirect light and is free from drafts and temperature extremes. Consider the plant’s size and shape when choosing a location.
13.2. Using Decorative Pots
Use decorative pots to complement your home decor. Choose pots that are the right size for the plant and provide adequate drainage.
13.3. Creating a Focal Point
Position your Norfolk Island Pine in a location where it can be a focal point, such as a living room or entryway. This will showcase its beauty and create a welcoming atmosphere.
14. Troubleshooting Common Issues
Even with the best care, you may encounter some common issues with your Norfolk Island Pine. Here are some troubleshooting tips:
14.1. Identifying the Problem
Accurately identify the problem before attempting to fix it. Look for signs of pests, diseases, nutrient deficiencies, or environmental stress.
14.2. Researching Solutions
Research potential solutions to the problem. Consult reputable sources, such as university extension websites or gardening books, for accurate information.
14.3. Implementing Solutions
Implement the solutions carefully and monitor the plant’s response. Be patient, as it may take some time for the plant to recover.
14.4. Seeking Professional Help
If you are unable to resolve the issue on your own, seek professional help from a certified arborist or plant expert.
15. Understanding the Plant’s Natural Habitat
Understanding the natural habitat of the Norfolk Island Pine can provide valuable insights into its care requirements.
15.1. Native Environment
The Norfolk Island Pine is native to Norfolk Island, a subtropical island in the South Pacific. This environment is characterized by warm temperatures, high humidity, and bright, indirect light.
15.2. Mimicking Conditions
Mimic the conditions of the plant’s natural habitat as closely as possible to promote healthy growth. This includes providing adequate light, humidity, and temperature, as well as well-draining soil.
15.3. Adapting Care
Adapt your care routine based on the plant’s needs. Monitor the plant regularly and adjust your care as needed to ensure it is thriving.
16. Norfolk Island Pine Varieties
While Araucaria heterophylla is the most common variety, there are other related species to be aware of.
16.1. Araucaria columnaris
The Coral Reef Araucaria, or Araucaria columnaris, is similar but has a more columnar growth habit. It requires similar care but is less common as an indoor plant.
16.2. Araucaria cunninghamii
The Hoop Pine, Araucaria cunninghamii, is another related species, often grown as a timber tree. It is not typically grown indoors.
16.3. Choosing the Right Variety
When selecting a Norfolk Island Pine, consider the space you have available and the plant’s growth habit. Araucaria heterophylla is the best choice for indoor environments due to its manageable size and attractive appearance.
17. Norfolk Pine and Air Purification
Norfolk Island Pines contribute to indoor air purification, making them a valuable addition to your home.
17.1. Removing Toxins
According to NASA’s Clean Air Study, houseplants can remove toxins such as formaldehyde, xylene, and toluene from the air. Norfolk Island Pines contribute to this process, helping to improve indoor air quality.
17.2. Increasing Oxygen
Plants also produce oxygen through photosynthesis, which can help to increase oxygen levels in your home. This can improve overall well-being and create a healthier living environment.
17.3. Improving Air Quality
By removing toxins and increasing oxygen levels, Norfolk Island Pines can help to improve indoor air quality and create a more comfortable and healthy living space.
18. The Role of Norfolk Pine in Feng Shui
In Feng Shui, the Norfolk Island Pine is considered to bring positive energy and balance to indoor spaces.
18.1. Enhancing Positive Energy
The lush, green foliage of the Norfolk Island Pine is believed to enhance positive energy and promote a sense of calm and well-being.
18.2. Balancing Elements
The plant’s upright growth habit represents the wood element, which is associated with growth and vitality. Placing a Norfolk Island Pine in your home can help to balance the elements and create a harmonious environment.
18.3. Placement Tips
According to Feng Shui principles, placing a Norfolk Island Pine in the east or southeast area of your home can attract wealth and prosperity. Avoid placing the plant in the bedroom, as it may disrupt sleep.
19. Choosing the Right Container
Selecting the appropriate container is vital for the health and growth of your Norfolk Island Pine.
19.1. Drainage Holes
Ensure the container has adequate drainage holes to prevent water from accumulating at the bottom, which can lead to root rot.
19.2. Material Considerations
Terracotta pots are an excellent choice because they allow the soil to breathe, reducing the risk of overwatering. Plastic pots are also suitable, but be cautious not to overwater.
19.3. Size and Stability
Choose a container that is proportionate to the size of your Norfolk Island Pine. As the plant grows, you may need to repot it into a larger container to provide adequate space for the roots to expand. A stable base is essential to prevent the plant from tipping over.
20. Norfolk Pine and Pets
Consider the safety of your pets when caring for a Norfolk Island Pine.
20.1. Toxicity Levels
Norfolk Island Pines are generally considered non-toxic to cats and dogs, according to the ASPCA. However, ingestion of large quantities may cause mild gastrointestinal upset.
20.2. Preventing Ingestion
To prevent pets from ingesting the plant, place it in a location that is out of their reach. You can also use deterrents, such as bitter apple spray, to discourage them from chewing on the foliage.
20.3. Monitoring Your Pets
Monitor your pets for any signs of illness or distress after being around the Norfolk Island Pine. If you suspect they have ingested a large quantity of the plant, consult with your veterinarian.
21. Water Quality for Norfolk Island Pine
The quality of water you use can significantly impact the health of your Norfolk Island Pine.
21.1. Avoiding Tap Water
Tap water often contains chemicals like chlorine and fluoride, which can be harmful to Norfolk Island Pines. Over time, these chemicals can accumulate in the soil and damage the plant’s roots.
21.2. Using Filtered or Distilled Water
Use filtered or distilled water to water your Norfolk Island Pine. These types of water are free from harmful chemicals and minerals, promoting healthier growth.
21.3. Rainwater Harvesting
Collecting rainwater is another excellent option for watering your plants. Rainwater is naturally soft and free from chemicals, making it ideal for Norfolk Island Pines.
22. Seasonal Care Adjustments
Adjusting your care routine based on the seasons is crucial for maintaining the health of your Norfolk Island Pine.
22.1. Spring and Summer Care
During the spring and summer months, when the plant is actively growing, increase watering and fertilizing. Provide plenty of bright, indirect light and maintain high humidity levels.
22.2. Fall and Winter Care
In the fall and winter, when the plant’s growth slows down, reduce watering and stop fertilizing. Protect the plant from cold drafts and maintain moderate humidity levels.
22.3. Monitoring Environmental Conditions
Pay close attention to the environmental conditions in your home and adjust your care routine accordingly. Monitor temperature, humidity, and light levels to ensure the plant is thriving.
23. Encouraging Bushier Growth
Promoting bushier growth can enhance the aesthetic appeal of your Norfolk Island Pine.
23.1. Providing Adequate Light
Ensure the plant receives adequate bright, indirect light. Insufficient light can lead to leggy growth, which is characterized by long spaces between branches.
23.2. Rotating the Plant Regularly
Rotate the plant regularly to ensure all sides receive equal light exposure. This will encourage even growth and prevent the plant from leaning towards the light source.
23.3. Pruning Techniques
Lightly prune the tips of the branches to encourage branching and bushier growth. Avoid heavy pruning, as this can distort the plant’s natural form.
24. Norfolk Pine as a Holiday Decoration
The Norfolk Island Pine makes an excellent alternative to traditional Christmas trees.
24.1. Decorating Tips
Decorate your Norfolk Island Pine with lightweight ornaments and lights. Avoid using heavy decorations that can damage the branches.
24.2. Choosing the Right Lights
Use LED lights, which produce less heat than traditional lights. This will prevent the foliage from drying out and reduce the risk of fire.
24.3. After the Holidays
After the holidays, remove the decorations and continue to care for the plant as usual. With proper care, your Norfolk Island Pine can thrive for many years to come.
25. Propagating Norfolk Island Pine
Propagating Norfolk Island Pine can be challenging but rewarding.
25.1. Stem Cuttings
The most common method of propagation is through stem cuttings. Take a cutting from the tip of a branch and allow it to callous over for a few days.
25.2. Rooting Medium
Plant the cutting in a well-draining rooting medium, such as a mix of perlite and vermiculite. Keep the medium moist and provide high humidity.
25.3. Rooting Hormone
Using a rooting hormone can increase the chances of success. Apply the hormone to the cut end of the stem before planting.
25.4. Patience is Key
Be patient, as it can take several weeks or even months for the cutting to root. Once the cutting has rooted, you can transplant it into a pot with well-draining potting mix.
26. Addressing Root Bound Conditions
Recognizing and addressing root bound conditions is essential for the health of your Norfolk Island Pine.
26.1. Identifying Root Bound Issues
Signs of a root-bound plant include roots circling the bottom of the pot, slow growth, and frequent drying out of the soil.
26.2. Repotting Techniques
Carefully remove the plant from its pot and gently loosen the circling roots. You can prune some of the roots to encourage new growth.
26.3. Selecting a Larger Pot
Choose a pot that is 1-2 inches larger in diameter than the current pot. Use a well-draining potting mix and water thoroughly after repotting.
27. Norfolk Pine in Terrariums
Norfolk Island Pines can thrive in terrariums, provided certain conditions are met.
27.1. Choosing the Right Terrarium
Select a terrarium with adequate ventilation to prevent excessive humidity. A closed terrarium can lead to fungal diseases.
27.2. Soil and Drainage
Use a well-draining soil mix and ensure there is a layer of gravel at the bottom of the terrarium for drainage.
27.3. Light and Maintenance
Provide bright, indirect light and monitor the terrarium regularly. Remove any dead or decaying foliage to prevent the spread of disease.
28. Acclimatizing New Norfolk Pines
Acclimatizing new Norfolk Pines is crucial for their survival and growth.
28.1. Gradual Introduction to Light
Gradually introduce the new plant to brighter light conditions. Starting with low light and slowly increasing exposure can prevent shock.
28.2. Monitoring Humidity and Temperature
Pay close attention to humidity and temperature levels. Maintain consistent conditions to help the plant adjust to its new environment.
28.3. Avoiding Overwatering
Avoid overwatering the plant during the acclimatization period. Allow the soil to dry slightly between waterings.
29. Norfolk Pine and Vertical Gardening
Norfolk Island Pines can be incorporated into vertical gardens, adding a unique touch to your indoor space.
29.1. Selecting the Right System
Choose a vertical gardening system that provides adequate drainage and support for the plant.
29.2. Soil and Planting
Use a lightweight, well-draining soil mix and plant the Norfolk Island Pine securely in the vertical garden.
29.3. Maintenance Tips
Monitor the plant regularly and adjust watering and fertilizing as needed. Ensure the plant receives adequate light and air circulation.
30. Maximizing Growth Potential
To maximize the growth potential of your Norfolk Island Pine, focus on providing optimal conditions.
30.1. Consistent Care Routine
Establish a consistent care routine and stick to it. This includes providing adequate light, water, fertilizer, and humidity.
30.2. Monitoring Plant Health
Monitor the plant regularly for signs of pests, diseases, or nutrient deficiencies. Address any issues promptly to prevent them from becoming major problems.
30.3. Adjusting Care as Needed
Be prepared to adjust your care routine as needed based on the plant’s response. Pay attention to the plant’s needs and adapt your care accordingly.
Caring for a Norfolk Island Pine requires attention to detail and a consistent approach. By following these comprehensive tips, you can ensure your Norfolk Island Pine thrives and brings beauty to your home for years to come. For more detailed information and expert advice, visit CARS.EDU.VN.
Experiencing difficulties in finding reliable auto repair services or lacking essential knowledge for routine car maintenance? At CARS.EDU.VN, we understand these challenges and offer expert guidance to help you navigate the complexities of car care. Our comprehensive resources provide detailed information on maintenance, repair, and the latest automotive technologies, empowering you to make informed decisions. Don’t let car troubles hold you back. Visit cars.edu.vn today and discover the confidence that comes with being well-informed. Contact us at 456 Auto Drive, Anytown, CA 90210, United States, or WhatsApp at +1 555-123-4567.
FAQ: Norfolk Island Pine Care
1. How often should I water my Norfolk Island Pine?
Water when the top 1-2 inches of soil are dry, usually every 1-2 weeks, depending on the environment.
2. What type of light does a Norfolk Island Pine need?
Bright, indirect light is ideal. Avoid direct sunlight, which can scorch the needles.
3. How can I increase humidity for my Norfolk Island Pine?
Use a humidifier, humidity tray, or mist the plant regularly.
4. What is the ideal temperature for a Norfolk Island Pine?
Maintain a temperature between 65°F and 75°F (18°C to 24°C).
5. How often should I fertilize my Norfolk Island Pine?
Fertilize every 4-6 weeks during the growing season (spring and summer) with a balanced, water-soluble fertilizer.
6. When should I repot my Norfolk Island Pine?
Repot every 2-3 years, or when the plant becomes root-bound.
7. What are the common problems with Norfolk Island Pines?
Common problems include browning needles (low humidity or underwatering), yellowing needles (overwatering), and leggy growth (insufficient light).
8. Is the Norfolk Island Pine safe for pets?
Yes, it’s generally considered non-toxic to cats and dogs, but ingestion of large quantities may cause mild gastrointestinal upset.
9. Can I use tap water to water my Norfolk Island Pine?
It’s best to use filtered or distilled water to avoid chemical buildup in the soil.
10. How do I propagate a Norfolk Island Pine?
Propagate through stem cuttings, using a well-draining rooting medium and rooting hormone.