Taking care of tulips after they bloom is essential for enjoying these beautiful flowers for years to come, and CARS.EDU.VN is here to provide you with the knowledge you need to nurture your tulip bulbs and ensure vibrant blooms next season through proper bulb care and maintenance. Discover the secrets to tulip bulb care and tulip maintenance to keep them thriving, and explore related topics like bulb fertilization and pest control, all while enhancing the beauty of your garden.
1. Understanding the Tulip Life Cycle
Tulips, renowned for their vibrant colors and distinctive shapes, are perennial flowers that offer a stunning display each spring, but to truly master caring for tulips, understanding their life cycle is essential. These bulbs go through a specific annual cycle, from growth to dormancy, and knowing what happens at each stage is key to ensuring they re-bloom successfully.
- Planting: Tulip bulbs are planted in the fall, typically from September to November. This timing allows the bulbs to establish roots before the ground freezes.
- Winter Dormancy: During the winter months, tulips enter a period of dormancy. The cold temperatures are crucial for triggering the processes that will lead to spring growth.
- Spring Growth and Blooming: As temperatures rise in the spring, tulips begin to grow. They emerge from the ground, produce foliage, and eventually bloom into the vibrant flowers we admire.
- Post-Bloom Period: After blooming, tulips begin to fade. The petals drop, and the plant starts to focus on storing energy in the bulb for the next growing season.
- Summer Dormancy: By summer, the foliage of the tulip plant dies back completely. The bulb enters a state of dormancy, awaiting the cooler temperatures of fall to begin the cycle anew.
By understanding this cycle, gardeners can provide the right care at the right time, ensuring their tulips thrive year after year. CARS.EDU.VN is committed to offering you expert guidance on every aspect of tulip care, from selecting the best bulbs to understanding their unique needs.
2. Initial Steps After Blooming: Deadheading and Foliage Care
After your tulips have put on their dazzling display, the initial steps you take are vital for their future health. Deadheading and foliage care are the first lines of defense in ensuring your tulips return with just as much vigor next season.
-
Deadheading: Deadheading is the process of removing the spent flower heads from the tulip stems. This prevents the plant from wasting energy on seed production, instead directing it back into the bulb.
- To deadhead, simply cut off the flower head using clean, sharp scissors or pruning shears.
- Make the cut just below the flower head, leaving the stem and foliage intact.
-
Foliage Care: The foliage of the tulip plant plays a crucial role in photosynthesis, which is how the plant converts sunlight into energy.
- Allow the foliage to die back naturally. Do not cut it back while it is still green, as this will deprive the bulb of essential nutrients.
- As the foliage yellows and browns, it is a sign that the plant is transferring energy back into the bulb.
- Once the foliage is completely brown and dry, it can be gently removed.
These steps may seem simple, but they are essential for promoting healthy bulb development and ensuring your tulips re-bloom successfully. CARS.EDU.VN provides comprehensive resources to help you understand and implement these practices effectively.
3. Deciding to Dig Up Bulbs vs. Leaving Them In-Ground
One of the key decisions in tulip care is whether to dig up the bulbs after blooming or leave them in the ground. The choice depends on your climate, soil conditions, and the type of tulips you are growing.
-
Digging Up Bulbs: In warmer climates or areas with wet summers, it is often recommended to dig up tulip bulbs after they bloom. This helps prevent bulb rot and other diseases.
- Carefully dig up the bulbs using a garden fork, being careful not to damage them.
- Gently remove any excess soil from the bulbs.
- Allow the bulbs to dry in a well-ventilated area for a few weeks.
- Store the bulbs in a cool, dry place until fall, when they can be replanted.
-
Leaving Bulbs In-Ground: In cooler climates with well-draining soil, you may be able to leave tulip bulbs in the ground year-round.
- Ensure the soil is well-draining to prevent the bulbs from sitting in water during the winter months.
- Mulch the area to help insulate the bulbs and protect them from extreme temperature fluctuations.
- Be aware that some tulip varieties are more likely to re-bloom than others when left in the ground.
The decision to dig up or leave in-ground can significantly impact the health and longevity of your tulips. CARS.EDU.VN offers tailored advice to help you make the best choice for your specific gardening conditions.
4. How to Properly Dig Up Tulip Bulbs
If you decide to dig up your tulip bulbs after blooming, it’s essential to do it properly to avoid damaging them. Here’s a step-by-step guide to help you through the process:
- Timing: Dig up the bulbs about 6 weeks after the tulips have finished blooming. This allows the foliage to fully transfer nutrients back into the bulb.
- Preparation: Gather your tools, including a garden fork, a trowel, and a container to hold the bulbs.
- Loosening the Soil: Use the garden fork to gently loosen the soil around the tulip plants. Be careful not to insert the fork too deeply, as you could damage the bulbs.
- Lifting the Bulbs: Once the soil is loosened, use the trowel to carefully lift the bulbs out of the ground.
- Cleaning the Bulbs: Gently remove any excess soil from the bulbs. You can use your hands or a soft brush.
- Inspecting the Bulbs: Check the bulbs for any signs of damage or disease. Discard any that are soft, mushy, or show signs of rot.
- Separating Offsets: Tulip bulbs often produce small offsets, or baby bulbs, around the main bulb. These can be separated and replanted, but keep in mind that they may take a few years to reach blooming size.
Properly digging up tulip bulbs is a crucial step in ensuring their health and future blooms. CARS.EDU.VN provides detailed instructions and expert tips to help you navigate this process with confidence.
5. Drying and Storing Tulip Bulbs for the Summer
Once you’ve dug up your tulip bulbs, it’s essential to dry and store them properly over the summer months. This process helps prevent rot and ensures the bulbs are ready for replanting in the fall.
-
Drying the Bulbs: After digging up the bulbs, gently remove any excess soil and allow them to dry in a well-ventilated area.
- Spread the bulbs out in a single layer on a screen or tray.
- Ensure the area is dry and out of direct sunlight to prevent the bulbs from overheating.
- Allow the bulbs to dry for about two to three weeks, or until the outer skin is papery.
-
Cleaning the Bulbs: Once the bulbs are dry, gently remove any remaining soil or debris.
- Inspect the bulbs for any signs of disease or damage. Discard any that are soft, mushy, or show signs of rot.
- Remove any loose or papery outer layers.
-
Storing the Bulbs: Store the dried and cleaned tulip bulbs in a cool, dry, and dark place.
- Ideal storage conditions include a temperature between 60-65°F (15-18°C) and low humidity.
- Place the bulbs in a mesh bag, pantyhose, or a container with good ventilation.
- Avoid storing the bulbs in plastic bags, as this can trap moisture and lead to rot.
-
Labeling: Label the containers with the tulip variety and any other relevant information, such as the color or bloom time.
Proper drying and storage are essential for preserving the health of your tulip bulbs over the summer. CARS.EDU.VN offers in-depth advice and storage solutions to help you keep your bulbs in top condition.
6. Replanting Tulip Bulbs in the Fall
As fall approaches, it’s time to replant your tulip bulbs. This is a crucial step in ensuring they will bloom again next spring.
- Timing: The best time to plant tulip bulbs is in the fall, typically from September to November. The goal is to plant them before the ground freezes but after the soil has cooled down.
- Location: Choose a sunny location with well-draining soil. Tulips thrive in areas that receive at least six hours of sunlight per day.
- Soil Preparation: Prepare the soil by loosening it to a depth of about 12 inches. Amend the soil with compost or other organic matter to improve drainage and fertility.
- Planting Depth: Plant tulip bulbs about 6-8 inches deep, with the pointed end facing up. Space the bulbs about 4-6 inches apart.
- Watering: After planting, water the bulbs thoroughly. This helps settle the soil and encourages root growth.
- Mulching: Apply a layer of mulch, such as straw or wood chips, to help insulate the soil and retain moisture.
- Fertilizing: Consider applying a bulb fertilizer at planting time to provide the bulbs with essential nutrients.
Replanting tulip bulbs in the fall is a rewarding experience that sets the stage for a beautiful spring display. CARS.EDU.VN offers comprehensive guidance on every aspect of bulb planting, ensuring your tulips get off to the best possible start.
7. Caring for Tulips in Containers
Growing tulips in containers is a great way to add color to patios, balconies, and other small spaces. However, caring for tulips in containers requires some special considerations.
- Choosing the Right Container: Select a container that is at least 12 inches deep and has good drainage holes.
- Potting Mix: Use a high-quality potting mix that is well-draining. Avoid using garden soil, as it can become compacted in containers.
- Planting Depth: Plant tulip bulbs about 6-8 inches deep in the container, with the pointed end facing up. Space the bulbs about 2-3 inches apart.
- Watering: Water the bulbs thoroughly after planting and keep the soil consistently moist but not waterlogged.
- Cold Treatment: Tulips require a period of cold dormancy to bloom properly. If you live in a warm climate, you may need to chill the bulbs in the refrigerator for 12-16 weeks before planting.
- Fertilizing: Fertilize the tulips with a balanced fertilizer in the spring when they begin to grow.
- Sunlight: Place the container in a sunny location that receives at least six hours of sunlight per day.
- Post-Bloom Care: After the tulips have finished blooming, you can either discard the bulbs or try to save them for the next year. To save them, follow the same steps as for in-ground tulips: deadhead the flowers, allow the foliage to die back, and then dig up the bulbs.
Caring for tulips in containers can be a rewarding experience, bringing vibrant colors to your outdoor spaces. CARS.EDU.VN offers expert advice on container gardening, helping you create stunning displays with ease.
8. Common Problems and Solutions
Even with the best care, tulips can sometimes encounter problems. Here are some common issues and their solutions:
| Problem | Cause | Solution |
|---|---|---|
| Bulb Rot | Poor drainage, overwatering | Ensure well-draining soil, avoid overwatering, dig up and discard affected bulbs |
| Pests (e.g., aphids) | Infestation by pests | Use insecticidal soap or neem oil to control pests |
| Fungal Diseases | Humid conditions, poor air circulation | Provide good air circulation, use a fungicide if necessary |
| Lack of Blooms | Insufficient cold period, poor soil fertility | Ensure adequate cold period (12-16 weeks), fertilize with a bulb fertilizer |
| Animal Damage | Squirrels, deer, voles | Use netting or fencing to protect bulbs, apply repellents |
Identifying and addressing problems promptly can help keep your tulips healthy and vibrant. CARS.EDU.VN provides detailed information on common tulip ailments and how to treat them effectively.
9. Selecting the Right Tulip Varieties for Reblooming
Not all tulip varieties are created equal when it comes to reblooming. Some are more likely to return year after year than others. Here are some varieties known for their reblooming capabilities:
- Darwin Hybrid Tulips: These are among the most reliable rebloomers. They produce large, vibrant flowers and are known for their hardiness.
- Greigii Tulips: These tulips are shorter than many other varieties, but they are excellent rebloomers and have attractive mottled foliage.
- Kaufmanniana Tulips: Also known as waterlily tulips, these early bloomers are reliable rebloomers and have a distinctive shape.
- Fosteriana Tulips: These tulips produce large, showy flowers and are known for their reblooming capabilities.
Choosing the right varieties can significantly increase your chances of enjoying tulips year after year. CARS.EDU.VN offers a curated selection of top-performing tulip varieties, ensuring you get the best results in your garden.
10. Fertilizing Tulips for Optimal Growth
Fertilizing tulips is essential for providing them with the nutrients they need to grow and bloom. Here are some tips for fertilizing your tulips:
- Timing: Fertilize tulips twice a year: once in the fall when planting the bulbs and again in the spring when they begin to grow.
- Type of Fertilizer: Use a bulb fertilizer that is specifically formulated for tulips. These fertilizers typically have a higher phosphorus content, which promotes strong root growth and abundant blooms.
- Application: Follow the instructions on the fertilizer package for application rates. In general, you can sprinkle the fertilizer around the base of the plants and then water it in.
- Organic Options: If you prefer organic gardening, you can use bone meal or compost as a fertilizer. These provide a slow-release source of nutrients.
- Avoid Over-Fertilizing: Be careful not to over-fertilize tulips, as this can lead to excessive foliage growth and fewer blooms.
Proper fertilization is key to healthy, vibrant tulips. CARS.EDU.VN provides detailed advice on selecting and applying fertilizers, ensuring your tulips receive the nutrients they need to thrive.
11. Protecting Tulips from Pests and Diseases
Protecting tulips from pests and diseases is crucial for maintaining their health and beauty. Here are some common pests and diseases that affect tulips, as well as strategies for prevention and control:
| Pest/Disease | Symptoms | Prevention | Control |
|---|---|---|---|
| Aphids | Distorted leaves, sticky residue | Encourage beneficial insects, monitor plants regularly | Use insecticidal soap or neem oil |
| Slugs/Snails | Holes in leaves | Remove debris, use slug bait or copper tape | Handpick slugs/snails, use diatomaceous earth |
| Tulip Fire | Grayish spots on leaves and flowers | Ensure good air circulation, remove infected plants promptly | Use a fungicide |
| Bulb Rot | Soft, mushy bulbs | Ensure well-draining soil, avoid overwatering | Discard affected bulbs |
| Gray Mold (Botrytis) | Fuzzy gray mold on leaves and flowers | Provide good air circulation, remove infected plants promptly | Use a fungicide |
Implementing proactive measures and addressing problems promptly can help keep your tulips healthy and disease-free. CARS.EDU.VN offers expert guidance on pest and disease management, ensuring your tulips remain vibrant and beautiful.
12. Understanding Tulip Reblooming Challenges
While many tulip varieties can rebloom, it’s important to understand that tulips are not always reliable perennials. Several factors can affect their ability to rebloom, including:
- Climate: Tulips prefer cool winters and dry summers. In warmer climates, they may not receive the necessary cold period to trigger blooming.
- Soil Conditions: Tulips require well-draining soil. If the soil is too wet, the bulbs can rot.
- Nutrient Availability: Tulips need adequate nutrients to grow and bloom. If the soil is deficient in nutrients, they may not rebloom.
- Pest and Disease Pressure: Pests and diseases can weaken tulips and reduce their ability to rebloom.
- Variety: Some tulip varieties are more likely to rebloom than others.
Understanding these challenges can help you manage your expectations and provide the best possible care for your tulips. CARS.EDU.VN offers valuable insights into the factors that influence reblooming, helping you create a thriving tulip garden.
13. Tips for Encouraging More Blooms
While there’s no guarantee that your tulips will rebloom, there are several things you can do to increase your chances of success:
- Choose the Right Varieties: Select tulip varieties that are known for their reblooming capabilities, such as Darwin Hybrids, Greigii, and Kaufmanniana tulips.
- Provide Proper Care: Follow the steps outlined in this guide, including deadheading, foliage care, digging up bulbs, drying and storing them properly, and replanting in the fall.
- Improve Soil Drainage: Ensure the soil is well-draining to prevent bulb rot. Amend the soil with compost or other organic matter to improve drainage and fertility.
- Fertilize Regularly: Fertilize tulips twice a year, in the fall and spring, with a bulb fertilizer.
- Protect from Pests and Diseases: Monitor your tulips regularly and take steps to prevent and control pests and diseases.
- Consider a Cold Treatment: If you live in a warm climate, consider chilling the bulbs in the refrigerator for 12-16 weeks before planting.
By following these tips, you can create an environment that is conducive to reblooming and enjoy your tulips for years to come. CARS.EDU.VN is committed to providing you with the knowledge and resources you need to succeed in your gardening endeavors.
14. Extending the Bloom Season with Different Tulip Types
To enjoy a longer tulip season, consider planting a variety of tulips with different bloom times. Here’s a general guide to tulip bloom times:
- Early Spring: Kaufmanniana, Fosteriana, and Greigii tulips are among the first to bloom.
- Mid-Spring: Single Early, Double Early, and Triumph tulips bloom in mid-spring.
- Late Spring: Darwin Hybrid, Single Late, and Lily-flowered tulips bloom in late spring.
By planting a mix of early, mid, and late-blooming tulips, you can extend the tulip season and enjoy their vibrant colors for a longer period. CARS.EDU.VN offers a diverse selection of tulip bulbs, allowing you to create a stunning, long-lasting display in your garden.
15. Naturalizing Tulips for a Wildflower Look
Naturalizing tulips involves planting them in a way that allows them to spread and create a more natural, wildflower-like appearance. Here are some tips for naturalizing tulips:
- Choose the Right Varieties: Select tulip varieties that are known for their ability to naturalize, such as species tulips and Darwin Hybrids.
- Plant in Informal Groups: Instead of planting tulips in neat rows, plant them in informal groups or drifts.
- Scatter the Bulbs: Toss the bulbs onto the ground and plant them where they land for a more natural look.
- Plant at Varying Depths: Plant the bulbs at slightly different depths to mimic the way they would grow in nature.
- Allow Foliage to Die Back: Do not cut back the foliage until it has completely died back, as this allows the bulbs to store energy for the next growing season.
- Avoid Over-Maintaining: Let the tulips naturalize on their own without too much intervention.
Naturalizing tulips can create a beautiful, low-maintenance display that enhances the natural beauty of your landscape. CARS.EDU.VN offers expert advice on naturalizing tulips, helping you create a stunning, carefree garden.
16. Using Tulips in Cut Flower Arrangements
Tulips make excellent cut flowers, adding a touch of elegance and color to any room. Here are some tips for using tulips in cut flower arrangements:
- Harvesting: Cut the tulips when the buds are just beginning to show color.
- Cutting Technique: Use a sharp knife or scissors to cut the stems at an angle.
- Watering: Place the tulips in a vase with fresh, cool water. Add flower food to the water to prolong their vase life.
- Arranging: Arrange the tulips in a vase with other flowers or on their own. Consider using tulips of different colors and varieties to create a visually appealing arrangement.
- Maintenance: Change the water every day and recut the stems to keep the tulips fresh.
Using tulips in cut flower arrangements is a great way to bring the beauty of your garden indoors. CARS.EDU.VN offers creative ideas and expert tips on floral arranging, helping you create stunning displays with ease.
17. Understanding Tulip Color Symbolism
Tulips come in a wide range of colors, each with its own symbolism. Understanding the meaning behind tulip colors can add an extra layer of significance to your garden or floral arrangements:
- Red: Represents love and passion.
- Pink: Symbolizes caring and attachment.
- Yellow: Once symbolized hopeless love, now represents cheerful thoughts and sunshine.
- White: Signifies forgiveness and purity.
- Purple: Represents royalty.
Choosing tulips based on their color symbolism can add depth and meaning to your garden. CARS.EDU.VN offers insights into flower symbolism, helping you create a garden that is not only beautiful but also meaningful.
18. Tulip Care in Different Climate Zones
Tulip care can vary depending on your climate zone. Here are some considerations for different climate zones:
- Cold Climates (Zones 3-5): Tulips thrive in cold climates, as they require a long period of cold dormancy. Ensure the soil is well-draining and mulch the bulbs to protect them from extreme temperatures.
- Temperate Climates (Zones 6-7): Tulips also do well in temperate climates. Provide adequate sunlight and well-draining soil.
- Warm Climates (Zones 8-10): In warmer climates, tulips may not receive the necessary cold period to bloom properly. Consider chilling the bulbs in the refrigerator for 12-16 weeks before planting.
Adapting your tulip care to your specific climate zone can help ensure their health and success. CARS.EDU.VN offers tailored advice for gardeners in different regions, helping you overcome climate-related challenges and create a thriving garden.
19. Advanced Techniques for Tulip Reblooming
For advanced gardeners looking to maximize their chances of tulip reblooming, here are some techniques to consider:
- Double-Nosing: This involves planting two bulbs in the same hole to increase the chances of at least one bulb reblooming.
- Bulb Division: Carefully divide tulip bulbs every few years to prevent overcrowding and promote healthier growth.
- Deep Planting: Planting tulips deeper than usual can help protect them from temperature fluctuations and promote reblooming.
- Soil Testing: Test your soil to determine its nutrient content and pH level. Amend the soil as needed to provide the ideal growing conditions for tulips.
These advanced techniques can help you take your tulip gardening to the next level. CARS.EDU.VN offers in-depth resources for experienced gardeners, helping you refine your skills and achieve outstanding results.
20. Frequently Asked Questions (FAQs) About Tulip Care After Blooming
Here are some frequently asked questions about tulip care after blooming:
- Should I cut off the leaves after the tulips bloom? No, you should allow the foliage to die back naturally, as this is how the plant stores energy in the bulb for the next growing season.
- When is the best time to dig up tulip bulbs? About 6 weeks after the tulips have finished blooming.
- How should I store tulip bulbs over the summer? In a cool, dry, and dark place.
- Do all tulip varieties rebloom? No, some tulip varieties are more likely to rebloom than others.
- How deep should I plant tulip bulbs? About 6-8 inches deep.
- Can I grow tulips in containers? Yes, but they require some special considerations, such as well-draining potting mix and a cold treatment.
- What is bulb rot? A disease that affects tulip bulbs, causing them to become soft and mushy. It is often caused by poor drainage or overwatering.
- How can I protect my tulips from pests? By monitoring your plants regularly and using insecticidal soap or neem oil to control pests.
- Should I fertilize my tulips? Yes, fertilize tulips twice a year, in the fall and spring, with a bulb fertilizer.
- What does it mean to naturalize tulips? Planting them in a way that allows them to spread and create a more natural, wildflower-like appearance.
Understanding the ins and outs of tulip care ensures that you can create the perfect environment for these flowers to flourish. For reliable information and expert guidance on all aspects of automotive care, visit CARS.EDU.VN at 456 Auto Drive, Anytown, CA 90210, United States or contact us via Whatsapp at +1 555-123-4567.
Navigating the world of tulip care can sometimes feel like a maze, but with the right knowledge, you can cultivate a vibrant and thriving garden. Remember, CARS.EDU.VN is your trusted source for expert advice, and just as we provide top-notch information for your vehicles, we’re here to steer you towards success in your gardening endeavors.
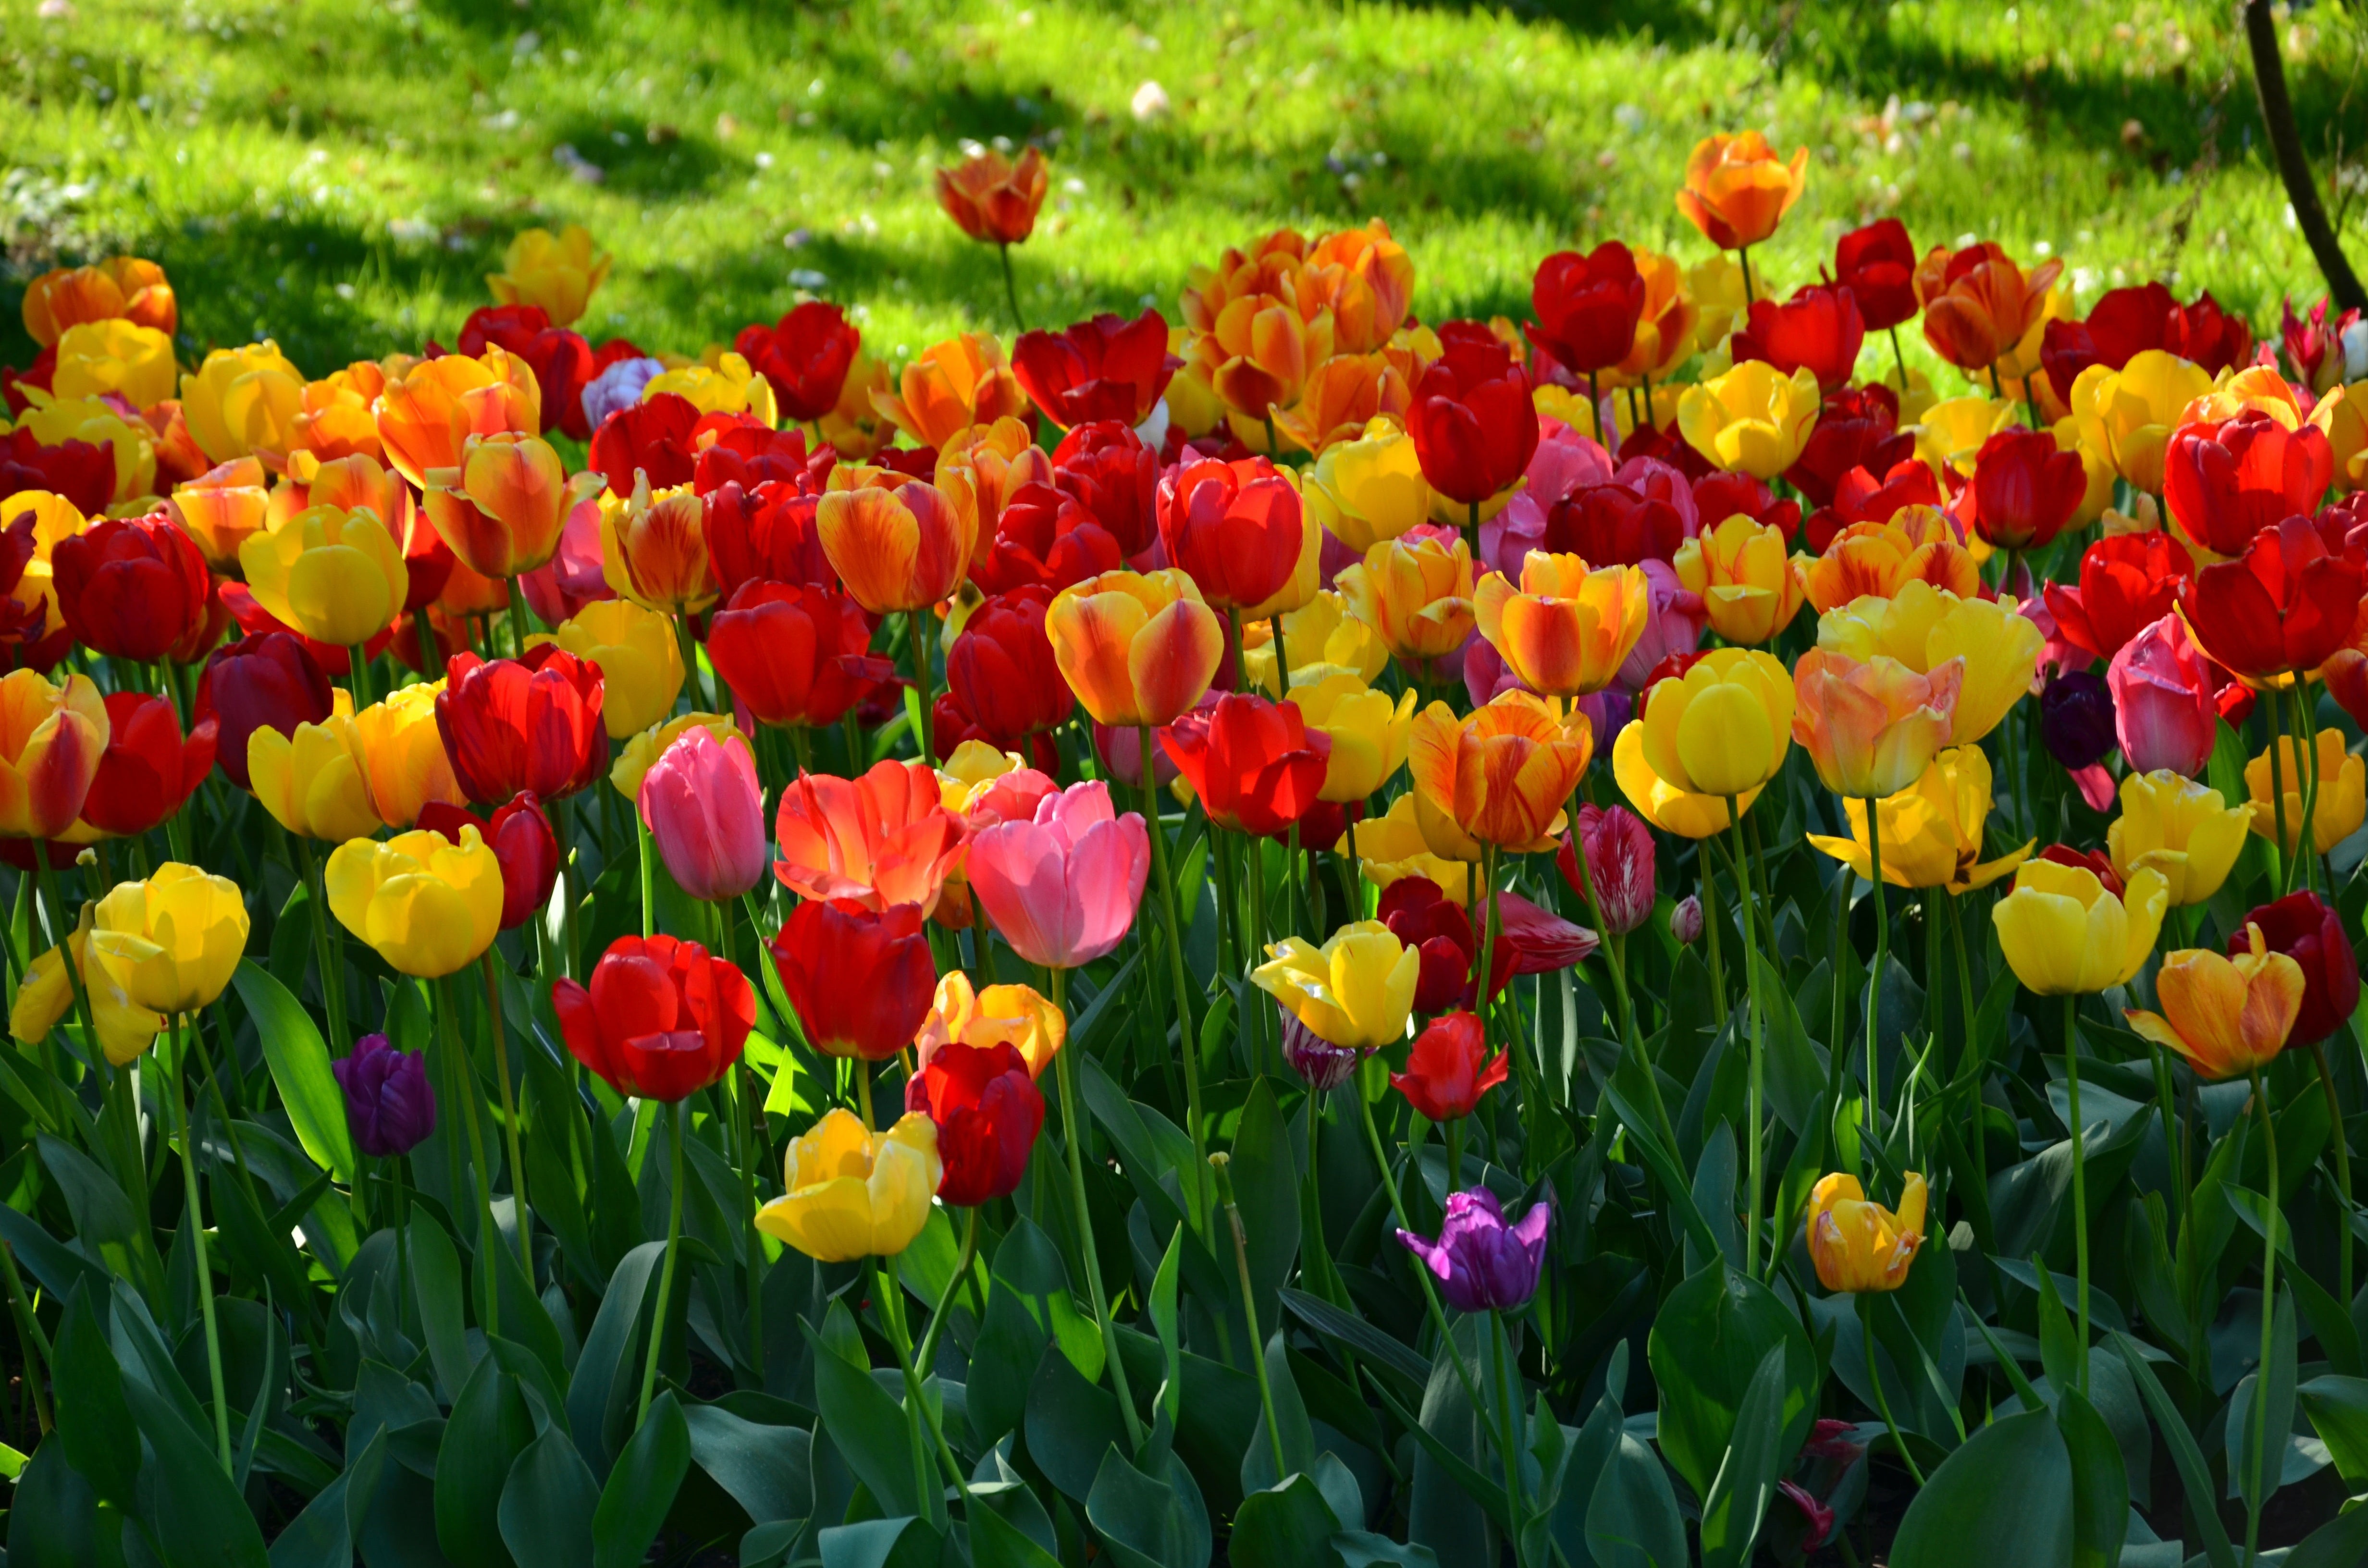 Tulip Bulbs Jumbo Darwin Hybrid Mix
Caption: Vibrant tulip bulbs of the Jumbo Darwin Hybrid Mix variety, known for their large, showy flowers and reliable reblooming capabilities.
Let CARS.EDU.VN be your guide, providing you with the tools and knowledge you need to succeed, whether you’re tending to your car or your garden. We’re committed to helping you achieve your goals, one expert tip at a time. Visit cars.edu.vn today to explore our comprehensive resources and discover how we can help you live your best life.