Experiencing a dead car battery, especially when you’re in a hurry, is a common frustration for drivers. It often happens at the most inconvenient times, turning a regular day into a stressful one. The good news is, learning How To Charge A Car Battery yourself is a straightforward process. This guide will walk you through the simple steps to get your car battery charged and get you back on the road.
Charging Your Car Battery with a Battery Charger: Step-by-Step
Charging a car battery at home is easier than you might think, especially with a battery charger. Here’s a detailed guide on how to safely and effectively charge your car battery:
1. Battery Preparation and Safety Precautions
Before you begin, it’s important to ensure both your safety and prepare the battery for charging. While many modern vehicles allow for charging the battery while it’s still in the car, some older models or specific situations may require battery removal. Check your vehicle’s manual for specific instructions. If removal is necessary, carefully lift the battery out of its tray.
Regardless of whether you remove the battery, the next crucial step is to eliminate any electrical drain from your vehicle. Turn off all car electronics, including interior lights, the radio, and any accessories that might be drawing power. This ensures that all the charging power goes directly to the battery.
2. Disconnecting Battery Cables: Negative First
Safety is paramount when working with car batteries. Always start by disconnecting the negative cable first. This prevents accidental short circuits.
- Identify the Negative Terminal: The negative cable is typically black and marked with a “-” symbol on the terminal.
- Identify the Positive Terminal: The positive cable is usually red and marked with a “+” symbol.
If your battery terminals have plastic protective caps, gently pry them open to access the terminals. Using a wrench, carefully loosen the nut on the negative cable clamp. Once loose, detach the negative cable and move it away from the battery. It’s crucial to position the negative cable far from the positive terminal to prevent any accidental electrical connection during the charging process. Repeat this disconnection process for the positive cable and terminal.
3. Cleaning Battery Terminals for Optimal Charging
Clean battery terminals are essential for efficient charging and preventing future issues. Corrosion or dirt on the terminals can hinder the charging process. Always prioritize safety by wearing hand, face, and eye protection during cleaning.
Use a terminal cleaning brush to effectively remove any corrosive buildup, dirt, or grime from both the positive and negative terminals. For a more thorough cleaning, you can use a commercial battery terminal cleaning solution. Alternatively, a DIY solution of baking soda and water works effectively to neutralize battery acid. Apply the cleaning solution, scrub with the brush, and then wipe clean with a cloth.
4. Connecting the Car Battery Charger Correctly
Before connecting your charger, always ensure that the car battery charger is powered off. Your battery charger may come with specific operating instructions, and it’s crucial to prioritize those instructions if they differ from these general guidelines.
Connect the red (positive) charger cable to the positive (+) terminal of your car battery first. Then, connect the black (negative) charger cable to the negative (-) terminal of your battery. It is vital to connect the positive cable first, followed by the negative cable. Reversing this order can pose a safety risk and potentially damage your battery or charger.
Once the connections are secure, you can power on your car battery charger. Start by setting the charger to its lowest charging rate. If your charger has a timer function, set it for the appropriate charging duration. Refer to your vehicle owner’s manual or search online for the recommended charging time for your specific car battery. Charging times can vary depending on the battery type and its level of depletion.
5. Disconnecting the Charger After Charging
Once the car battery charger has completed the charging cycle, it’s time to disconnect it. Some chargers are equipped with a meter or indicator that signals when charging is complete and it’s safe to disconnect. Before touching any cables or controls, ensure you power off the charger completely.
After the charger is off, disconnect the positive (red) cable from the battery terminal first, followed by the negative (black) cable. If you removed the battery in step 1, carefully place it back into its holding tray and secure it with the hold-down clamp(s). Finally, reconnect the car battery cables to the terminals, remembering to connect the positive cable first, and then the negative cable.
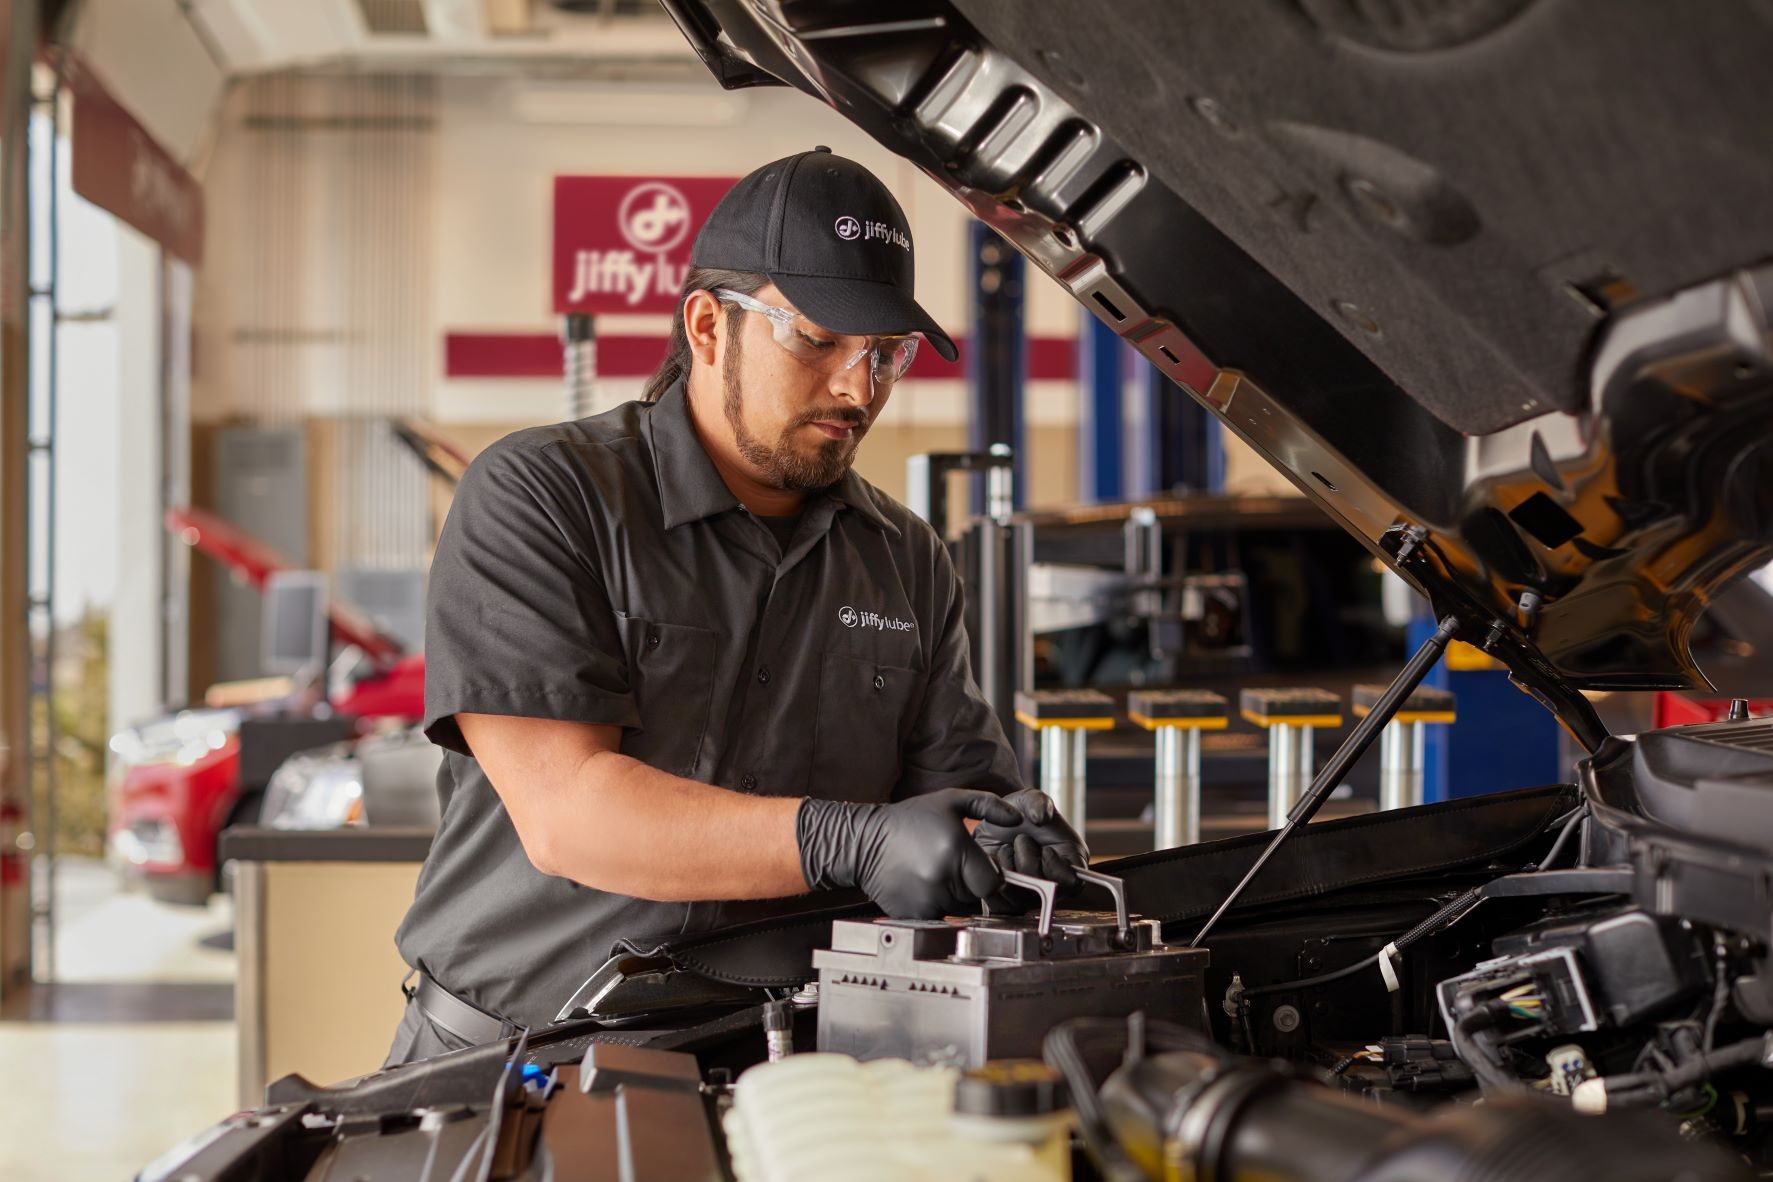 A JiffyLube Technician changes out a customer car battery
Alt text: Jiffy Lube technician expertly replacing a car battery, highlighting automotive battery service and maintenance.
The Importance of Regular Car Battery Checks
Knowing how to charge a car battery is a useful skill, but remember that consistent car maintenance is key to preventing battery issues in the first place. Even after successfully charging your battery, it’s important to understand that a dead battery can sometimes indicate underlying problems or that your battery might be nearing the end of its lifespan.
For a comprehensive battery health assessment, consider bringing your vehicle to a trusted service provider like Jiffy Lube®. At any of the numerous Jiffy Lube locations, trained technicians can perform a thorough battery check. They will visually inspect your battery for any damage, check the connections, and assess the fluid level (if applicable). Furthermore, they will conduct tests to determine your battery’s strength, its Open Circuit Voltage (OCV), and its ability to hold a charge. They can also evaluate the performance of your car’s alternator and starter.
Making a battery check a routine part of your car maintenance schedule is a proactive approach to avoid unexpected battery failures. Consider having your battery inspected every time you get an oil change. Ask the Jiffy Lube technician to include a battery inspection as part of your regular service to ensure your car battery is in optimal condition and reliable for the long haul.
Explore More Battery Services
Now that you’ve learned how to charge a car battery, Jiffy Lube offers a range of battery services to help you maintain and care for your car battery. Check out Jiffy Lube’s battery services to learn more about how they can assist you in keeping your car battery in top shape.
Note: Service availability may vary by Jiffy Lube location. Please contact your local Jiffy Lube or visit jiffylube.com to verify service availability.