Maintaining your vehicle is crucial for its longevity and performance, and one of the most basic yet vital tasks is checking your car’s oil. Many drivers feel uncertain about how to check their oil level, but it’s a straightforward process that can save you from potential engine problems down the road. Whether you’re a seasoned car enthusiast or a new driver, understanding how to check your car oil is a valuable skill.
This guide will walk you through the steps of manually checking your car’s oil level. While modern cars sometimes feature digital dashboard monitors to keep you informed about your oil, knowing the manual method is still essential. Remember, these are general guidelines. Always consult your vehicle’s owner’s manual for the manufacturer’s specific recommendations tailored to your car model.
Why Checking Your Car Oil is Important
Regularly checking your car oil is more than just routine maintenance; it’s a proactive measure to ensure your engine’s health. Engine oil is the lifeblood of your vehicle, lubricating the engine’s many moving parts, reducing friction, and dissipating heat. Low oil levels or dirty oil can lead to increased engine wear, overheating, and potentially serious engine damage. By checking your oil regularly, you can:
- Prevent Engine Damage: Ensure your engine parts are properly lubricated, minimizing wear and tear.
- Catch Leaks Early: A consistently low oil level, even after topping off, could indicate a leak that needs attention.
- Maintain Engine Performance: Clean and sufficient oil helps your engine run smoothly and efficiently.
- Save Money on Repairs: Early detection of oil issues can prevent costly engine repairs in the future.
Tools You’ll Need
Fortunately, checking your car oil requires minimal tools. You’ll likely only need:
- Rag or Paper Towels: Oil checks can get a little messy, so having something to wipe the dipstick and your hands is essential.
- Funnel (Optional but Recommended for Adding Oil): If you need to add oil, a funnel will help prevent spills and ensure accurate pouring.
- Correct Type of Motor Oil (If Topping Off): Your owner’s manual will specify the correct oil grade for your vehicle (e.g., 0W-20, 5W-30). Using the wrong type can affect engine performance.
Step-by-Step Guide: How to Manually Check Your Car Oil
Here’s a simple, step-by-step guide to checking your car’s oil level manually:
- Prepare Your Vehicle: Park your car on a level surface. This ensures an accurate oil level reading. Turn off the engine completely and allow it to cool down. While some manufacturers recommend checking oil when the engine is warm, checking it cold minimizes the risk of burns from hot engine components and allows the oil to settle in the pan for a more precise reading. However, always refer to your owner’s manual for the recommended engine temperature for your specific vehicle.
- Locate the Hood Release and Open the Hood: The hood release is usually located inside the car, often under the dashboard on the driver’s side. Once released, go to the front of your car and find the hood latch to fully open the hood and secure it with the prop rod.
- Find the Oil Dipstick: The oil dipstick is typically easy to identify in the engine bay. Look for a brightly colored handle, often orange or yellow, that is clearly labeled or shaped like a loop for easy pulling. It’s usually located near the engine block. If you’re unsure, consult your owner’s manual for the exact location.
- Pull Out and Wipe the Dipstick: Gently pull the dipstick straight out of its tube. Use your rag or paper towel to thoroughly wipe off any oil from the dipstick. This initial reading is often messy and not accurate.
- Re-insert and Remove the Dipstick Again: Push the dipstick all the way back into its tube until it’s fully seated. Then, pull it out again, this time to get an accurate oil level reading.
- Read the Oil Level: Hold the dipstick horizontally, with the tip facing downwards, in good lighting. Examine the end of the dipstick to see where the oil level mark is. Dipsticks use various markings to indicate the correct oil level. Common markings include:
- Two Pinholes: The oil level should be between the two pinholes.
- “L” and “H” or “MIN” and “MAX”: “L” or “MIN” indicates the low level, and “H” or “MAX” indicates the high level. The oil level should be somewhere between these marks, ideally closer to “H” or “MAX.”
- Crosshatched Area: If your dipstick has a crosshatched area, the oil streak should be within this area. If the oil level is within these marks or the crosshatched area, your oil level is generally good.
- Determine if Oil is Needed: If the oil level is at or below the “L” or “MIN” mark, or below the lower pinhole or crosshatch line, your car needs oil. If the level is within the acceptable range, you’re good to go for now.
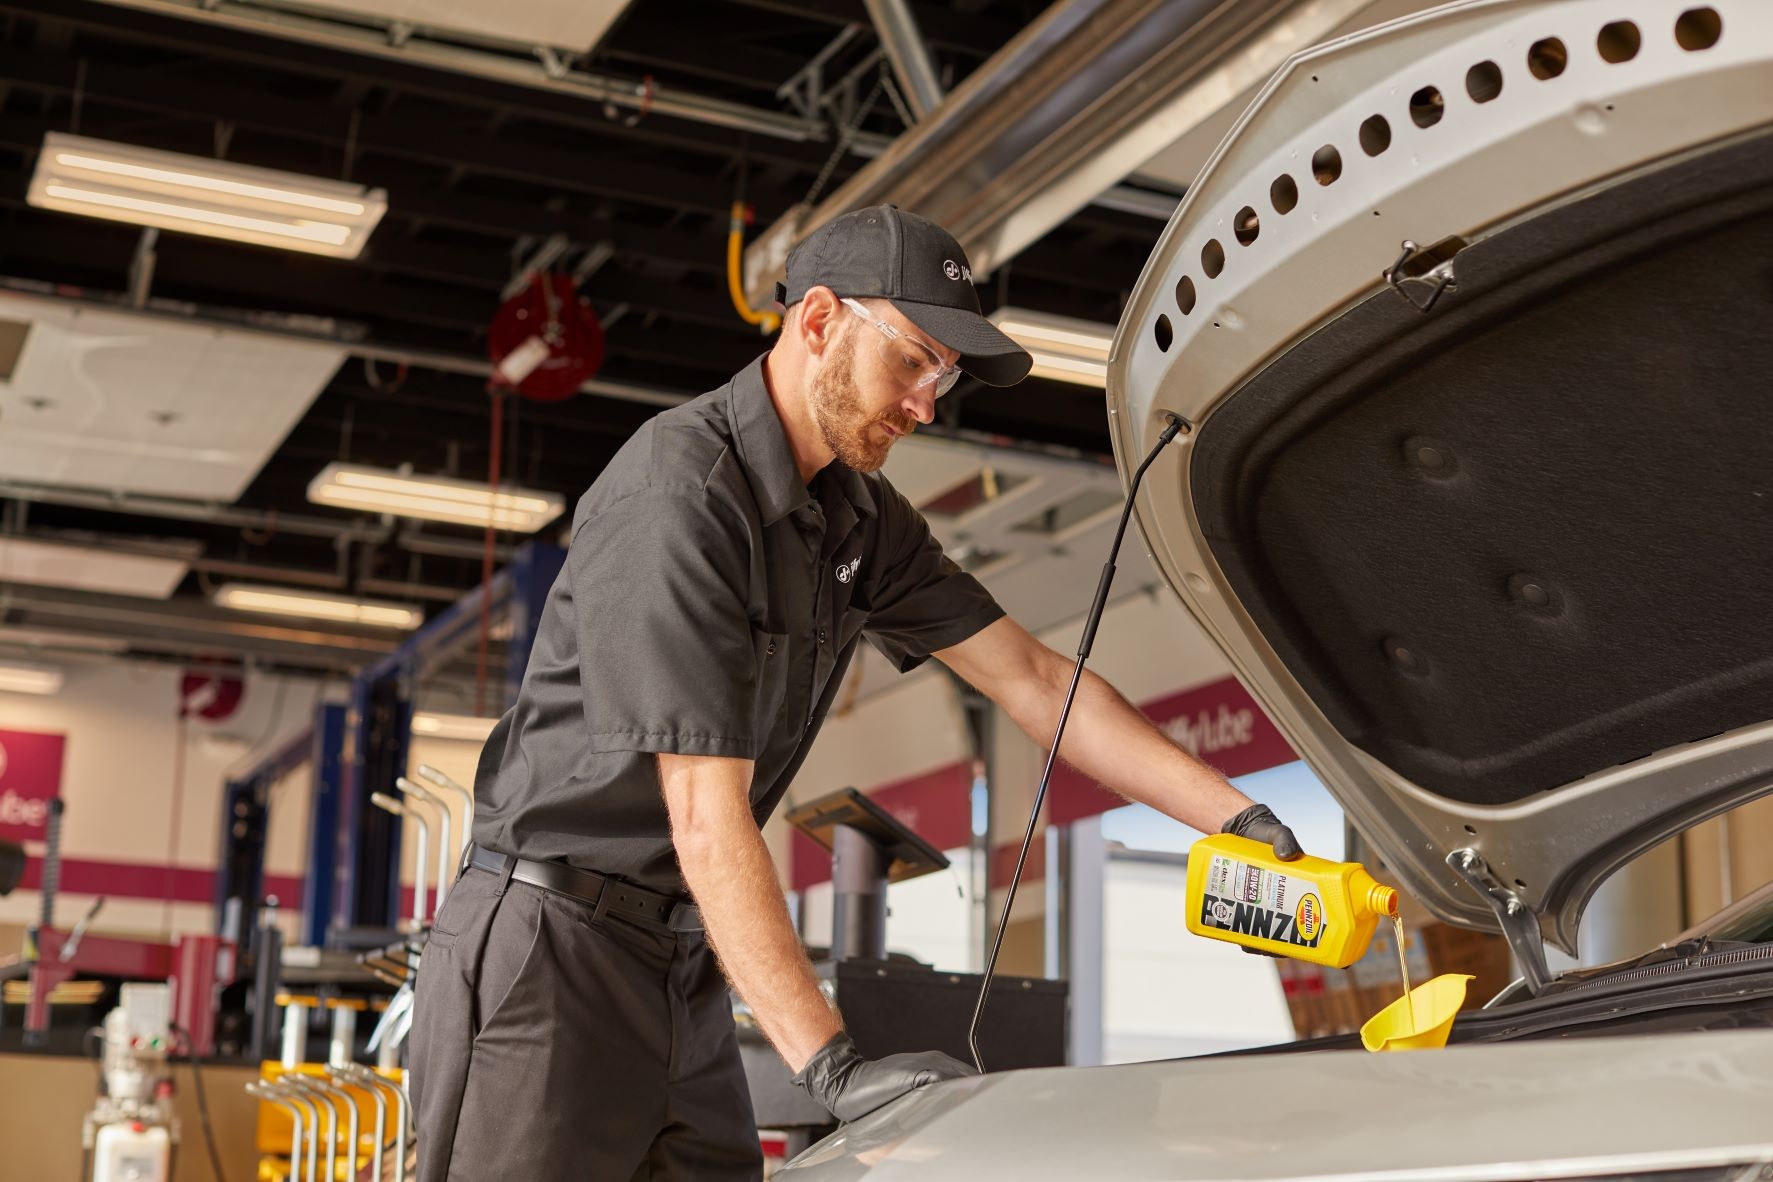 Jiffy lube technician conducting an oil change in order to prevent engine wear
Understanding Your Dipstick Readings
Dipsticks are designed to clearly show you whether your oil level is sufficient. Familiarize yourself with the specific markings on your dipstick to accurately interpret the oil level:
- Two Pinholes: The lower pinhole typically indicates the “low” or minimum level, and the upper pinhole indicates the “full” or maximum level. Ideally, your oil level should be at or near the upper pinhole.
- “L” and “H” (Low and High) or “MIN” and “MAX”: These markings are straightforward. “L” or “MIN” shows the minimum acceptable level, and “H” or “MAX” shows the maximum. Aim for a level between these, but closer to “H” or “MAX” for optimal engine lubrication.
- Crosshatched Area: This textured area on the dipstick represents the safe operating range for your oil level. As long as the oil streak falls within this crosshatching, your oil level is adequate.
If your oil level is consistently low, even after adding oil, it’s crucial to investigate further for potential leaks or other engine issues.
What to Do If Your Oil is Low
If your dipstick reading indicates a low oil level, you’ll need to add oil. Here’s how to top off your car oil:
- Identify the Oil Filler Cap: Locate the oil filler cap under the hood. It’s usually on top of the engine and clearly marked with an oil can symbol and often indicates the oil grade.
- Remove the Oil Filler Cap: Unscrew and remove the oil filler cap.
- Use a Funnel (Recommended): Place a funnel into the oil filler neck to prevent spills.
- Add Oil Gradually: Pour in the recommended grade of oil, a little at a time. It’s best to start with about half a quart (approximately 16 ounces). Overfilling can be as damaging as underfilling, potentially causing engine problems.
- Wait and Re-check: After adding oil, wait for a minute or two to allow the oil to settle in the oil pan. Then, re-insert the dipstick, remove it, and check the oil level again, following the steps above.
- Add More Oil if Needed: If the oil level is still below the desired mark, add the rest of the quart or a bit more, checking the dipstick after each addition until you reach the correct level.
- Replace the Filler Cap: Once the oil level is correct, securely replace the oil filler cap.
How Often Should You Check Your Car Oil?
Regular oil checks are essential for preventative maintenance. A good rule of thumb is to check your car oil at least once a month and ideally before any long road trips. Some experts even recommend checking it every time you fill up your gas tank.
In addition to manual checks, pay attention to your car’s dashboard. Many newer vehicles have oil monitoring systems that will alert you if your oil level is low or if there’s a problem. However, even with these systems, manual checks provide a more direct and reliable way to monitor your oil level.
When to Seek Professional Help
While checking and topping off your car oil is a simple DIY task, there are times when it’s best to seek professional help. If you are uncomfortable performing the check yourself, or if you notice any of the following, it’s wise to visit a trusted service center like Jiffy Lube®:
- Consistently Low Oil Levels: If your oil level drops quickly and frequently, even after topping it off, you may have a leak or other engine issue that requires professional diagnosis and repair.
- Dirty or Contaminated Oil: If you notice your oil is very dark, gritty, or has a milky appearance, it could indicate contamination or the need for an oil change.
- Unsure About Oil Type: If you’re unsure about the correct type of oil for your vehicle or can’t locate your owner’s manual, a professional technician can provide guidance and ensure you use the right oil.
- No Time or Inclination for DIY: If you prefer not to handle car maintenance yourself, professional service centers like Jiffy Lube® can perform oil checks, oil changes, and other maintenance services efficiently.
At Jiffy Lube®, trained technicians can not only check your oil level but also advise you on the best motor oil for your driving conditions and help you determine if you need an oil change or just a top-off. They can also provide complimentary fluid top-off services between oil changes, ensuring your vehicle’s vital fluids are always at optimal levels.
Conclusion
Checking your car oil is a quick and easy maintenance task that can significantly contribute to your vehicle’s health and longevity. By following these simple steps and making oil checks a regular part of your car care routine, you can ensure your engine stays properly lubricated, prevent potential damage, and enjoy a smoother, more reliable driving experience. Whether you choose to check your oil yourself or prefer professional service, prioritizing this essential maintenance step is key to keeping your car running its best for years to come.