Installing a new license plate might seem like a daunting task, but it’s actually a straightforward process that every car owner should be comfortable with. Whether you’ve just purchased a new vehicle, replaced a damaged plate, or are transferring plates, knowing how to correctly install your car plates is essential for legal compliance and vehicle identification. With just a few basic tools and a few minutes of your time, you can easily complete this task yourself. This guide will walk you through each step to ensure your new license plates are securely and correctly installed.
Tools You’ll Need for License Plate Installation
Before you begin, gather the necessary tools to make the installation process smooth and efficient. Luckily, you likely already have everything you need. Here’s what you should have on hand:
- Screwdrivers: You’ll need both a Phillips head and a flathead screwdriver. The type of screw used for your license plate will determine which screwdriver you need. Having both ensures you’re prepared for any type.
- New License Plates: Of course, you’ll need your new license plates. Make sure you have the correct plates for your vehicle and registration.
- Screws: Ideally, reuse the screws from your old license plate if they are in good condition. If you’re missing screws or they are rusty or damaged, use new license plate screws. New vehicles sometimes come with extra screws located in the glove compartment or console.
Step-by-Step Guide to Installing Your License Plates
Follow these simple steps to properly install your new car plates:
Step 1: Gather Your Tools and Supplies
Ensure you have all the tools and supplies listed above readily available before starting the installation. This will prevent any interruptions and make the process quicker. Having everything prepared will streamline the entire task and keep it under a few minutes.
Step 2: Remove the Old License Plate
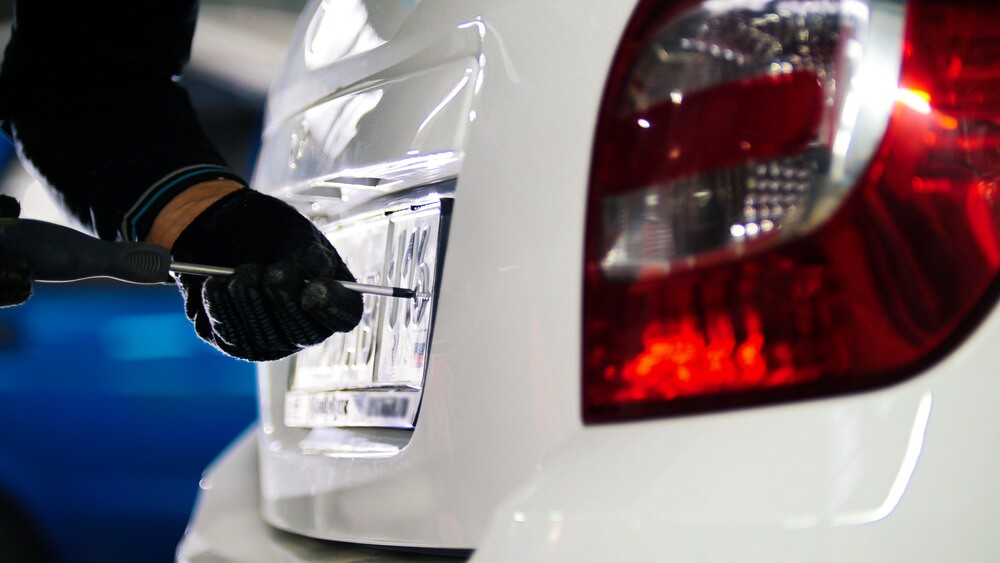
If you are replacing an existing license plate, you’ll need to remove the old one first. Use the appropriate screwdriver (Phillips or flathead) to loosen the screws currently holding the plate in place. Turn the screwdriver counterclockwise to unscrew them. Once loosened, carefully remove the screws and keep them in a safe place – you might need them for the new plate. After removing the screws, detach the old license plate and set it aside.
Step 3: Align the New License Plate
Take your new license plate and carefully align it with the mounting holes on your vehicle. These holes are typically pre-drilled on your car’s bumper or license plate bracket. Ensure that the holes on the new plate line up correctly with the holes on your vehicle. This proper alignment is crucial for a secure and even installation.
Step 4: Secure the New License Plate with Screws
Once the new plate is aligned, take the screws you set aside (or new screws) and begin to secure the license plate. Insert the screws through the holes in the license plate and into the corresponding holes on your vehicle. Turn the screws clockwise to tighten them. Make sure the license plate is firmly attached and doesn’t wobble, but avoid over-tightening, which could damage the plate or your vehicle.
Step 5: Affix the Expiration Date Sticker
Depending on your state or region, you may need to affix an expiration date sticker to your new license plate. This sticker typically indicates the registration expiration date and is usually placed in the top left or right corner of the plate, or sometimes on the windshield. Check your local regulations to determine the correct placement and ensure you apply the sticker as required.
Step 6: Store Your Vehicle Registration
Finally, remember to place your vehicle registration receipt in a safe and accessible place within your car, such as your glove compartment. It’s also a good idea to keep your owner’s manual and insurance card together with your registration for easy access whenever needed.
Enhancing License Plate Security
While standard screws are usually sufficient, if you’re concerned about license plate theft, you can consider using security screws. These screws require a special tool to remove, making it more difficult for thieves to steal your plates. Security screws are a worthwhile investment for added peace of mind, especially in areas prone to vehicle part theft.
Conclusion
Installing your car plates is a simple DIY task that saves you time and money. By following these straightforward steps, you can confidently install your new license plates correctly and securely in just minutes. Ensuring your license plates are properly installed is not only a matter of legal compliance but also contributes to the clear identification of your vehicle. So, grab your screwdriver and take pride in this quick and easy vehicle maintenance task!