Getting a flawless paint job on your car is more than just spraying color. The secret to a professional finish lies heavily in the preparation. Whether you’re aiming for a showroom shine or a custom look, understanding how to properly prep your car for paint is crucial. This guide will walk you through the essential steps, ensuring your paint job looks its absolute best and lasts for years to come.
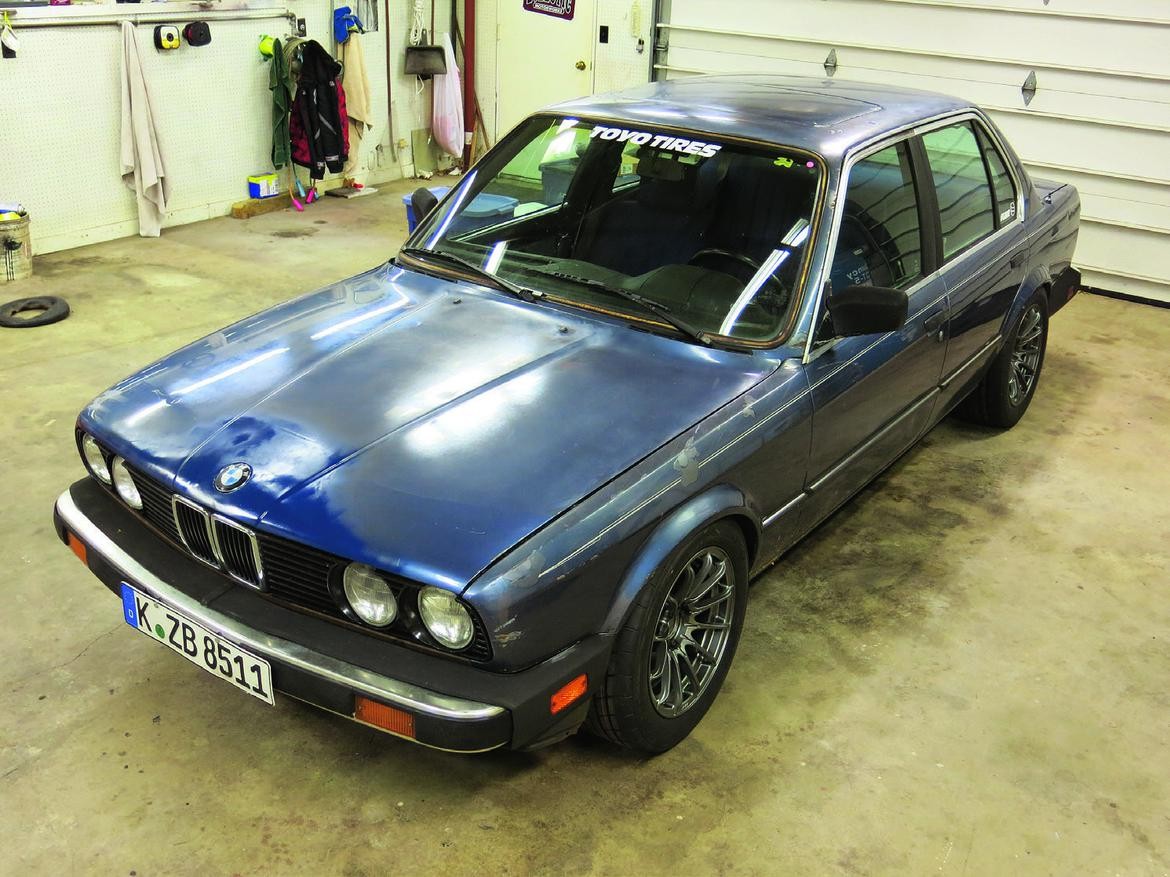
One of the first critical decisions you’ll face is whether to paint directly over the existing finish or strip your car down to bare metal. For vehicles with minor imperfections and sound original paint, painting over might be an option. However, if your car’s existing paint is in poor condition – peeling, cracking, or showing signs of multiple prior paint jobs – stripping down to bare metal is often the superior, albeit more labor-intensive, choice. Our project car, for instance, had already been repainted at least once, and the finish was deteriorating significantly with ripples visible across the panels.
Based on past experience with such extensive paint and bodywork issues, we determined that stripping the car to bare metal was the most prudent approach. While this adds considerable time and expense to the project – typically 10 to 20 hours for stripping alone, often coupled with additional bodywork – it provides the strongest foundation for a high-quality, long-lasting paint job. Investing the extra effort upfront ensures that all subsequent work is built on a solid base, preventing future paint failures.
Choosing Your Paint Stripping Method
When it comes to stripping paint, there are several methods available, each with its own set of advantages and disadvantages. We opted for 36-grit, sticky-back sandpaper mounted on an air-powered, dual-action sander for our project. Here’s a breakdown of common paint stripping methods to help you decide what might be best for your situation:
- Chemical Stripping: Chemical strippers can be effective time-savers, dissolving and lifting paint layers. However, they require careful application, especially around seams and crevices. If stripper seeps into these areas, it can leach out later, potentially causing adhesion issues even after the new paint is applied. Furthermore, the effectiveness of chemical strippers can vary significantly depending on the type of paint being removed. It’s advisable to test the stripper on a small, inconspicuous area first to gauge its effectiveness. If it proves efficient, chemical stripping can be beneficial for large, flat areas, but always exercise caution around intricate details and seams.
- Abrasive Blasting: Methods like sandblasting, soda blasting, plastic media blasting, or walnut shell blasting are also efficient for removing paint quickly. These are particularly well-suited for disassembled car bodies, as the media can penetrate every nook and cranny, making thorough cleanup challenging if the car is still assembled. Another crucial consideration with abrasive blasting is the risk of panel warping or damage if not performed by a skilled operator. If you choose abrasive blasting, ensure you entrust the work to a reputable and experienced firm to avoid potential damage to your car’s bodywork.
- Hand Sanding: While hand sanding is undoubtedly the most time-consuming and physically demanding method, it’s also arguably the most controlled and least likely to cause damage. It involves using sandpaper, often with a sanding block, to manually remove the paint layers. The key to efficient hand sanding is using high-quality abrasives and replacing them frequently. Dull sandpaper will not effectively cut through the paint; instead, it will generate heat, softening the paint and making it even harder to remove. For our project, we utilized an imported air-powered, dual-action sander, starting with 5-inch, 36-grit sandpaper. Some prefer 80-grit initially, but we found that starting with 36-grit and then refining with 80-grit after the bulk of the paint is removed proves faster and more economical in terms of abrasive usage. For our entire E30 project, we used approximately $50 worth of sanding discs to strip the paint.
Addressing Body Imperfections
Like many vehicles of its age, our 30-plus-year-old E30 had accumulated its share of road rash and minor body damage over the years. The left-rear quarter panel, in particular, exhibited a noticeable light crease running below the body ridge, accompanied by a small dent situated just above it. These imperfections, while seemingly minor, would be clearly visible under a fresh coat of paint and detract from the overall finish.
After stripping the paint and revealing the extent of the damage, we employed a body hammer and backing dolly to gently reshape the affected area, bringing the crease and dent closer to their original contours. The fifteen minutes dedicated to this preliminary metal shaping proved to be a worthwhile investment, as it likely saved us approximately an hour of additional work with body filler later in the process.
This step is crucial because minimizing the thickness of body filler is always desirable. Excessive filler can be prone to issues over time, such as shrinking and cracking due to temperature fluctuations and vibrations. By addressing the metalwork first, we ensure that the filler is used primarily for fine-tuning the surface, rather than bridging large gaps or reshaping significant dents.
Applying Body Filler: Achieving a Smooth Surface
Now we move onto body filler. There are various opinions and techniques regarding filler application, and we’re sharing the methods that have consistently delivered excellent results for us across numerous repairs. Before even opening the filler, preparation is key. We begin by prepping our filler spreader. Using 600-grit sandpaper, we create a clean, semi-sharp edge on the spreader. This ensures a smooth, even application of the filler and prevents any imperfections from being introduced by a rough or damaged spreader edge.
We always opt for a quality, name-brand body filler. Our preference leans towards lightweight fillers, as they tend to be easier to spread smoothly and sand to a feather edge. For mixing, we use a clean paint stick on a piece of cardboard, typically around 6×6 inches in size. Maintaining cleanliness at this stage is paramount. Any contamination, particularly hardened pieces of filler from previous mixes, can ruin the batch and cause frustration during application.
To ensure no catalyst contamination reaches the main filler can, we use a separate, clean paint stick to stir the uncatalyzed filler directly in its container. We never use a stick that has come into contact with the catalyst for this step, as even trace amounts of catalyst can prematurely harden the filler in the can. After stirring the filler in the can, we use the same clean stick to transfer a small dollop of filler onto our mixing cardboard.
Next, we add the catalyst. We dispense a bead of catalyst directly onto the dollop of raw filler, carefully adhering to the mixing ratio instructions provided on the filler label. Accurate catalyst measurement is essential for proper curing and the longevity of the repair.
Using yet another clean paint stick – maintaining separate sticks prevents cross-contamination – we thoroughly mix the raw filler and catalyst together. Proper mixing, typically for around 2 minutes, is critical to ensure the catalyst is evenly distributed throughout the filler, leading to consistent curing and strength.
With the filler properly mixed, we immediately use our prepared spreader to apply it to the car panel. We apply the filler in long, smooth strokes, focusing on shaping it as close as possible to the desired final contour. This technique minimizes the amount of sanding required later and reduces the chances of over-application, saving time and materials.
Body filler typically has a working time of around 10 minutes before it begins to “kick” or harden. As soon as we finish spreading the filler, we promptly clean our mixing sticks and spreader with a paper towel to remove as much uncured filler as possible. This seemingly meticulous step is crucial to prevent hardened filler flakes from contaminating subsequent filler applications. We also re-prep the spreader edge with 600-grit sandpaper to ensure it remains clean and sharp for the next use. Once the filler has fully “kicked,” it will have a hardened appearance and is ready for the sanding stage.
Sanding and Refining the Filler
The initial sanding of the body filler is started using an 80-grit disc on our dual-action sander. The first few passes will quickly clog and dull the sanding disc as it cuts through the high spots of the filler. It’s essential to replace the disc frequently to maintain effective cutting. We change discs often, relying on feel to gauge their condition; a disc might appear usable but feel dull to the touch. Sharp abrasives are critical for efficiently cutting down the high spots and flattening the panel. Dull abrasives, conversely, tend to simply follow the contours of the high spots, resulting in uneven sanding and potentially leaving ripples in a panel that should be flat.
While the dual-action sander is effective for rough shaping, we transition to hand sanding with a sanding block for finer finishing and achieving a truly flat surface. A longer sanding block is generally better for larger panels, as it helps to bridge minor imperfections and maintain flatness. For this particular panel, a 12-inch block with 80-grit paper proved ideal. We employ crosshatch sanding patterns – sanding in perpendicular directions – to help identify any low spots that require additional filler. The crosshatch pattern visually highlights inconsistencies in the surface, making it easier to spot areas that need further attention.
After approximately four cycles of “rinse, lather, repeat” – reapplying filler to low spots and then sanding it back down – we achieved a panel that was sufficiently smooth and properly shaped, ready for the next crucial step: the application of high-build primer. This iterative process of applying and sanding filler is key to achieving a perfectly smooth and wave-free surface, essential for a professional-looking paint finish.
Disassembly and Masking for Paint
While the body filler is curing and hardening, we utilize the downtime to continue disassembling the car in preparation for painting. We strongly prefer removing parts whenever feasible rather than masking them off. Removing components like trim, lights, and handles allows for a more thorough paint job, eliminates paint lines around edges, and simplifies the masking process.
Given that our windshield was already cracked and its rubber seals were showing signs of age – weathered and dry-rotted – we decided to remove the windshield completely. Since we weren’t planning to reuse the old seals, we cut them away to facilitate easy removal, making it a straightforward task for a single person. Removing the windshield, along with other glass and trim, ensures that the paint job extends into all the edges and recesses, providing a seamless and professional appearance.
Finally, after addressing all the dings and minor dents around the entire car and ensuring all bodywork was complete, we reached the stage where the car was fully prepped and ready for primer. To prevent dust and overspray from entering the interior and engine bay during priming and painting, we meticulously taped off these areas. This comprehensive masking step protects sensitive components and ensures a clean and professional finish for the entire paint job.