Vinyl car wraps are a fantastic way to personalize your vehicle, advertise your business, or protect your original paintwork. However, there comes a time when you might want to remove that wrap. Whether it’s due to damage, fading, a change in branding, or simply wanting to revert to your car’s original look, understanding how to safely remove a car wrap is essential.
Removing a car wrap might seem daunting, but with the right tools, a bit of patience, and clear instructions, it’s a task you can undertake yourself. This comprehensive guide will walk you through each step of the process, ensuring you can remove your car wrap effectively and without damaging your vehicle’s paint. Before we dive in, let’s gather all the necessary materials to make the process smooth and efficient.
WHAT YOU’LL NEED
- Heat Gun (or Hair Dryer as a less powerful alternative)
- Plastic Razor Blades or Wrap Removal Tools
- Adhesive Remover (Citrus-based recommended, like 3M or Rapid Tac)
- Microfiber Cloths
- Gloves (optional, but recommended to protect hands from heat and chemicals)
- Spray Bottle with Water and Soap (for cleaning after removal)
- Rubbing Alcohol (for final cleaning and degreasing)
HOW TO REMOVE A VINYL VEHICLE WRAP: A 6-Step Guide
Removing a vehicle wrap is more straightforward than many people anticipate. By following these six steps, you can effectively remove the vinyl from your car and prepare it for its next look, whether that’s a fresh new wrap or simply showcasing its original paint. Let’s get started!
STEP 1: PREPARE YOUR WORKSPACE
Choosing the right environment is crucial for successful car wrap removal. Ideally, you should work in a large, indoor, climate-controlled space like a garage. Temperature plays a significant role in how vinyl behaves during removal.
Temperature Considerations:
- Ideal Temperature: Aim for a temperature between 70°F and 80°F (21°C – 27°C). This range allows the vinyl to be pliable without becoming too brittle or too sticky.
- Cold Temperatures (Below 60°F/15°C): In colder conditions, vinyl becomes brittle and is more likely to tear into small pieces during removal. This makes the process significantly more difficult and time-consuming. If you must work in a colder environment, using a heat gun becomes even more critical, and you’ll need to apply heat more frequently.
- Hot Temperatures (Above 90°F/32°C): While heat aids in removal, excessively hot conditions, especially direct sunlight, can make the adhesive too soft and messy, potentially leaving more residue behind. Working in shade or early morning/late afternoon during hot days is advisable.
If an indoor space isn’t available, choose a shaded outdoor area and avoid working during extreme temperatures. A stable temperature will make the vinyl removal process much easier and cleaner.
STEP 2: TEST A SMALL CORNER FIRST
Before committing to removing the entire wrap, it’s wise to test a small, inconspicuous corner. This test will reveal how easily the vinyl is likely to come off and if there are any potential issues. Choose a corner that is not in a prominent area, such as the edge of a panel or a corner of the bumper.
Performing the Test:
- Apply heat to the corner using your heat gun for a few seconds.
- Gently try to peel back the vinyl, pulling at a 45-degree angle.
- Observe how the vinyl removes:
Interpreting the Test Results:
-
Clean Peel: If the vinyl peels off smoothly with moderate heat and leaves minimal residue, you can likely proceed with removing the rest of the wrap yourself using the methods described below.
-
Difficult Removal Signs & Potential Issues: If you encounter any of the following during your test, consider seeking professional help from a vehicle wrap specialist. Attempting to force removal in these situations can damage your car’s paint.
- Hard to Peel: If the vinyl resists peeling even with heat and moderate force, it might be old, low-quality, or intensely bonded. Forcing it can damage the underlying paint.
- Brittle and Flaking: If the vinyl chips off in small flakes instead of peeling, it’s likely become brittle due to age, low-quality material, or prolonged exposure to harsh conditions (like intense sun). This type of removal is very labor-intensive and may require specialized techniques.
- Excessive Residue: If the test corner leaves behind a significant amount of sticky residue, this could indicate a low-quality wrap material. While adhesive remover can help, extensive residue can prolong the removal process considerably.
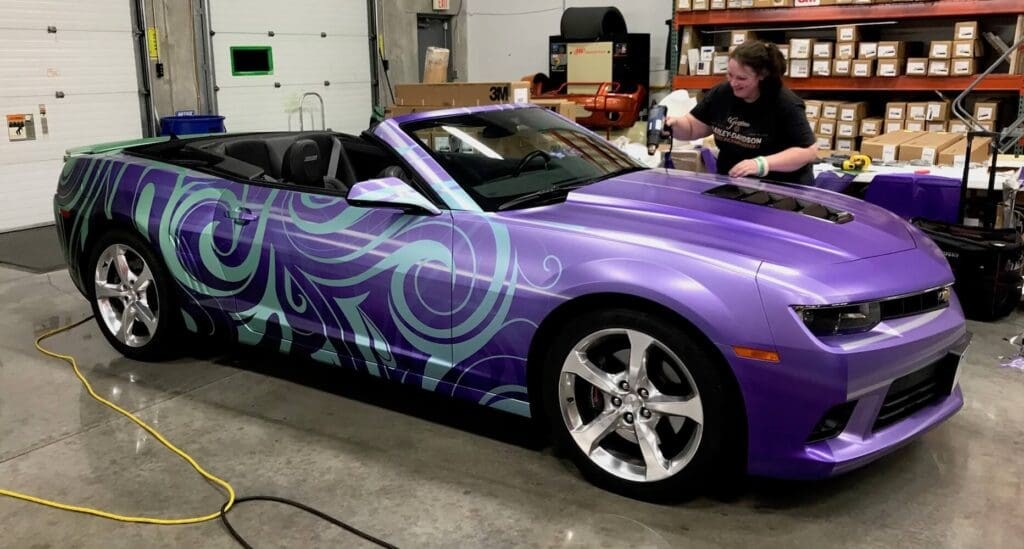 Technician using a heat gun to loosen a car wrap for removal
STEP 3: APPLY HEAT EVENLY
Once you’re ready to proceed, the heat gun becomes your primary tool. Applying heat softens the adhesive, making the vinyl more pliable and easier to peel away from the car’s surface.
Heating Technique:
- Distance and Motion: Hold the heat gun about 6-8 inches (15-20 cm) away from the vinyl surface. Use a consistent, back-and-forth sweeping motion to distribute heat evenly. Avoid concentrating heat in one spot for too long, as this can overheat and potentially damage the vinyl or even the paint underneath.
- Warm to Touch: The vinyl should become warm and pliable to the touch, but not excessively hot. You should be able to comfortably touch it with a gloved hand. If it’s too hot to touch, you risk overheating the vinyl, which can make it brittle or melt the adhesive excessively.
- Reheat as Needed: Vinyl cools down quickly. If you find it becoming difficult to peel as you work, simply reheat the section you’re working on. Consistent, moderate heat is key to efficient removal.
- Hair Dryer Alternative: If you don’t have a heat gun, a hair dryer can be used, but it will be less effective and take longer due to lower heat output.
STEP 4: PEEL THE WRAP AT A 45-DEGREE ANGLE
With the vinyl properly heated, it’s time to start peeling. This step requires patience and a gentle, consistent approach.
Peeling Technique:
- Start at an Edge: Use your fingernail or a plastic razor blade to gently lift an edge of the heated vinyl.
- 45-Degree Angle: Grasp the lifted edge and begin pulling the vinyl back at a 45-degree angle relative to the car’s surface. This angle is crucial because it minimizes stress on both the vinyl and the paint. Pulling straight out (90 degrees) can increase the risk of paint damage.
- Slow and Steady: Peel slowly and methodically. Avoid jerking or ripping the vinyl, as this can cause it to tear, leaving behind smaller, harder-to-remove pieces.
- Plastic Razor Blade Assistance: If you struggle to lift an edge or if the vinyl is tearing, use a plastic razor blade to gently slide under the edge and help separate it from the surface. Always use plastic blades, as metal ones can easily scratch the paint. Even with plastic blades, apply gentle pressure.
- Avoid Sharp Tools: Never use sharp objects like knives, screwdrivers, or metal scrapers. These will almost certainly damage your car’s paintwork. Even seemingly harmless items like credit cards can cause micro-scratches if used improperly.
Alt text: Image showing close-up of hands carefully peeling back a red car wrap from a Ferrari, demonstrating the 45-degree angle technique for clean removal.
STEP 5: REMOVE ADHESIVE RESIDUE
Even with careful removal, some adhesive residue is almost inevitable, especially with older wraps or lower-quality vinyl. Removing this residue is crucial for a clean finish.
Adhesive Removal Process:
- Apply Adhesive Remover: Spray a citrus-based adhesive remover, such as 3M Citrus Adhesive Remover or Rapid Tac, directly onto the residue. Citrus-based removers are generally safe for most automotive paints.
- Soak Time: Allow the remover to dwell for the time recommended on the product label, typically a minute or two. This gives the remover time to break down the adhesive.
- Wipe Clean: Use a clean microfiber cloth to wipe away the softened residue. Apply firm, even pressure.
- Repeat if Necessary: For stubborn residue, you may need to repeat the application and wiping process.
- Inspect the Surface: After wiping, feel the surface. It should be smooth and non-sticky. If you still feel stickiness, repeat the process.
Important Notes on Adhesive Removers:
- Test in an Inconspicuous Area: Although citrus-based removers are generally safe, it’s always wise to test a small, hidden area first to ensure compatibility with your car’s paint, especially if it’s not factory paint or if you are unsure of its type.
- Ventilation: Work in a well-ventilated area when using adhesive removers.
- Follow Product Instructions: Always read and follow the specific instructions provided by the adhesive remover manufacturer.
STEP 6: PREPARE FOR THE NEXT STEP
Congratulations! You’ve successfully removed your car wrap. Now your vehicle is ready for its next phase.
Post-Removal Care and Next Steps:
- Wash the Area: After removing all residue, wash the areas where the wrap was removed with soap and water to clean off any remaining remover and loose debris.
- Final Clean with Rubbing Alcohol: For a pristine surface, especially if you plan to apply a new wrap, wipe down the area with rubbing alcohol. This will remove any remaining oils or waxes and ensure a clean surface for new vinyl application.
- Consider a New Design or Paint Correction: Now you have a clean slate! You can plan for a new car wrap design to refresh your vehicle’s look, or consider paint correction and polishing to restore and enhance your car’s original paint if it was protected by the wrap.
If the idea of removing the wrap yourself still feels overwhelming, or if you encountered difficulties during the process, don’t hesitate to seek professional help. Experts at vehicle wrap shops have the experience, tools, and specialized products to handle even the most challenging wrap removals safely and efficiently.
At cars.edu.vn, we are dedicated to providing you with expert automotive knowledge and guidance. Whether you are tackling DIY car projects or seeking professional services, we aim to equip you with the information you need to make informed decisions about your vehicle.