If you’re a car enthusiast, you’ve likely encountered those frustrating, spiderweb-like imperfections on your vehicle’s paint – swirl marks. It’s almost a rite of passage for car owners to discover these blemishes, making “How To Remove Swirl Marks On Car paint” a frequently searched query in the realm of auto detailing.
Swirl marks are essentially a collection of micro-scratches, often only visible under certain lighting conditions. They reside on the clear coat, the outermost layer of your car’s paint, and are primarily caused by improper washing and drying methods.
Beyond aesthetics, swirl marks can compromise your car’s paint. They trap contaminants, making it harder to keep your car clean and potentially increasing maintenance costs due to the need for more frequent and intensive cleaning. Therefore, addressing swirl marks promptly is crucial for maintaining your car’s appearance and paint health.
Let’s delve deeper into understanding what causes swirl marks and, more importantly, how to effectively remove them from your car.
Understanding the Causes of Swirl Marks
As mentioned, improper car washing and drying techniques are the main culprits behind swirl marks. Here are some common mistakes that lead to these paint defects:
The Single Bucket Wash Method:
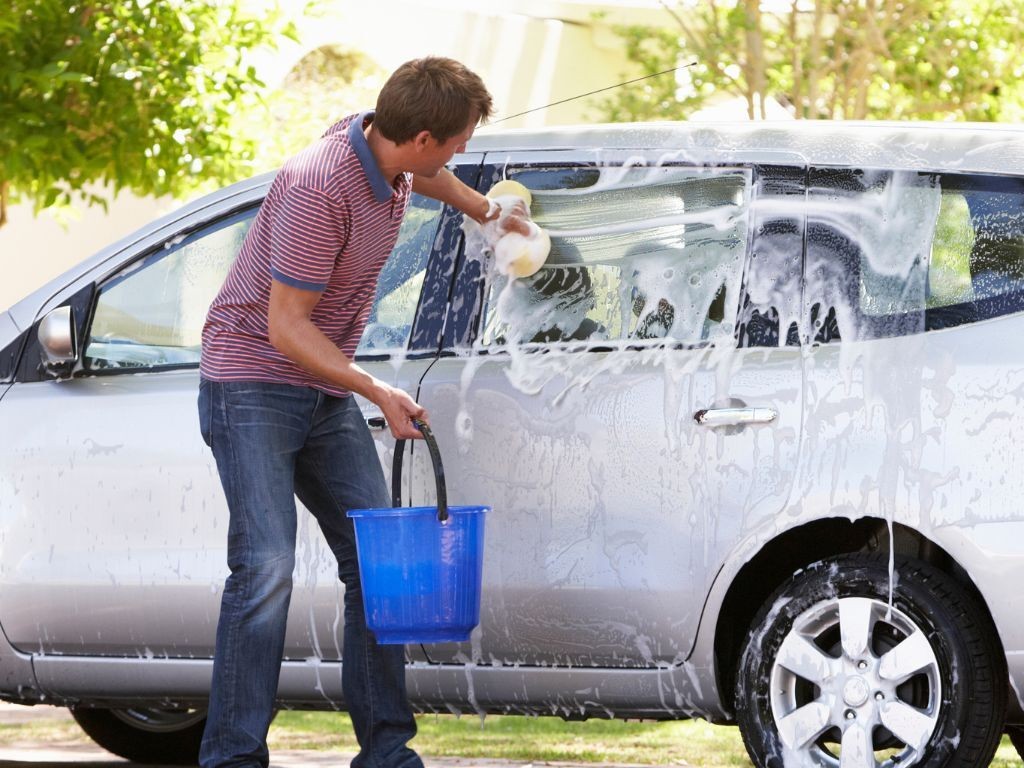
Many car owners unknowingly contribute to swirl marks by using just one bucket of soapy water for washing. The recommended practice is to adopt the two-bucket wash method. This involves using one bucket filled with soapy water for washing and a second bucket with clean water for rinsing your wash mitt or sponge after each section. This rinse bucket, ideally equipped with a grit guard at the bottom, helps to trap dirt and debris removed from the car, preventing it from being reintroduced back onto the paint surface when you reload your wash mitt with soap.
Neglecting the Pre-Wash Rinse:
Skipping the pre-wash rinse is another common mistake. Before you even touch your car with a wash mitt or sponge, loose dirt, dust, and grime particles are sitting on the surface. Directly applying a wash mitt without pre-rinsing essentially drags these abrasive particles across your paint, causing scratches and swirl marks. A pressure washer is ideal for the pre-wash stage as it effectively blasts away loose contaminants without physical contact, minimizing the risk of scratching. If a pressure washer isn’t available, a strong stream from a garden hose can also be beneficial.
Using Abrasive Cleaning Tools and Products:
Using harsh or inappropriate cleaning products and tools can also inflict swirl marks. For instance, towels or wash mitts made with low-quality materials, or those that have become contaminated with dirt, can act like sandpaper on your car’s delicate clear coat. Similarly, aggressive polishing compounds or rubbing compounds, while designed for paint correction, can cause further damage if used incorrectly or unnecessarily. Always opt for high-quality microfiber wash mitts and drying towels, and choose car-specific cleaning products that are pH balanced and designed to be gentle on automotive paint.
Improper Drying Techniques:
Drying your car improperly is just as detrimental as washing it incorrectly. Using a dirty towel or dragging a towel roughly across the paint can easily create swirl marks. Always use clean, soft microfiber drying towels and employ a pat-drying or blotting technique rather than wiping. Alternatively, using a leaf blower or forced air car dryer can minimize physical contact with the paint during drying, further reducing the risk of swirl marks.
Automated Car Washes:
Automated car washes, especially those with brushes, are notorious for inducing swirl marks. These brushes, while designed to clean, often trap dirt and grit from previous vehicles. As they rotate and scrub your car, they effectively sand down your clear coat, leaving behind a web of swirl marks. While touchless car washes are gentler, hand washing is generally recommended for maintaining a swirl-free finish, especially for newer or meticulously maintained vehicles.
Common Locations for Swirl Marks
Swirl marks can technically appear on any painted surface of your vehicle. However, they are most prevalent on horizontal panels like the hood, roof, and trunk. These areas are more exposed to the elements, including sunlight, rain, and dust, and are also typically the primary areas addressed during car washing and drying.
Dark-colored cars, particularly black vehicles, tend to showcase swirl marks more prominently. The dark pigment absorbs light, making the reflective imperfections of swirl marks much more visible. While lighter colors might mask swirl marks to some extent due to their reflective nature, they are still present. Swirl marks are often easier to spot in indirect sunlight or shaded areas, or when the car’s surface is wet, as these conditions accentuate the light scattering caused by the micro-scratches.
Identifying Swirl Marks vs. Scratches
Before attempting to remove swirl marks, it’s important to differentiate them from deeper scratches. While both are paint imperfections, their causes, severity, and removal methods differ. A trained auto detailer can readily distinguish between the two, but here’s a guide for car owners:
Swirl Marks Characteristics:
- Appearance: They typically appear as circular or spiderweb-like patterns, often with a uniform diameter across the affected area.
- Prevalence: Swirl marks are the most common type of paint defect, a hallmark of regular wear and tear and washing practices.
- Depth: Swirl marks are superficial, residing only in the clear coat layer of the paint. They do not penetrate the color coat.
- Feel: Generally, swirl marks are not deep enough to be felt with a fingernail. The surface might feel slightly rougher compared to unaffected paint, but it’s mostly a visual defect.
Scratch Characteristics:
- Appearance: Scratches exhibit random shapes and patterns, often linear or jagged, depending on the object that caused them.
- Causes: They are usually caused by more significant abrasions, such as keys, rocks, branches, or accidental scrapes.
- Depth: Scratches are deeper than swirl marks, often penetrating through the clear coat and potentially reaching the color coat, primer, or even bare metal in severe cases.
- Feel: Deeper scratches can usually be felt with a fingernail catching in the imperfection.
Swirl marks are typically very shallow, measuring only 2-4 microns in depth, confined to the clear coat. There are also various types of swirl marks, categorized by their appearance and cause:
- Wash Marring: These are the most common, appearing as swirls or straight lines with varying degrees of severity, resulting from improper washing techniques.
- Dual Action Haze (Micro-Marring): These are extremely fine, uniform swirl marks, often caused by improper polishing techniques, especially with dual-action polishers. They are most visible under direct light.
- Buffer Swirls: These are thicker, more pronounced swirl marks with a consistent circular pattern, typically caused by rotary buffers used incorrectly. They are very noticeable under bright or fluorescent lighting.
Step-by-Step Guide: How to Remove Swirl Marks
While preventing swirl marks is ideal, they are often unavoidable. For minor swirl marks, a scratch and swirl remover product can offer a quick fix. However, for more noticeable or widespread swirl marks, a more comprehensive approach is needed. Here is a detailed, step-by-step process on how to effectively remove swirl marks from your car:
Step One: Thorough Car Wash
As with any paint correction process, starting with a clean surface is paramount. If dirt and contaminants are present during polishing, you risk inflicting even more swirl marks.
- Pre-Wash: Begin with a thorough pre-wash using a pressure washer to remove loose dirt and grime without touching the car’s surface.
- Two-Bucket Wash: Employ the two-bucket wash method using a mild, pH-balanced car wash soap and a high-quality microfiber wash mitt. Wash from the top down, paying extra attention to areas prone to swirl marks.
- Rinse and Dry: Rinse the car thoroughly to remove all soap residue. Dry the car using clean, soft microfiber drying towels with a pat-drying or blotting technique, or use a forced air dryer.
Step Two: Clay Bar Treatment
Even after a meticulous wash, bonded contaminants like industrial fallout, brake dust, and tree sap can remain embedded in the paint. These contaminants can interfere with polishing and re-introduce swirl marks over time. A clay bar treatment effectively removes these bonded contaminants, leaving a smooth, clean surface ready for polishing.
- Lubricate: Spray a dedicated clay bar lubricant liberally onto a small section of the car (approximately 1ft x 1ft).
- Clay: Gently glide the clay bar back and forth in straight, overlapping lines across the lubricated section. Avoid applying heavy pressure.
- Knead Clay: As you clay, you’ll feel the surface become smoother. Knead the clay bar periodically to expose a clean surface and prevent reintroducing contaminants.
- Rinse and Dry: Once you’ve clayed the entire car, rinse it thoroughly and dry it again with a clean microfiber towel.
Caution: Clay bar treatment can be slightly abrasive. If you are unfamiliar with the process, consider seeking professional detailing services to avoid potential paint damage.
Step Three: Polishing
Polishing is the core step in removing swirl marks. It involves using a polishing compound and a polishing pad to gently abrade the clear coat, leveling out the micro-scratches that constitute swirl marks.
- Choose Polish and Pad: Select a suitable polishing compound and pad based on the severity of the swirl marks. For light swirl marks, a fine polish and soft foam pad are sufficient. For moderate swirls, a medium polish and a slightly more aggressive pad might be necessary.
- Apply Polish: Apply a few pea-sized drops of polishing compound onto the polishing pad.
- Polish Section by Section: Work in manageable sections (around 2ft x 2ft). Using a dual-action polisher (recommended for beginners), spread the polish over the section at a low speed, then increase speed and apply moderate pressure, working in overlapping passes.
- Wipe Off Residue: After polishing each section, wipe off the polish residue with a clean microfiber towel to inspect the results. Repeat polishing passes as needed until swirl marks are minimized or removed.
Step Four: Buffing
Buffing, in the context of swirl mark removal, often refers to the final polishing stage or refining the finish after polishing. It ensures all polishing compound residue is removed and enhances the paint’s gloss and clarity.
Hand Buffing:
- Wipe Residue: Use a clean, plush microfiber towel to gently wipe away any remaining polish residue.
- Inspect and Buff: Inspect the paint under good lighting. If any haze or slight imperfections remain, use a clean, dry microfiber towel to buff the area with light pressure in circular motions until a high-gloss finish is achieved.
Machine Buffing (with a Polisher):
Using a dual-action polisher for buffing can further refine the finish.
- Clean Pad: Ensure you have a clean polishing or finishing pad.
- Buff Section: With the polisher on a low speed and minimal pressure, gently go over the polished sections to remove any remaining haze and enhance the shine.
- Wipe Clean: Wipe off any remaining residue with a clean microfiber towel.
For machine buffing, a random orbital buffer is safer for DIYers than a rotary buffer. Rotary buffers require expertise to avoid paint damage due to their direct, high-speed circular motion.
Step Five: Waxing or Sealing
After successfully removing swirl marks through polishing, it’s crucial to protect your newly corrected paint. Polishing removes a microscopic layer of the clear coat, leaving it more vulnerable. Waxing or sealing adds a protective layer, enhancing shine and helping to prevent future swirl marks.
- Choose Wax or Sealant: Select a high-quality car wax or paint sealant. Wax provides a warm shine and shorter-term protection, while sealant offers longer-lasting protection and a glossier finish.
- Apply Thin Layer: Apply a thin, even layer of wax or sealant using an applicator pad, working in small sections.
- Cure Time: Allow the wax or sealant to cure according to the product instructions (usually a few minutes).
- Buff Off Excess: Buff off the excess wax or sealant with a clean microfiber towel to reveal a protected, glossy finish.
For best results, apply wax or sealant in a shaded or enclosed area to prevent rapid drying and contamination.
Conclusion
Swirl marks are a common yet frustrating paint defect for car owners. They detract from your car’s appearance and can indicate improper car care practices. While removing swirl marks requires some effort and the right tools, following this detailed, step-by-step guide will empower you to restore your car’s paint to a swirl-free, showroom-worthy shine.
If you prefer to leave it to the professionals, detailing experts like Big’s Mobile Detailing offer comprehensive car detailing services, including swirl mark removal and paint correction. Contact them at (425) 243-9155 or visit their website for more information and to schedule a service.