Taking care of a Boston fern involves understanding its needs and providing the right environment. At CARS.EDU.VN, we understand the nuances of plant care, just as we understand the intricacies of vehicle maintenance, and this guide provides the expertise needed to help your Boston fern thrive by focusing on consistent moisture, proper lighting, and adequate humidity, transforming your plant care approach into a pathway for cultivating enduring natural beauty. Discover invaluable insights, from understanding optimal growing conditions to mastering effective pest control strategies. Unlock the full potential of your green companions and create a thriving indoor oasis with CARS.EDU.VN.
1. Understanding the Boston Fern
1.1. Origins and Characteristics
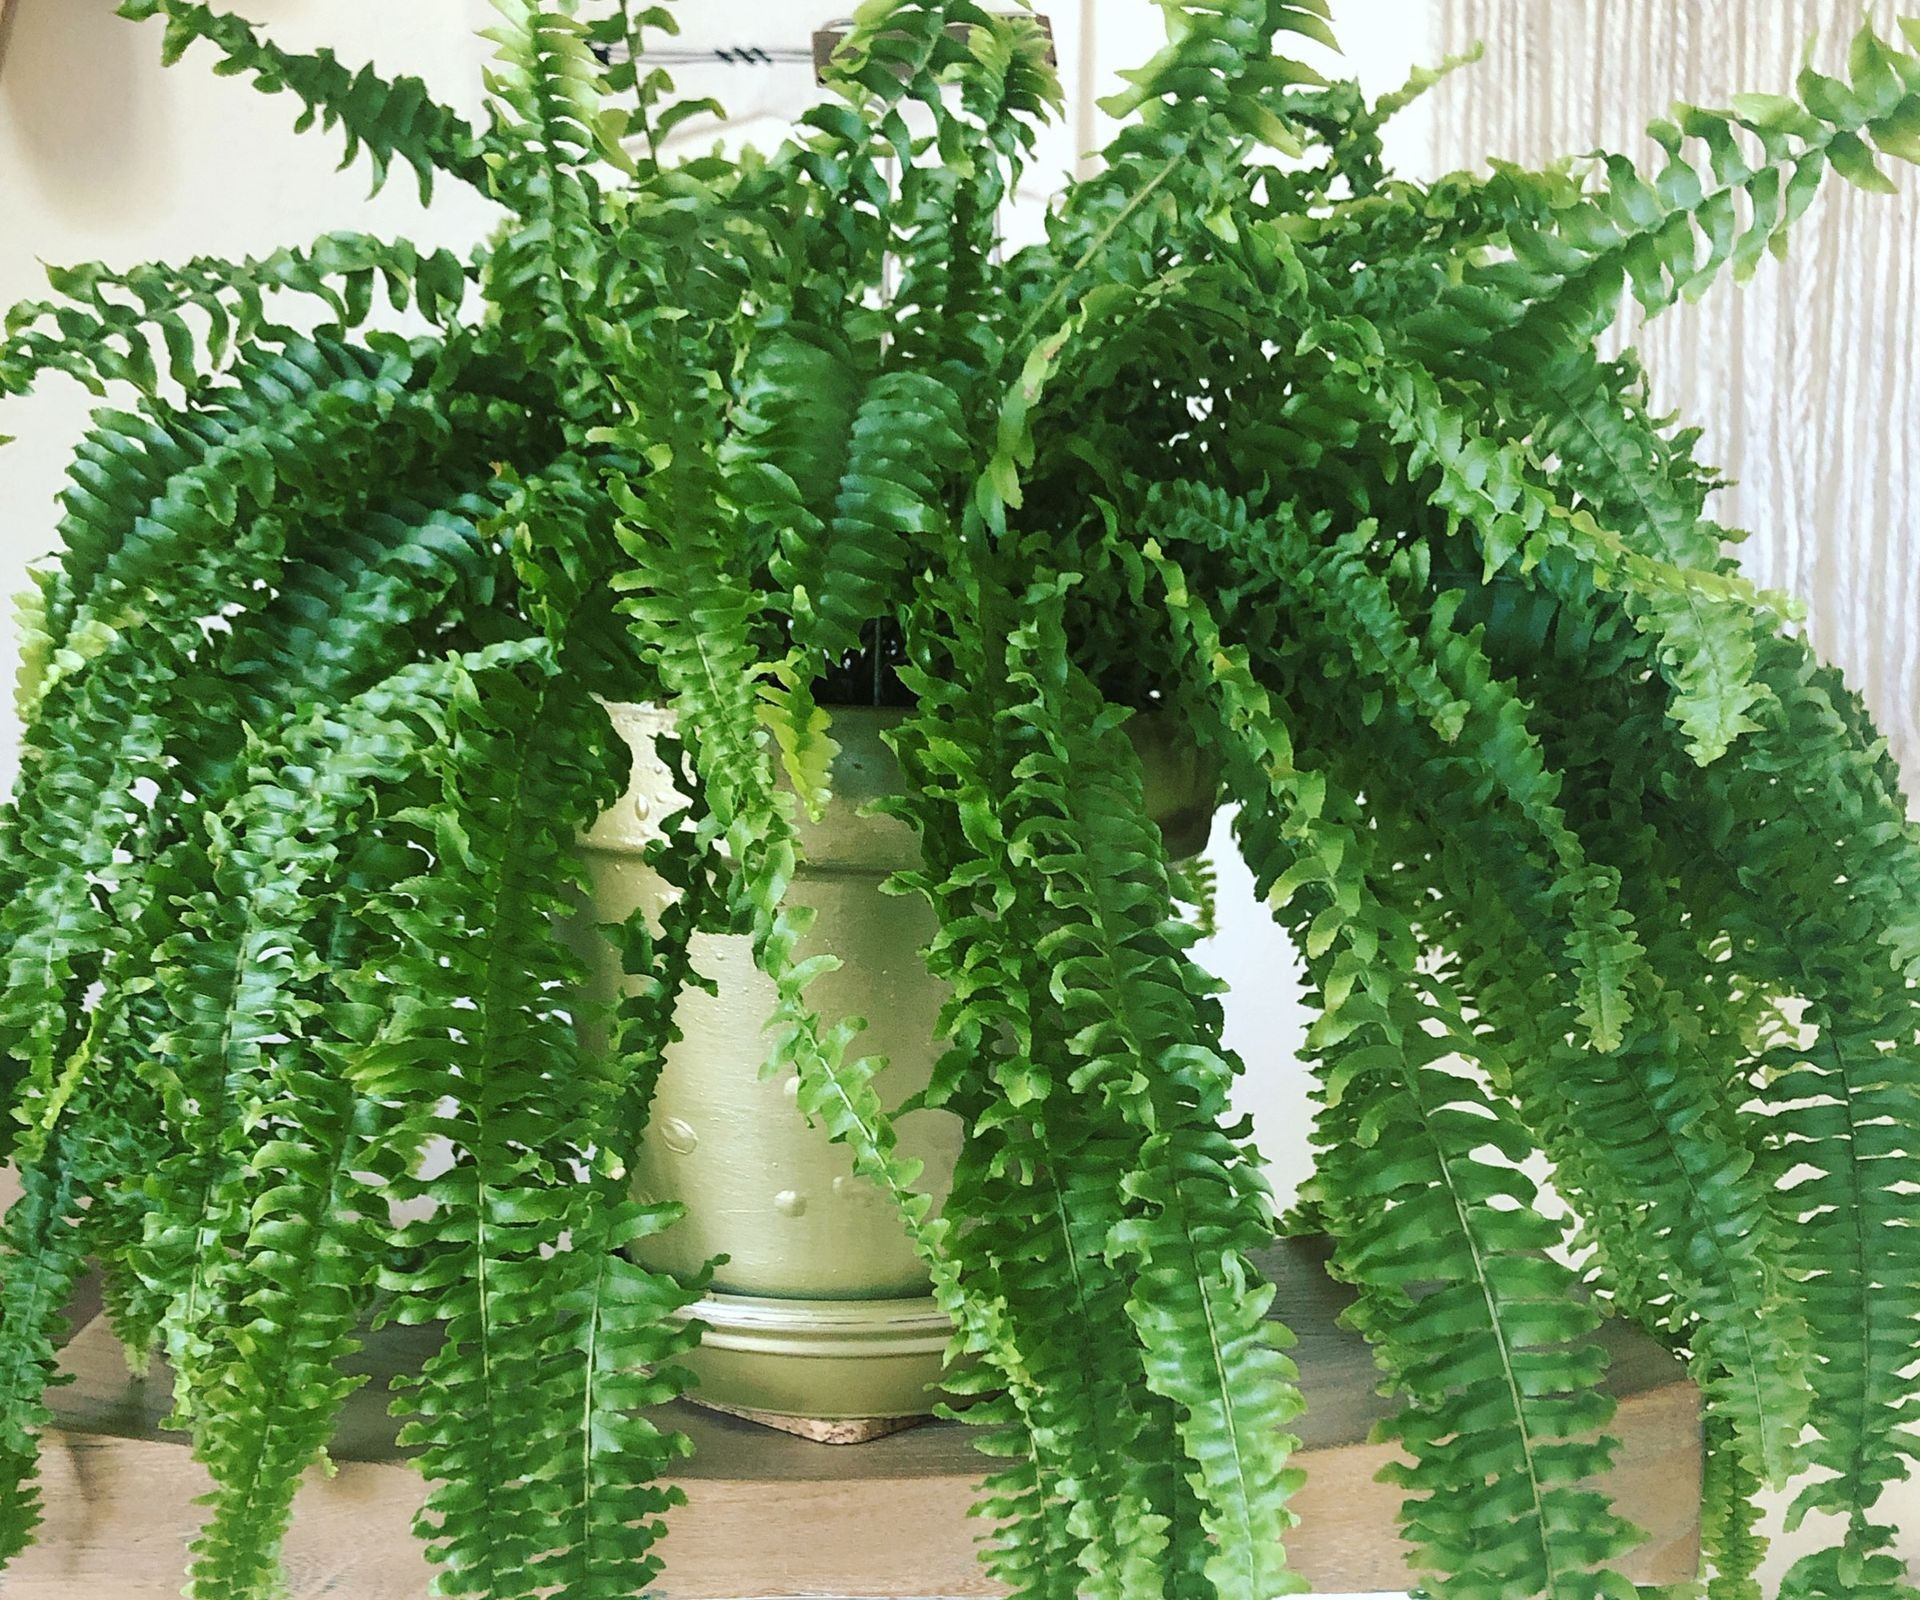
The Boston fern (Nephrolepis exaltata) hails from the humid, tropical forests of regions spanning South America to Florida and the West Indies. Known for its graceful, arching fronds, this evergreen fern, also called the sword fern, can reach heights of up to 7 feet in its native environment. Its common name, Boston fern, is derived from its discovery as a natural variant in a shipment of ferns from Philadelphia to Boston, according to the Missouri Botanical Garden. This fern quickly became a popular houseplant due to its elegant appearance and air-purifying qualities.
1.2. Anatomy of a Boston Fern
Unlike most ferns, which reproduce via spores, the Boston fern is generally sterile and propagates through stolons, which are slender stems that dangle from the plant. When these stolons come into contact with soil, new plants develop. The sword-shaped fronds are slightly toothed and contribute to the plant’s lush, full appearance. Various cultivars exist, featuring twisted, curly, or wavy fronds, with ‘Bostoniensis’ being the most common, noted for its upright and spreading habit. The genus name comes from the Greek words ‘nephros’ (kidney) and ‘lepis’ (scale).
1.3. Essential Supplies for Boston Fern Care
Having the right supplies on hand can significantly improve your Boston fern care routine. Essential items include:
- Potting Mix: A well-draining, yet moisture-retentive soil mix is crucial. Consider a soilless mix of peat and vermiculite.
- Pots: Use pots with drainage holes to prevent waterlogging. Terracotta pots can help regulate moisture.
- Watering Can: Opt for a watering can with a long spout to reach the soil without wetting the fronds.
- Spray Bottle: For misting the plant to maintain humidity.
- Fertilizer: A balanced, liquid houseplant fertilizer diluted to half strength.
- Pruning Shears: Clean, sharp shears for removing dead or yellowing fronds.
- Humidity Tray: A tray filled with pebbles and water to increase humidity around the plant.
2. Optimizing Growing Conditions
2.1. Light Requirements
Boston ferns thrive in partial shade, mimicking their natural understory habitat. Direct sunlight can scorch their delicate fronds, while insufficient light can lead to leggy growth and reduced vibrancy.
- Ideal Placement: An east-facing window is often perfect, providing gentle morning light. North-facing windows can also work if the light is bright enough.
- Avoiding Direct Sun: Keep the fern away from south- or west-facing windows, or use sheer curtains to diffuse the light.
- Signs of Incorrect Lighting: Yellowing or browning fronds indicate too much direct light, while pale or sparse growth suggests insufficient light.
2.2. Watering Techniques
Consistent moisture is key to Boston fern care. These ferns prefer soil that is consistently moist but not waterlogged. Overwatering can lead to root rot, while underwatering causes the fronds to dry out and turn brown.
- Watering Frequency: Check the soil moisture regularly. Water when the top inch of soil feels dry to the touch.
- Watering Method: Water thoroughly until excess water drains from the bottom of the pot.
- Water Quality: Use room-temperature, filtered water to avoid shocking the plant or exposing it to harmful chemicals.
- Signs of Overwatering: Yellowing leaves, soggy soil, and a musty smell.
- Signs of Underwatering: Dry, crispy fronds and dry soil.
2.3. Humidity Control
High humidity is essential for Boston ferns, as they naturally grow in moist environments. Dry air can cause the fronds to become brittle and brown.
- Ideal Humidity Levels: Aim for humidity levels between 50% and 70%.
- Increasing Humidity:
- Misting: Mist the fern regularly with a spray bottle.
- Humidity Tray: Place the pot on a tray filled with pebbles and water. As the water evaporates, it increases the humidity around the plant.
- Humidifier: Use a humidifier to maintain consistent humidity levels in the room.
- Grouping Plants: Grouping plants together can create a microclimate with higher humidity.
- Location Considerations: Bathrooms and kitchens are naturally more humid, making them ideal locations for Boston ferns.
2.4. Temperature Considerations
Boston ferns prefer warm, consistent temperatures, similar to their native tropical environment.
- Ideal Temperature Range: Maintain temperatures between 65°F and 75°F (18°C and 24°C).
- Avoiding Temperature Extremes: Protect the fern from drafts, sudden temperature changes, and extreme heat or cold.
- Seasonal Adjustments: During the winter, keep the fern away from cold windows and reduce watering slightly as the plant’s growth slows.
3. Soil and Fertilization
3.1. Choosing the Right Soil Mix
The ideal soil for Boston ferns is well-draining yet moisture-retentive. This balance ensures that the roots receive adequate moisture without becoming waterlogged.
- Recommended Mix: A mix of peat moss, perlite, and vermiculite provides excellent drainage and moisture retention.
- Soilless Mix: A soilless mix of peat and vermiculite is also suitable, providing good aeration and drainage.
- Avoiding Heavy Soils: Avoid using heavy, clay-based soils, as they retain too much water and can lead to root rot.
- pH Level: Aim for a slightly acidic to neutral pH, between 6.0 and 7.0.
3.2. Fertilizing Schedule
Regular fertilization provides Boston ferns with the nutrients they need to thrive, promoting lush, green growth.
- Fertilizing Frequency: Fertilize every 4-6 weeks during the growing season (spring and summer).
- Type of Fertilizer: Use a balanced, liquid houseplant fertilizer diluted to half strength.
- Application Method: Water the plant thoroughly after applying fertilizer to distribute the nutrients evenly.
- Winter Dormancy: Stop fertilizing during the winter months when the plant’s growth slows.
- Avoiding Over-Fertilization: Over-fertilizing can lead to salt buildup in the soil, which can damage the plant.
3.3. Soil pH and Its Impact
Soil pH plays a crucial role in nutrient availability for Boston ferns. Maintaining the correct pH ensures that the plant can effectively absorb essential nutrients.
- Ideal pH Range: Boston ferns prefer a slightly acidic to neutral pH between 6.0 and 7.0.
- Testing Soil pH: Use a soil pH meter or a soil testing kit to monitor the pH level.
- Adjusting Soil pH:
- To Lower pH (increase acidity): Add sphagnum peat moss or sulfur to the soil.
- To Raise pH (decrease acidity): Add lime or wood ashes to the soil.
- Nutrient Availability: At the correct pH, nutrients like iron, manganese, and zinc are more readily available to the plant.
4. Pruning and Maintenance
4.1. Importance of Pruning
Pruning is an essential part of Boston fern care, helping to maintain the plant’s appearance, health, and vigor.
- Removing Dead Fronds: Regularly remove dead, yellowing, or brown fronds to prevent the spread of disease and maintain a tidy appearance.
- Improving Air Circulation: Pruning helps improve air circulation around the plant, reducing the risk of fungal diseases.
- Encouraging New Growth: Removing old growth encourages the plant to produce new, healthy fronds.
4.2. Pruning Techniques
Proper pruning techniques ensure that you are not damaging the plant while removing unwanted growth.
- Tools: Use clean, sharp pruning shears or scissors to make clean cuts.
- Timing: Prune throughout the growing season as needed to remove dead or damaged fronds. A more significant pruning can be done in early spring before new growth appears.
- Method: Cut the fronds close to the base of the plant, where they emerge from the soil.
- Dormant Pruning: If the plant loses foliage during the winter, prune it back to the crown to encourage new growth in the spring.
4.3. Cleaning the Fronds
Dust and debris can accumulate on the fronds, blocking sunlight and hindering photosynthesis. Regularly cleaning the fronds helps the plant stay healthy and vibrant.
- Frequency: Clean the fronds every 1-2 months.
- Method:
- Wiping: Gently wipe the fronds with a damp cloth to remove dust and debris.
- Misting: Mist the plant with water to loosen dirt, then gently wipe the fronds.
- Showering: Place the plant in the shower and gently rinse the fronds with lukewarm water.
- Avoiding Harsh Chemicals: Do not use harsh chemicals or cleaning products, as they can damage the fronds.
5. Repotting and Dividing
5.1. When to Repot
Repotting is necessary when the Boston fern outgrows its current container or when the soil becomes depleted of nutrients.
- Signs of Needing Repotting:
- Roots growing out of the drainage holes.
- Plant becoming root-bound (roots circling tightly within the pot).
- Slow growth or decline in health.
- Soil drying out quickly after watering.
- Timing: Repot in the spring, before the start of the growing season.
5.2. Repotting Steps
Follow these steps to repot your Boston fern successfully:
- Prepare the New Pot: Choose a pot that is 1-2 inches larger in diameter than the current pot. Ensure it has drainage holes.
- Prepare the Soil: Fill the new pot with fresh, well-draining potting mix.
- Remove the Plant: Gently remove the fern from its current pot, loosening the soil around the edges if necessary.
- Inspect the Roots: Examine the roots and trim away any dead or rotting roots.
- Place the Plant: Place the fern in the center of the new pot and fill in around the roots with potting mix.
- Water Thoroughly: Water the plant thoroughly after repotting to settle the soil.
- Monitor: Monitor the plant for signs of stress and adjust care as needed.
5.3. Dividing Boston Ferns
Dividing a Boston fern is a great way to propagate new plants and prevent the parent plant from becoming too large.
- When to Divide: Divide in the late winter or early spring, before new foliage appears.
- How to Divide:
- Remove the Plant: Gently remove the fern from its pot.
- Separate the Roots: Use a clean, sharp knife to cut through the root ball, dividing the plant into halves or quarters. Ensure each division has plenty of leaves and healthy roots.
- Repot the Divisions: Repot each division into its own pot with fresh potting mix.
- Water Thoroughly: Water the newly divided plants thoroughly.
- Care: Provide the same care as you would for a mature Boston fern.
6. Common Problems, Pests, and Diseases
6.1. Leaf Drop
Leaf drop is a common issue with Boston ferns and can be caused by various factors.
- Causes:
- Low Humidity: Dry air can cause the fronds to dry out and drop.
- Inconsistent Watering: Allowing the soil to dry out or overwatering can lead to leaf drop.
- Temperature Fluctuations: Sudden changes in temperature can stress the plant.
- Insufficient Light: Lack of adequate light can weaken the plant.
- Solutions:
- Increase Humidity: Mist the plant regularly, use a humidity tray, or place a humidifier nearby.
- Consistent Watering: Maintain consistent soil moisture, watering when the top inch of soil feels dry.
- Stable Temperature: Keep the plant in a location with stable temperatures, away from drafts and extreme heat or cold.
- Adequate Light: Ensure the plant receives adequate indirect light.
6.2. Pests
Boston ferns are susceptible to several common houseplant pests.
- Common Pests:
- Mealybugs: These small, white, cottony pests suck sap from the plant, causing yellowing and distorted growth.
- Spider Mites: These tiny pests create fine webs on the fronds and cause yellowing and stippling.
- Scale: These armored pests attach themselves to the fronds and suck sap, causing yellowing and stunted growth.
- Fungus Gnats: These small flies are attracted to moist soil and can damage the roots of the plant.
- Pest Control:
- Insecticidal Soap: Spray the plant with insecticidal soap to kill mealybugs, spider mites, and scale.
- Neem Oil: Apply neem oil to the fronds to suffocate pests and prevent them from laying eggs.
- Sticky Traps: Use sticky traps to catch fungus gnats.
- Soil Drench: Use a soil drench with an insecticide to control pests in the soil.
6.3. Diseases
Boston ferns are prone to fungal diseases, especially in overly moist conditions.
- Common Diseases:
- Root Rot: Caused by overwatering, root rot leads to yellowing leaves, stunted growth, and a musty smell.
- Fungal Leaf Spot: This disease causes brown or black spots on the fronds.
- Disease Control:
- Improve Drainage: Ensure the pot has good drainage to prevent waterlogging.
- Proper Watering: Water only when the top inch of soil feels dry.
- Fungicide: Apply a fungicide to control fungal diseases.
- Remove Affected Fronds: Remove and dispose of any fronds affected by disease.
7. Overwintering Boston Ferns
7.1. Preparing for Winter
As temperatures drop, Boston ferns require special care to survive the winter months.
- Moving Indoors: If your fern is outdoors, move it indoors before the first frost.
- Reducing Watering: Reduce watering frequency as the plant’s growth slows.
- Cool Environment: Move the plant to a cooler room with temperatures between 50°F and 55°F (10°C and 13°C).
- South-Facing Window: Place the plant near a south-facing window to provide adequate light.
7.2. Dormancy
Allowing the fern to go dormant can help it conserve energy and survive the winter.
- Reducing Care: Reduce watering and stop fertilizing during dormancy.
- Pruning: Prune the plant back to the crown if it loses foliage.
- Monitoring: Monitor the plant for signs of pests or diseases.
7.3. Spring Revival
As spring approaches, gradually increase watering and move the plant to a warmer location to encourage new growth.
- Increasing Watering: Gradually increase watering frequency as new growth appears.
- Fertilizing: Begin fertilizing every 4-6 weeks with a balanced, liquid fertilizer.
- Pruning: Prune away any remaining dead or damaged fronds.
- Repotting: Repot the plant if necessary.
8. Exploring Boston Fern Varieties
8.1. Popular Cultivars
While ‘Bostoniensis’ is the most common variety, there are many other cultivars to choose from, each with unique characteristics.
- ‘Compacta’: Shorter and more compact than ‘Bostoniensis’.
- ‘Dallas’: Smaller cultivar tolerant of lower light and humidity.
- ‘Florida Ruffle’: Medium-sized with ruffled leaflets.
- ‘Fluffy Duffy’: Feathery fronds that divide two to three times.
- ‘Fluffy Ruffles’: Thick, wavy leaflets; a smaller, sterile plant.
- ‘Golden Boston’: Yellow and green leaves.
- ‘Massii’: Darker green with drooping fronds.
- ‘Rita’s Gold’: Compact fern with chartreuse leaves.
- ‘Verona’: Heirloom with pendulous, lacy fronds.
- ‘Whitmanii’: Serrated, feathery leaves; tolerates lower humidity.
8.2. Choosing the Right Variety
Consider your growing conditions and personal preferences when selecting a Boston fern variety.
- Light Levels: If you have low light, choose a variety like ‘Dallas’ that is more tolerant of shade.
- Humidity: If you have low humidity, choose a variety like ‘Whitmanii’ that is more tolerant of dry air.
- Size: If you have limited space, choose a compact variety like ‘Compacta’ or ‘Fluffy Ruffles’.
- Appearance: Choose a variety based on your preferred frond shape and color.
8.3. Expanding Your Collection
Once you’ve mastered Boston fern care, consider expanding your collection with different varieties to add interest and diversity to your indoor garden.
9. Boston Ferns and Pets
9.1. Toxicity
Boston ferns are non-toxic to cats and dogs, making them a safe choice for pet owners. According to the ASPCA, Boston ferns do not contain any substances that are poisonous to animals.
9.2. Pet-Friendly Placement
While Boston ferns are safe for pets, pets may still be tempted to chew on or dig in the soil.
- Elevated Placement: Place the fern on a shelf, hanging basket, or plant stand to keep it out of reach of pets.
- Protective Barriers: Use a decorative pot cover or barrier to prevent pets from accessing the soil.
- Training: Train your pets to avoid the plant by using deterrents or redirecting their attention.
9.3. Monitoring Pet Interactions
Monitor your pets’ interactions with the fern to ensure they are not causing damage to the plant or ingesting excessive amounts of foliage.
10. Frequently Asked Questions
10.1. Why are my Boston fern’s leaves turning yellow?
Yellowing leaves can indicate several issues:
- Overwatering or Underwatering: Ensure consistent soil moisture, not soggy or bone dry.
- Too Much Direct Sunlight: Move the plant to a spot with indirect light.
- Nutrient Deficiency: Fertilize regularly during the growing season.
10.2. How often should I water my Boston fern?
Water when the top inch of soil feels dry. This is typically every 1-3 days, depending on the environment.
10.3. How can I increase humidity for my Boston fern?
- Misting: Mist the fronds regularly.
- Humidity Tray: Place the pot on a tray filled with pebbles and water.
- Humidifier: Use a humidifier to maintain consistent humidity levels.
- Grouping Plants: Group plants together to create a humid microclimate.
10.4. What type of soil is best for Boston ferns?
A well-draining, yet moisture-retentive soil mix is best. A mix of peat moss, perlite, and vermiculite is ideal.
10.5. How do I get rid of pests on my Boston fern?
- Insecticidal Soap: Use insecticidal soap for mealybugs, spider mites, and scale.
- Neem Oil: Apply neem oil to suffocate pests.
- Sticky Traps: Use sticky traps for fungus gnats.
10.6. Can I put my Boston fern outside?
Yes, but only in a shaded location. Avoid direct sunlight.
10.7. How do I prune my Boston fern?
Remove dead or yellowing fronds close to the base of the plant using clean shears.
10.8. Why is my Boston fern dropping leaves?
Leaf drop can be caused by:
- Low Humidity: Increase humidity levels.
- Inconsistent Watering: Maintain consistent soil moisture.
- Temperature Fluctuations: Keep the plant in a stable environment.
10.9. Is my Boston fern toxic to my pets?
No, Boston ferns are non-toxic to cats and dogs.
10.10. How often should I fertilize my Boston fern?
Fertilize every 4-6 weeks during the growing season (spring and summer) with a balanced, liquid fertilizer diluted to half strength.
Taking care of a Boston fern requires attention to detail and consistency, but the rewards are well worth the effort. By providing the right light, water, humidity, and nutrients, you can enjoy a lush, vibrant fern that adds beauty and tranquility to your home. Just as CARS.EDU.VN offers comprehensive guidance for maintaining your vehicle, this guide aims to equip you with the knowledge and tools needed to nurture your Boston fern to its full potential.
Are you struggling to find reliable information about car maintenance? Do you need expert advice on keeping your vehicle in top condition? Visit CARS.EDU.VN today for detailed guides, trusted service reviews, and the latest industry news. Our team of automotive experts is here to help you make informed decisions and keep your car running smoothly. Contact us at 456 Auto Drive, Anytown, CA 90210, United States, or reach out via Whatsapp at +1 555-123-4567. Explore cars.edu.vn and discover a wealth of automotive knowledge at your fingertips!