Peace lilies, with their elegant white blooms and air-purifying qualities, are a popular choice for indoor plant enthusiasts. Understanding how to properly care for your peace lily (Spathiphyllum) is crucial to ensure its health and encourage those beautiful flowers to reappear. This guide provides a comprehensive approach to peace lily care, covering everything from watering techniques to propagation methods, helping your plant thrive in your home.
Mastering the Art of Watering Your Peace Lily
Watering is indeed a critical aspect of peace lily care, but it’s not about constant hydration. The key is to allow the plant to signal when it’s thirsty. Wait until the top third of the soil in the pot has dried out before watering again. A simple finger test will help: gently push your finger about an inch into the soil. If it feels dry and minimal soil clings to your finger, it’s time to water. Avoid watering on a rigid schedule, as environmental factors like temperature and humidity can affect how quickly the soil dries. Peace lilies don’t experience a true dormancy period, so their watering needs remain relatively consistent throughout the year.
Light and Location: Finding the Perfect Spot
Peace lilies flourish in environments that mimic their natural habitat: bright, indirect sunlight. Locations near north, north-east, or north-west facing windows are generally ideal, providing ample light without the harshness of direct sun. For smaller peace lilies, a windowsill in these exposures can be perfect. Shelves can be less suitable unless the light source is directly above, such as from a skylight, ensuring sufficient illumination.
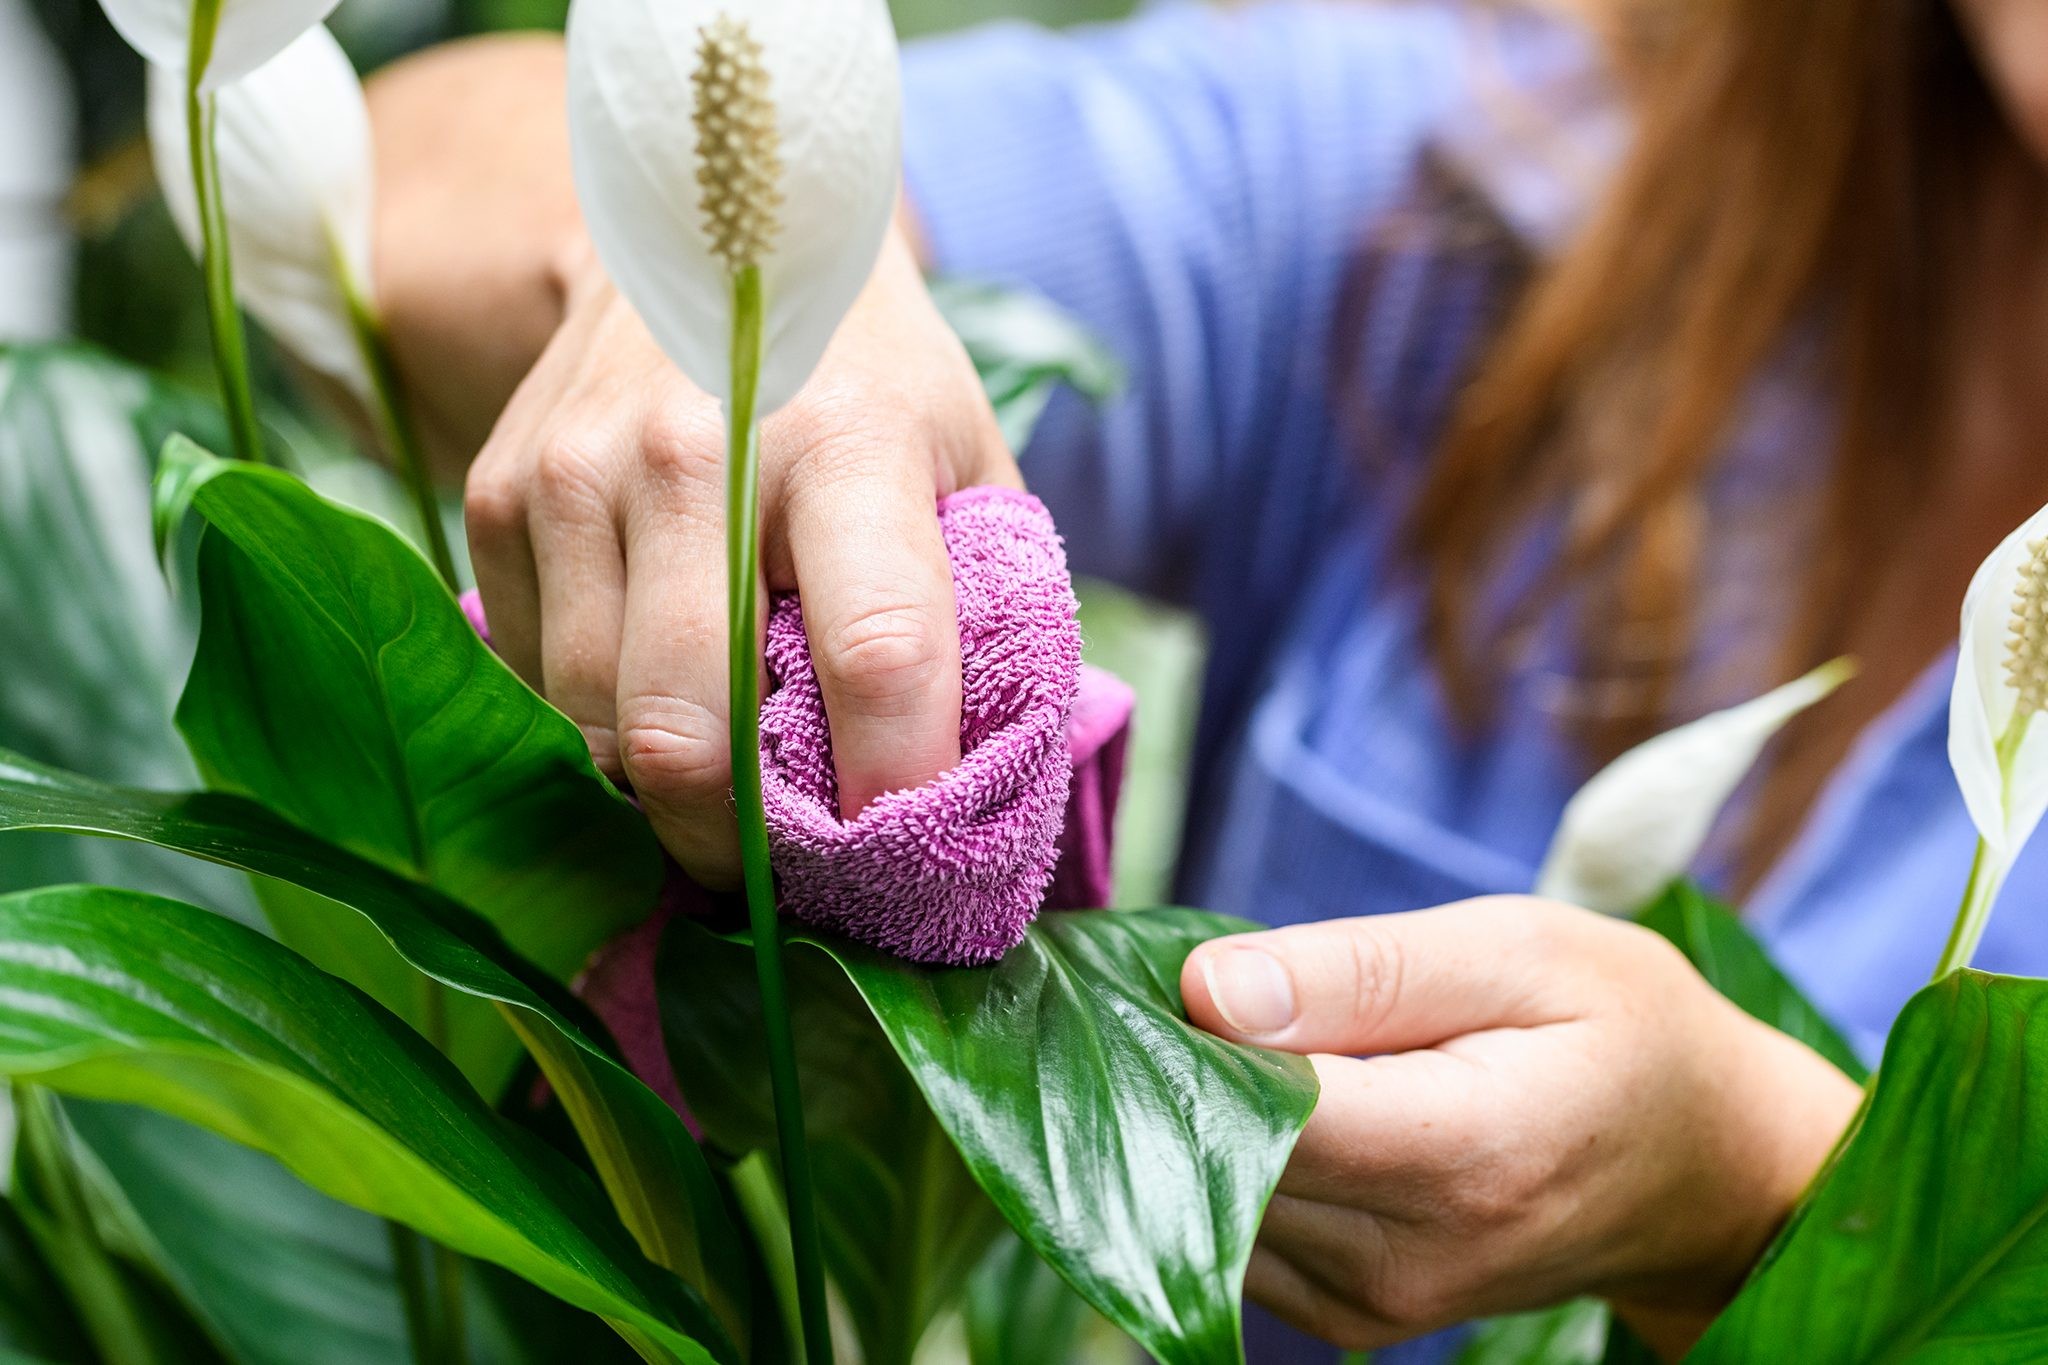
Dust accumulation on the leaves can hinder photosynthesis, so regularly wiping them with a damp cloth is beneficial. This simple step not only boosts the plant’s ability to convert light into energy but also enhances its overall appearance, keeping your peace lily looking its best.
Soil and Fertilizers: Nourishing Your Peace Lily
Soil: When it comes to repotting your peace lily, selecting the right soil is important for healthy root development. Opt for a peat-free houseplant potting mix. These mixes are formulated to provide good drainage and aeration, essential for peace lilies. While specialized “peace lily” labeled composts are available, a general high-quality houseplant mix will work effectively.
Fertilizer: Peace lilies are responsive to regular feeding, which supports their growth and flowering. Use a balanced liquid houseplant fertilizer diluted to half strength. Apply this every third watering throughout the year. To further encourage flowering, especially if your peace lily is reluctant to bloom, consider using a foliar fertilizer spray every two weeks. This provides nutrients directly to the leaves, promoting flower production.
Temperature and Humidity: Creating the Ideal Climate
Peace lilies thrive in average household temperatures, ideally between 15–25℃ (59–77°F). It’s crucial to protect them from temperatures below 15℃ (59°F), as cold exposure can lead to leaf damage and increase the risk of root rot.
Humidity is another key factor. Peace lilies appreciate higher humidity levels. If your home environment is dry, especially during winter months with indoor heating, you can increase humidity by placing your peace lily on a pebble tray. Fill a tray with pebbles and add water to just below the top of the pebbles. As the water evaporates, it increases the humidity around the plant. Ensure the pot is sitting above the water level to prevent the roots from sitting in water, which can lead to root rot.
Pruning: Maintaining Shape and Health
Regular pruning helps maintain the aesthetic appeal of your peace lily and promotes healthy growth. Use clean scissors or pruning shears to remove any brown leaves or spent flowers. Yellowing leaves are different; it’s best to leave them on the plant until they turn brown. The plant can still extract nutrients from yellowing leaves, so removing them prematurely can deprive the plant of these resources.
Staking: When and Why It’s Not Needed
Generally, staking is not necessary for peace lilies. Their natural growth habit is to have slightly arching leaves. However, persistently drooping or outward-leaning leaves, not directed towards a light source, can indicate root rot. In this case, address the root health rather than resorting to staking. If you notice all the leaves leaning noticeably towards a window, simply rotating the pot 180 degrees will encourage more even growth and straighten the plant’s appearance.
How to Repot a Peace Lily: A Gentle Approach
Peace lilies prefer to be slightly pot-bound and don’t need frequent repotting. Repotting is only necessary when the plant becomes significantly root-bound or every 2-3 years to refresh the soil. The best time to repot is in spring. Handle the root system with care during repotting to minimize transplant shock, which can manifest as wilting or yellowing leaves shortly after repotting.
- Prepare for Repotting: Water your peace lily thoroughly about 12 hours before repotting. This helps to hydrate the plant and makes the root ball easier to handle, reducing transplant shock.
- Choose the Right Pot: Select a new pot that is only slightly larger, just a couple of centimeters wider than the original pot.
- Prepare the Potting Mix: Add a layer of about 4cm of fresh, peat-free houseplant potting mix to the bottom of the new pot.
- Carefully Remove and Repot: Gently remove the peace lily from its old pot, loosen any circling roots if necessary. Place the root ball in the center of the new pot on top of the fresh compost.
- Fill and Settle: Fill in the space around the root ball with more fresh potting mix, ensuring the top of the root ball remains at the same level as it was in the old pot. Gently tap the sides of the pot to settle the soil and eliminate air pockets.
- Water Thoroughly: Water the newly repotted peace lily generously until water drains out of the drainage holes at the bottom. Return the plant to its original location to minimize stress.
How to Propagate a Peace Lily: Dividing for More Plants
Propagating peace lilies is effectively done through division, ideally in the spring. This involves separating “offsets,” which are smaller plants that grow from the base of the parent plant. Extreme care is needed during division as root disturbance can lead to transplant shock. Division is best suited for peace lilies that are at least two years old and well-established.
- Hydrate Before Dividing: Water the peace lily about 12 hours prior to dividing to reduce stress on the plant.
- Remove and Identify Offsets: Take the plant out of its pot. Locate the offsets – they will appear as smaller versions of the main plant, clustered around the base.
- Separate the Offsets: Using a clean, sharp knife, carefully cut the offsets away from the parent plant’s root ball. A gentle ‘snap’ sound indicates successful separation.
- Pot Offsets Individually: Gently tease apart the roots of the offsets from the main root ball. Pot each offset individually into 10cm pots filled with peat-free houseplant compost.
- Care for Parent and Offsets: Replant the parent plant in its original pot, filling any gaps with fresh compost. Continue to care for the parent plant as before. Care for the newly potted offsets in the same way as the parent plant.
Common Peace Lily Issues and Problem Solving
Yellowing Older Leaves: It’s normal for peace lilies to occasionally develop yellow older leaves, particularly at the bottom of the plant. A rate of one yellow leaf per month or slower is generally not a cause for concern. However, if more than a third of the leaves are yellowing, it could indicate a problem. Inspect the root system for signs of root rot. Healthy roots are firm and white to light tan, while roots affected by rot will be brown, mushy, and easily pull away from the soil.
Lack of Flowers: If your peace lily isn’t flowering, insufficient light is often the culprit. Ensure it’s in a bright, indirect light location. Incorrect temperatures can also hinder flowering. Additionally, consistent fertilization is crucial. Regular feeding every third watering with a houseplant fertilizer can significantly encourage blooming.
Brown Leaf Tips: Brown tips on leaves can occur naturally as leaves age. However, widespread brown tips often indicate dehydration, either from underwatering or low humidity. Ensure consistent soil moisture (allowing the top third to dry between waterings) and increase humidity if the air is dry.
Curling or Drooping Leaves: Curling or drooping leaves can be caused by several factors: excessive heat or direct sunlight, transplant shock, or root rot. Make sure your peace lily is not in direct sun and is in a location with average room temperatures. Rule out overwatering and root rot. If transplant shock is suspected, maintain proper watering and allow the plant time to recover.
Toxicity: Safety Considerations
It’s important to note that peace lilies are toxic if ingested by humans and pets. They contain calcium oxalate crystals, which can cause irritation and discomfort if chewed or swallowed. Keep peace lilies out of reach of children and pets that might be inclined to nibble on plants.
Peace Lily Varieties to Explore
- Spathiphyllum ‘Chopin’: This is the classic, widely available peace lily, known for its reliable blooming and manageable size. Size: 50cm x 50cm (H x W)
- Spathiphyllum ‘Pearl Cupido’: A medium-sized variety featuring striking, dark green leaves, adding a touch of drama. Size: 1m x 80cm (H x W)
- Spathiphyllum ‘Diamond’: A newer cultivar distinguished by its unique white variegation, giving the leaves a splashed paint effect. Size: 80cm x 0.5m (H x W)
- Spathiphyllum ‘Sensation’: The largest peace lily variety commonly available, ideal for spacious rooms and bright locations. Size: 1.3m x 1m (H x W)
Frequently Asked Questions About Peace Lily Care
Where is the best place to put a peace lily in my house?
The best location is within 1 meter of a north, north-east, or north-west facing window, ideally on a windowsill. Ensure it receives bright, indirect light and is protected from direct sunlight for more than a couple of hours daily to prevent leaf scorch.
What are the disadvantages of peace lilies?
Peace lilies are prone to root rot, especially if overwatered or placed in dimly lit areas (more than 1m from a window). Another disadvantage is their toxicity if ingested, requiring careful placement in homes with children and pets.
How long do peace lily flowers last?
Peace lily blooms typically last for around two months. After the flowers fade, the plant can still produce new leaves and may re-bloom, especially in spring under optimal conditions.
What does an overwatered peace lily look like?
Signs of overwatering include soil that smells earthy or has mold, yellowing and curling/wilting leaves even when the soil is moist.
Should I cut brown tips off peace lily leaves?
Yes, trimming brown leaf tips can improve the plant’s appearance. Use clean scissors to carefully snip off only the brown, dry portion of the leaf, following the leaf’s natural shape.
How do I encourage my peace lily to flower again?
To encourage re-blooming, place your peace lily in a bright, indirect light location and fertilize regularly. Using a foliar feed spray every two weeks can also promote flower production.